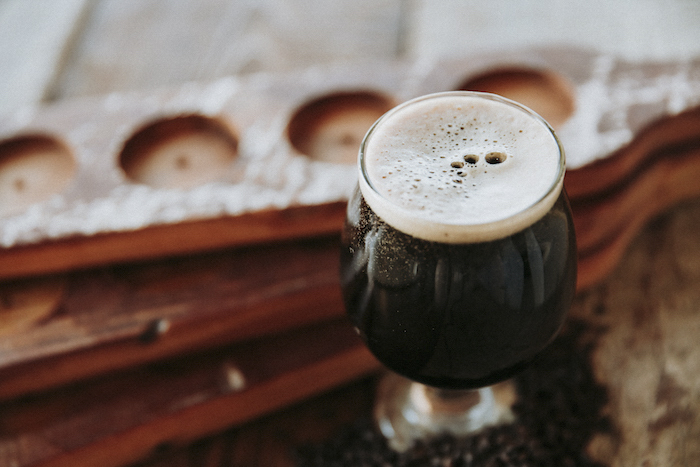
Winter is coming. Not right away, but soon enough that you may want to get your home brewing game dialed in again. With the chillier weather ahead, you’ll also want to make the appropriate beer styles, like a good imperial stout.
Many homebrewing kits like to begin with a hearty stout. Makes sense, as it’s not so hard to prepare that you’ll run away from the hobby altogether. And even those in the know can get a lot out of making one from scratch, and then enjoy the malty results.
To make a good imperial stout, we sourced a recipe from the homebrew team at Northern Brewer. It’s thorough and leads to a well-rounded and bittersweet beer, charged with flavor without being as opulent on the palate as it appears. Get going now as it takes several months to complete. But before you get started, you’ll seed a few supplies. If we wish to simply use what you have lying around the kitchen, plus a few caps and hoses, fine, just scale the recipe down accordingly.
Supplies

The recipe kit above comes with essential ingredients, like yeast, malt, grains, and hops. But you’ll need a bit in the way of equipment to get going:
- Boiling kettle (minimum 3.5 gallon)
- Glass carboy (5 gallon) with bung and airlock
- 2 cases of glassware (12- or 22-oz bottles)
One of the easiest ways to get the core tools is to go with a new brewer starter kit. It’ll set you up for this batch and hopefully many more to come.
Making the Imperial Stout
First Steps Before Brewing
- Remove the liquid Wyeast pack from the refrigerator, and “smack” as shown on the back of the yeast package. Leave it in a warm place (70–80° F) to incubate until the pack begins to inflate. Allow at least 3 hours for inflation; some packs may take up to several days to show inflation. Do not brew with inactive yeast — we can replace the yeast, but not a batch that fails to ferment properly. If you are using dry yeast, no action is needed.
- Prepare a yeast starter. Follow the Yeast Starter Kit instructions. Allow the starter to incubate for at least one day. Or, instead of a yeast starter, reuse a yeast cake from a previous batch.
Brewing Day
- Collect and heat 2.5 gallons of water.
- For mail order customers, grains for extract kits come crushed by default, but if you requested uncrushed grains, crush them now. Pour crushed grain into the supplied mesh bag and tie the open end in a knot. Steep for 20 minutes or until the water reaches 170 degrees F. Remove the bag and discard.
- Bring to a boil and add 6 pounds of dark malt syrup. Remove the kettle from the burner and stir in the dark malt syrup.
- Return wort to boil. The mixture is now called “wort,” the brewer’s term for unfermented beer. Add 1.75 oz Summit hops and boil for 60 minutes. – Add 6 pounds of Dark malt syrup 15 minutes before the end of the boil. – Add 2 oz Cascade hops at the end of the boil.
- Cool the wort. When the 60-minute boil is finished, cool the wort to approximately 100 degrees as rapidly as possible. Use a wort chiller, or put the kettle in an ice bath in your sink.
- Sanitize fermenting equipment and yeast pack. While the wort cools, sanitize the fermenting equipment – fermenter, lid or stopper, fermentation lock, funnel, etc. – along with the yeast pack and a pair of scissors.
- Fill primary fermenter with 2 gallons of cold water, then pour in the cooled wort. Leave any thick sludge in the bottom of the kettle.
- Add more cold water as needed to bring the volume to 5 gallons. Aerate the wort. Seal the fermenter and rock back and forth to splash for a few minutes, or use an aeration system and diffusion stone.
- OPTIONAL: if you have the Mad Brewer Upgrade or Gravity Testing kits, measure the specific gravity of the wort with a hydrometer and record.
- Measure the specific gravity of the wort with a hydrometer and record.
- Add yeast once the temperature of the wort is 78 degrees or lower (not warm to the touch). Use the sanitized scissors to cut off a corner of the yeast pack, and carefully pour the yeast into the primary fermenter.
- Seal the fermenter. Add approximately 1 tablespoon of water to the sanitized fermentation lock. Insert the lock into a rubber stopper or lid, and seal the fermenter.
- Move the fermenter to a warm, dark, quiet spot until fermentation begins.
First Fermentation Weeks 2-4
- Active fermentation begins. Within approximately 48 hours of your brewing day, active fermentation will begin – there will be a cap of foam on the surface of the beer, and you may see bubbles come through the fermentation lock.
- Active fermentation ends. Approximately 1–2 weeks after brewing day, active fermentation will end: The cap of foam falls back into the new beer, bubbling in the fermentation lock slows down or stops.
- Transfer beer to a secondary fermenter. Sanitize siphoning equipment and an airlock and carboy bung or stopper. Siphon the beer from the primary fermenter into the secondary.
Secondary Fermentation
Allow the beer to condition in the secondary fermenter for 2–3 months before proceeding with the next step. Timing now is somewhat flexible.
Bottling Day (3.5 Months After Brewing Day)
- Sanitize siphoning and bottling equipment.
- Mix a priming solution (a measured amount of sugar dissolved in water to carbonate the bottled beer). Use the following amounts, depending on which type of sugar you will use: Corn sugar (dextrose): 2/3 cup in 16 oz water. Table sugar (sucrose): 5/8 cup in 16 oz water. Then bring the solution to a boil and pour it into the bottling bucket.
- Siphon beer into bottling bucket and mix with priming solution. Stir gently to mix — don’t splash.
- Fill and cap bottles.
2-4 Weeks After Bottling Day
- Condition bottles at room temperature for 2–4 weeks. After this point, the bottles can be stored cool or cold.
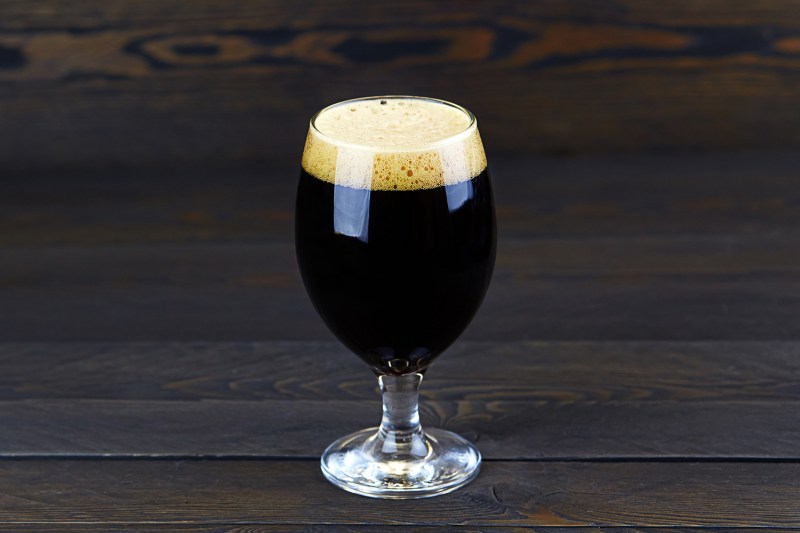
- Serving. Pour into a clean glass, being careful to leave the layer of sediment at the bottom of the bottle. Cheers!