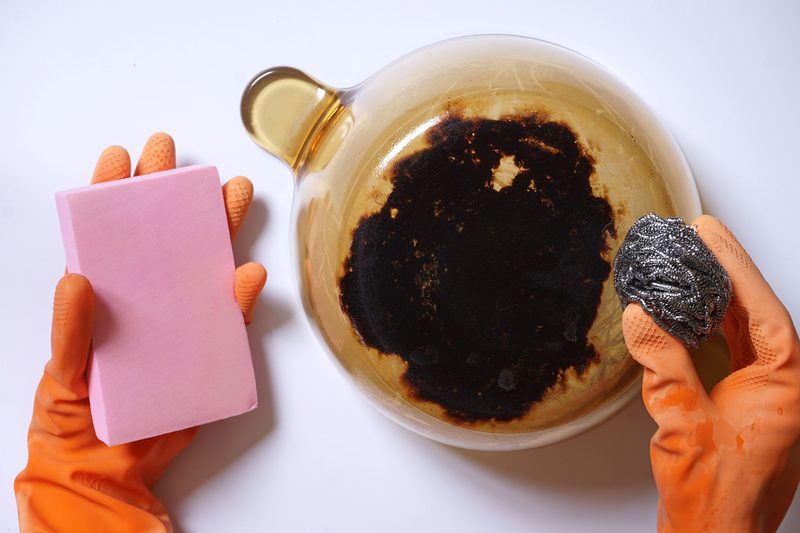
We’ve all had to say goodbye to an unfortunately burnt-beyond-repair pot. However, not all crispy pans are a lost cause. So before you cast out that crusty iron pan or that over-browned brownie sheet, we’ve got some tips that might keep them around a few more rounds.
With just a few everyday household products, you will be surprised at what a little bit of nature (and a lot of elbow grease) can do. Here’s how to bring those burnt pots back to life. These methods aren’t that hard to do, but they do take a little patience and some elbow grease. Fortunately, the reward is extremely satisfying! So, here is how to how to clean burnt pots and pans.
The vinegar and baking soda method
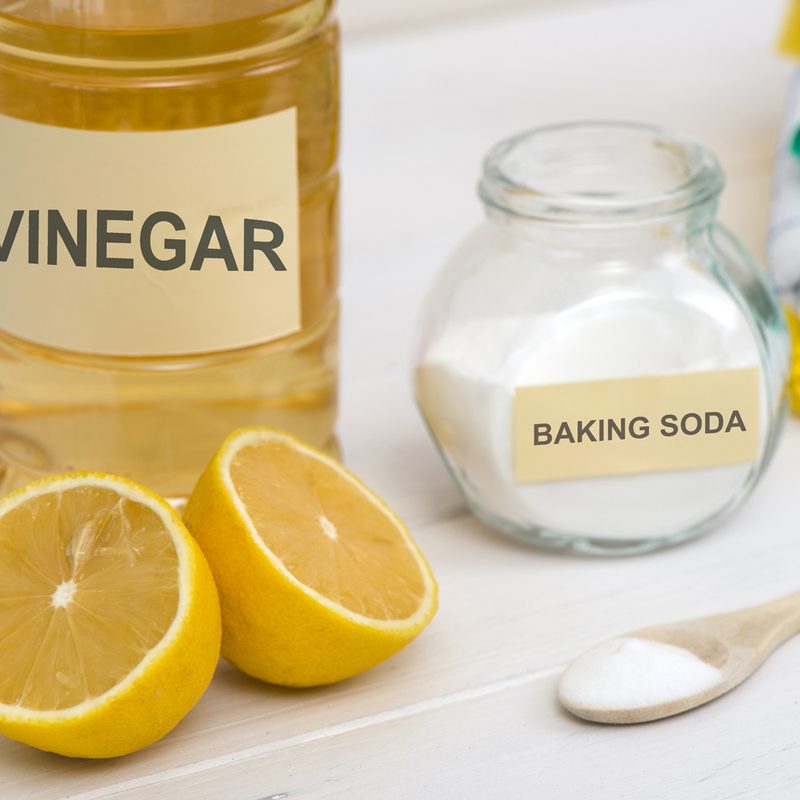
One of the oldest tricks in the book is the mixture of vinegar and baking soda, even when you need to know how to clean burnt pots. You aren’t combining them, however. This time, you’re allowing them to work their magic separately to pull up dirt and grease and restore the shine. Follow these steps.
- Mix equal parts of water and distilled white vinegar. Pour a small layer into the bottom of the pan.
- Place the pan on your stovetop and heat it to a boil.
- Allow it to boil for a few minutes, and then pour the mixture out.
- Spread a thin layer of baking soda into the pot and gently scrub using a soft bristle brush.
- Rinse the pan out to remove any remaining residue.
Most people know the combination of vinegar and baking soda creates a chemical reaction, but you can also use them separately to restore surfaces.
The salt and dish detergent method
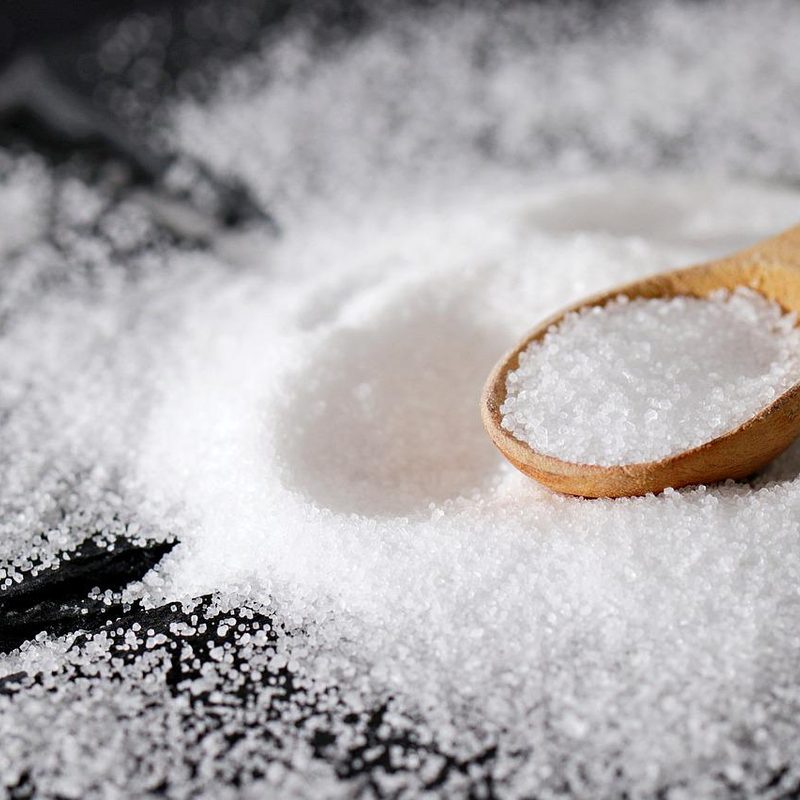
Mixing the lightly abrasive texture of salt with gentle dish detergent can also draw up baked-on grease and grime. Here’s how you handle it.
- Sprinkle the bottom of your pan or pot with a thin layer of salt. A combination of coarse and fine ground salt works best.
- Take a small amount of water and a drop or two of dish detergent and gently scrub the pan with a soft bristle brush.
- Rinse and repeat until your pan is clean. Rinse one final time to remove any last residue.
The salt is abrasive but gently so and dissolves before doing any real damage. You may need to repeat this one a few times if the pan is particularly burnt.
The dryer sheet method

For a no-scrub method, a dryer sheet may be able to lift up stains and restore shine. This is what to do.
- Fill the pan with hot water and gentle dish soap.
- Take a dryer sheet and submerge it into the water.
- Allow the sheet to sit in the pan for at least an hour or preferably until the water cools.
- For extra cleaning power, start with boiling water. Add the dryer sheet first, so you don’t come in contact with the water.
- Once the water cools, remove the water and dryer sheet. Gently wipe out the pan to restore the surface and shine.
The softeners in dryer sheets can help lift up stubborn stains, but you need the patience to let the pan soak. It’s best for mishaps that have just happened or lightly soiled pans.
The dishwasher tablet method

The dryer sheet method may work on lightly grimy pans, but with really burnt-on grease, you may need something more.
- Put on a pair of gloves for cleaning.
- Unwrap the dishwasher tablet and rub it all over the bottom of your pot.
- As burnt areas begin to come up, rinse them from the pan.
- Continue rubbing the tablet over scorched areas and rinsing until it’s completely clean.
This is an easier way, but it can get expensive to use a single dish tablet for each pan. It’s best to clean pans before they scorch, but the method is excellent as a last resort to save your favorite cookware.
The boiled lemon method
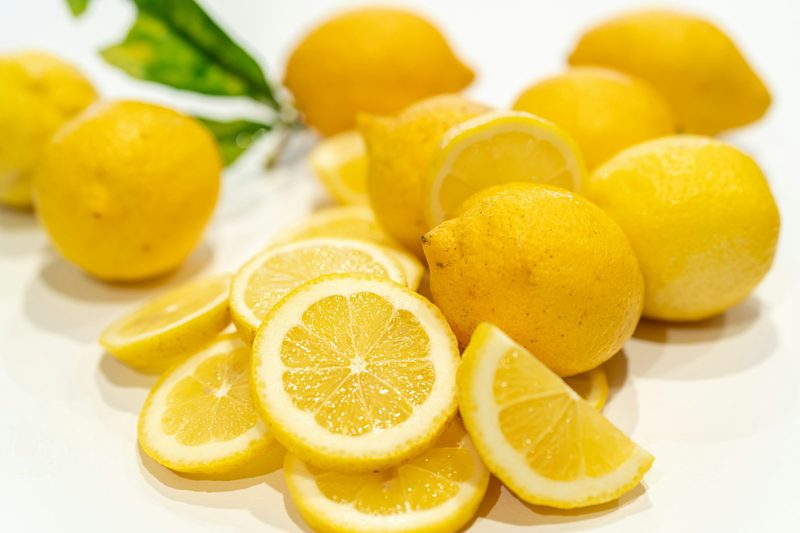
Something you may have lying around is leftover lemon peels and squeezed lemons. You can also quarter a lemon for this method.
- Fill a pot or pan with water and two or three lemons’ worth of quarters, peels, or squeezed lemons.
- Allow the water to come to a boil and boil for 5 to 10 minutes or until the food starts to float to the surface.
- Discard the lemons and water and gently scrub the remaining grime or grease off the pan surface.
- Rinse the pan out to remove any lingering lemon or residue.
The acidity in lemons, plus the boiling action, helps pull up food particles and gives you a better chance of scrubbing the pot clean without scratching the surface.
How do I get the black marks off my pots and pans?
You’ve gotten the stuck-on food and grease off the pan, but scorch marks remain. How do you take your cleaning to the next level? This is what you need:
- Baking soda
- Warm water
- Gentle dish soap (classic blue Dawn works best)
- Lemon essential oil
- Small bowl
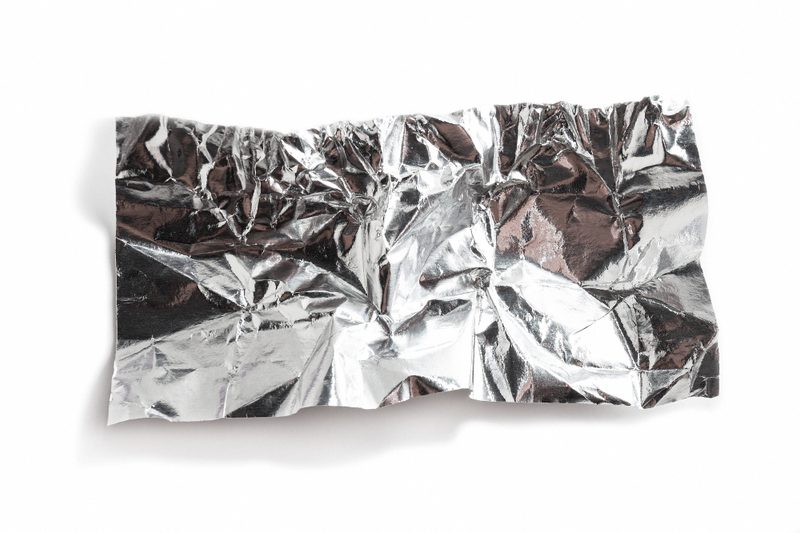
- Aluminum foil
- In a bowl, mix 1/2 cup baking soda, 1/2 cup of warm water, 1 tablespoon of dish soap, and a few drops of essential oil.
- Allow the mixture to soak in your pan or pot for up to 30 minutes.
- Scrunch up a sheet of aluminum foil and use it to scour the pan gently. Use a delicate hand here and watch for scratch marks.
- When the surface is clean enough for you, rinse the pan out to remove the mixture and any lingering residue.
- You can repeat this on the bottom of the pan as well.
Cooking experiments can take their toll on your pots and pans. If you don’t know how to clean burnt rice, that soup you scalded, or the unfortunate experiment with frying, these methods can help you restore your pots and pans. Be sure you pay attention to how hard you’re scrubbing. You want the grime to come off, but you don’t want to ruin your pan’s surface at the same time. Use these simple household products to make cleaning burnt stainless steel pots and other types of cookware easier.
Patience and prevention may be the best method
It may sound intuitive, but the best way to prevent pots and pans from burning is to pay closer attention to what you’re cooking. This starts before the pan hits the stove.
Anytime sugar is present in cooking, there’s always a chance that it can burn and leave an awful mess. Sure, there are some common culprits like bacon (before you’ve properly had your coffee) or barbecue sauce which seem to always leave burned marks. But some foods like vegetables often get overlooked and can burn quickly when unsupervised. So if your ingredients have burned in the past, adapting your cooking method will make for easier cleanup.
Turn the heat down a bit, and be patient when cooking sugary foods. Consider stirring foods more frequently that may be likely to burn. If you feel something starting to stick, lower the heat until you can get it to release from the pan.
More tips
Here are some additional tips for cleaning burnt pots and pans. Remembering these things can save your cookware and make it last as long as possible.
- Act fast: The sooner you tackle the burnt mess, the easier it will be to remove. Burnt-on food gets tougher and more stuck on the longer it sits.
- Work with a warm pan (if safe): A warm pan can help loosen up burnt-on food particles, making them easier to scrub off. However, be careful not to burn yourself! This tip mostly applies to metal pans, not nonstick or cast iron.
- Let it soak: Whether using a vinegar solution or baking soda paste, allowing the pan to soak significantly loosens up burnt-on food, reducing scrubbing effort.
- Rinse well: After cleaning, rinse the pan thoroughly with hot water to remove any cleaning residue or food particles.