How to Save Leftover and Fallen Fruits During Harvest Season

By now, you may be used to the frequent thud of ripe fruit falling from the trees and hitting the ground. Harvest time is upon us, and that goes for a large part of the fruit spectrum, from apples and pears to peaches and figs.

Depending on where you live, there may be too much fruit to salvage. But that doesn’t mean you shouldn’t take a stab at holding on to at least some of it. You can enjoy it many ways as fresh as well as preserve it for down the road. Trust us, you’ll need a little jolt of late summer in your life when it’s winter and the pandemic is still making everything, well, strange.

Get Pickling

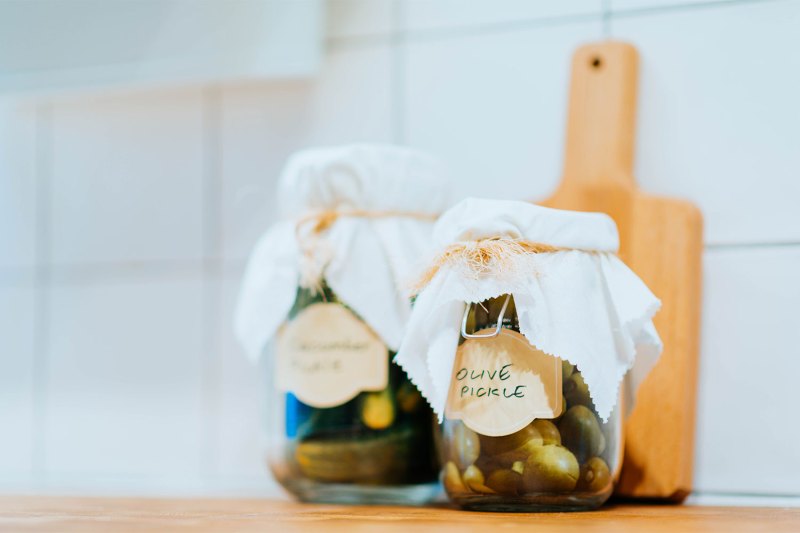
You should know that pickling is not reserved for just cucumbers (and, for what it’s worth, cucumbers aren’t just for pickles). The briny act of preservation works great on an abundance of things, from veggies like carrots and beets to fruits such as stone fruit and blueberries. Shoot, some even pickle watermelon rinds and serve them as an appetizer or alongside a nice grilled piece of pork.
chuttersnap/Unsplash

Peaches, plums, cherries, apricots, berries, melon, and more are all great pickled. It’s easy, as the same ratio of four ingredients can be used on just about anything, with tasty results. Use one cup of vinegar, one cup of water, one tablespoon of salt, and .5 cup of sugar as your brining agent. Combine these and bring to a boil on your stove. Pour it atop some diced up fruit in a jar and let it meld in the fridge for a least a full day, although it’ll just get better and more intense the longer you wait.

Preserves

Making jam is a pretty straightforward task and a great way to extend the life of your favorite seasonal fruits. It’s also pretty forgiving, meaning you can find a new use for less famous fruits like nectarines or dates.

Start by rinsing and cutting up the fruit of your choosing. Cook it on medium to concentrate it, making it thick. Stir often and gradually lower the heat over time. Once you achieve a desirable level of gooeyness, move the mixture into sterilized jars, careful to leave a little room at the top. Some argue to dip the sealed mixtures into boiling water for several minutes to sterilize things and set the consistency of the jam. Here’s a good site for added info.

Hooch

You don’t need access to a winery to make a crude but enjoyable batch of homemade wine or brandy. Essentially, you just need a large container to ferment the fruit in, a carboy or wooden vessel to age the stuff in, and things like a hose for transporting liquid and a strainer to filter out the solids.

The basic guidelines apply to just about any fruit you might like to ferment, although apple, pear, and berries are probably the most common. You can go the larger scale route in your garage or basement or small-batch style in your kitchen. Crush the fruit with a masher (or your feet if you feel inspired) and remove the seeds. Add some water and sugar and, if you want a more controlled fermentation, pitch a commercial stain of yeast (although it will likely ferment on its own, that can just be a choppier process).
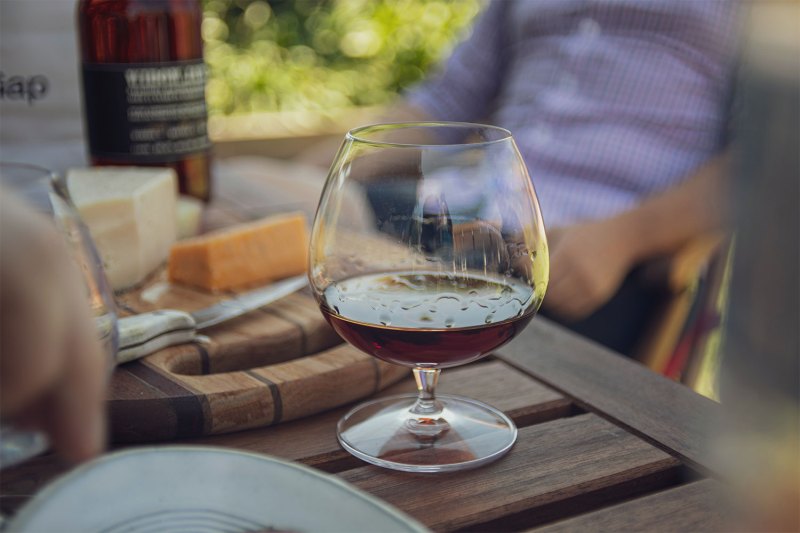
Image used with permission by copyright holder

Cover the juice and let it ferment in a warm environment for several weeks. Strain out the solids and put into a carboy or glass vessel for a few additional days, allowing other solids to settle. The same essentially goes for liqueur or brandy, save the addition of a few other ingredients.

Keeping things sterile is important so be mindful of spills that might attract bacteria or bugs.

Compost

One of the simplest things you can do is put the nitrogen-rich fallen fruit to work as fertilizer. This is a great way to utilize the mushy rotting fruit you might not otherwise try to salvage. It’s also a fine way to complete the agricultural life cycle, inspiring decaying fruit to help spawn new life in your garden. Remember to compost away from your dwelling some as it can attract bugs and insects, and get ahold of some manure to get things going, either from a pet or your local garden supply store. The San Francisco Gate has a nice how-to post on the subject. 

Get Sauced

Tomato sauce is versatile and all the better when made with farm-fresh fruit. It’s a simple but fairly time-consuming activity, so maybe crack a bottle of Chianti and sip as you think about pasta recipes you’ll be perfecting this autumn and winter. You can dice up the tomatoes and cook them down or use a food processor to puree them. Cook for just 45 minutes or so to maintain a really fresh, zippy flavor or simmer for multiple hours for a deeper, harmonious sauce. Adding things like garlic, balsamic, tarragon, oregano, and fresh basil is always advised. Also, throw in a little starch or tomato paste if you need to thicken things up some.

For additional details and other ideas like how to dry or freeze certain kinds of fruits, check out this helpful guide from the USDA.

Editors' Recommendations

Topics
Mark Stock
Mark Stock is a writer from Portland, Oregon. He fell into wine during the Recession and has been fixated on the stuff since…
The 10 best rosé wines that everyone should drink
It's time to finally try rosé
Rose wine glasses

Rosé rules -- no ifs, ands, or buts. You’ve most definitely seen dudes drinking rosé, with the pink wine sold in forties. Chances are, you’ve heard the term “brosé” at least once or twice in your life. Heck, people are cooking with rosé. Can you believe that? It's a sweet wine worth talking about.

All this talk about the drink prompted us to go on a quest to find the most exceptional ones this rosé season. With plenty of great options in the market, we chose to narrow down our list to these best rosé wines for your next hot date, guys' night, or solo Netflix binge. Still reluctant to try this magical wine? We listed seven reasons why you should start drinking rosé.
Best rosé wines

Read more
How to start your own home bar: the essential spirits
Home Bar

When you start getting into cocktails, drinking them is only half the fun -- making them is part of the appeal too. If you start making your own drinks at home, you'll soon find that you can often create better or more interesting drinks than what you're served in most bars. And even better, making drinks for other people is a great way to try out new combinations, learn about spirits, and make your friends and family happy too.

However, moving beyond the simple spirit plus mixer style of drinks which most people make at home and into the world of cocktails means that you'll need a wider array of spirits on hand than you might be used to. It can take some time and research to build up a well stocked bar, and choosing high quality spirits isn't a cheap endeavor. It's worth it, though, for the pleasure of being able to try out classic cocktail recipes and experiment with making up your own creations too.

Read more
You’re overlooking the most important ingredient in your cocktail
Steel Hibiscus cocktail.

When you list off the most important parts of making a good cocktail your mind likely goes immediately to good ingredients: quality spirits, freshly squeezed citrus juices, and well-matched mixers. You might also consider the importance of using the right tools, like getting a proper mixing glass so your stirred drinks can be properly incorporated, or a good strainer so that there aren't little shards of ice in your cocktails. And then there are the fun additions like elaborate garnishes, bitters, or home-made syrups which can add a personal touch to your drinks.
All of those things are important, absolutely. However I think there's one ingredient that can make or break a good cocktail, and it's something many drinkers don't ever stop to consider. It's the humble but vital ingredient of ice.

Why ice is so important
In mixed drinks like a gin and tonic or a screwdriver, ice is added to the drink primarily to chill it down to a pleasing temperature. That's a topic we'll come back to. But in cocktails which are shaken or stirred, ice is far more important than that. Cocktails are typically composed of between around 20 to 30 percent water, and this water comes from the ice used in the preparation process.
When you stir ingredients in a mixing glass or shake them in a shaker with ice, you are chipping away small pieces of the ice so that it dissolves and blends with your other ingredients. You might imagine that water doesn't make much of a difference to taste, being tasteless itself. But it's vital in opening up the flavors of other ingredients. That's why many whiskey drinkers like to add a dash of water to their whiskey when they drink it neat.
If you're ever in doubt of how important water is to cocktails, it's worth trying to make a drink with no ice. Even if you mix up the ideal ratios for a drink that you love and put it into the freezer so that it gets to the chilled temperature that you usually enjoy it at, if you sip it you'll find that your drink tastes harsh, unbalanced, and incomplete. Even for special room temperature cocktails like those designed to be drunk from a flask, you'll generally find water being added at a rate of around 30%.
When you make your cocktails you should be sure to stir for a long time – around 30 seconds is a good start – or to shake for a good while too – I typically do around 12 to 15 seconds – in order to melt enough ice to get plenty of water into your cocktail. Despite what you might imagine, this won't make the cocktail taste watery but will rather make the flavors stand out more as well as often improving the mouthfeel of the drink. A good rule of thumb is to mix or shake until the vessel is cold to the touch. That means your ingredients are sufficiently incorporated with the ice.

Read more