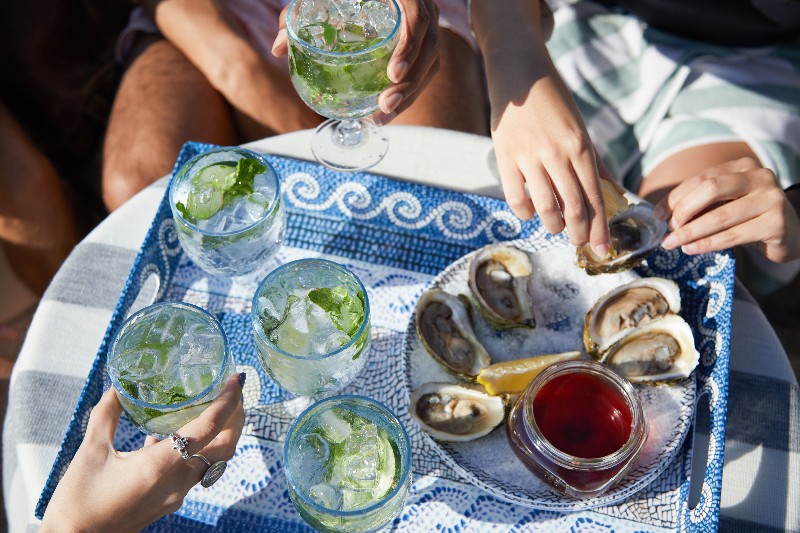
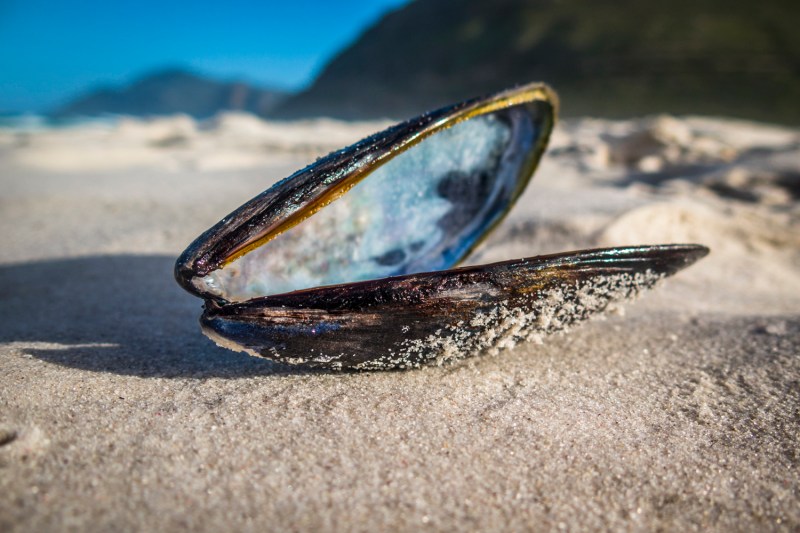
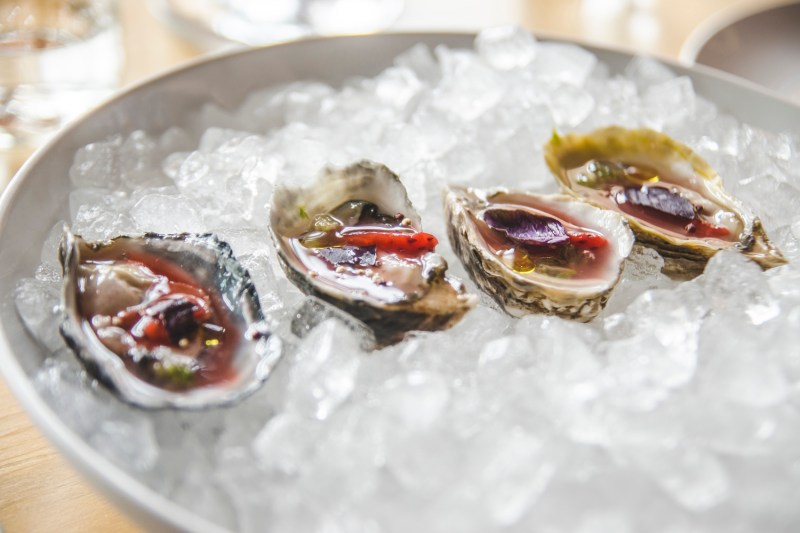
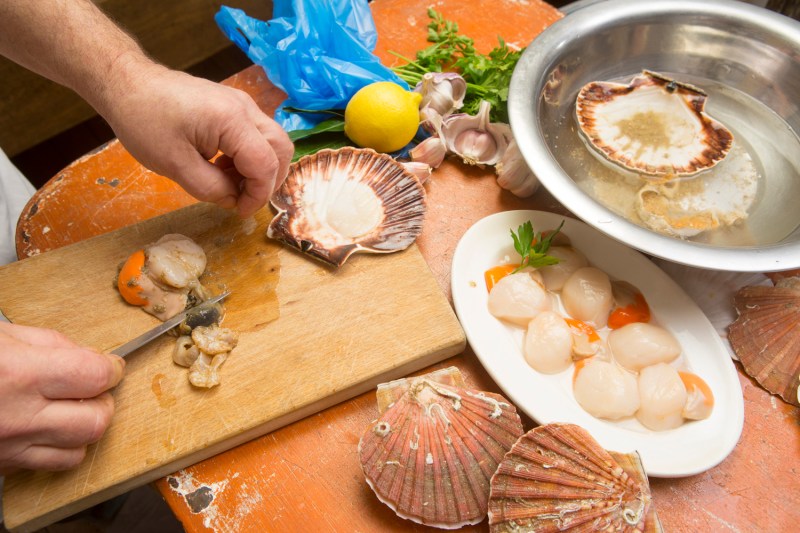
There’s no better appetizer on a warm summer day than a fresh oyster on the half shell and a cold beer. Or, throw a couple of dozen on the grill with some butter, lemon, garlic, and you have yourself a meal. No matter how you eat them — raw, steamed, grilled, baked, or stewed — bivalves are a healthy and sustainable seafood. Oysters are among the most popular of the mollusk family, but let’s not forget about scallops, mussels, and clams.
Not only are bivalves delicious, they are also among the most nutrient-dense foods you can eat. These dual-shelled delights pack a substantial portion of lean protein along with all three types of heart-healthy omega 3 fats while being low in unhealthy fats. They also deliver a potent dose of zinc, vitamin D, vitamin B12, manganese, selenium, copper, and other micronutrients. Many of these nutrients are well over the recommended daily serving. The energy and immune-boosting, and libido-driving nutrients (zinc) are why mollusks are said to be an aphrodisiac. It’s not because they may resemble parts of the human anatomy.
Related Guides
If you need more reason to start eating more bivalves, if you do, you’ll be saving the ocean—no, really. The Monterey Bay Aquarium’s Seafood Watch considers bivalves to be some of the most sustainable seafood available. For one, they’re filter feeders, which means they filter nutrients out of the water and make it cleaner. Because of this, bivalve farmers don’t need to provide extra feed, nor do they overfeed on native populations. Finally, they also form their shells from CO2, helping ocean waters stay cool.
Despite all their health benefits, some consider eating shellfish of this nature risky, especially in their raw form. It’s true when consuming raw seafood, especially in its raw form, there is added risk of exposure to bacteria that can make you ill. However, this is true with any seafood, not just bivalves, and that doesn’t stop people from consuming millions of pounds of sushi each year. The two main ways to remain confident that you will not get sick from eating bivalves are getting them from a reliable source and storing them properly.
Another way to learn how to enjoy and not fear our briney buds of the sea is to reach out to an expert like Patrick McMurray (aka Shucker Paddy), world champion oyster shucker, and sommelier. If there’s one guy who can give you the rundown on buying, cleaning, cooking, and serving shellfish, it’s him. McMurray also holds a Guinness World Record holder for most oysters shucked (39) in under 60 seconds.
What to Look for When Purchasing Bivalves
When Shucker is out purchasing bivalves, there are a few things he looks for. Shucker’s first, and perhaps most important tip, is to find a reputable fishmonger. They’ll know where the fish and shellfish are from and can get a great rotation of seasonal varieties. If there doesn’t happen to be a fishmonger in your area, grocery stores with a fresh-looking fish counter are good sources as well. When in doubt, you’ll be able to purchase from your local oyster bar as well (tell them Shucker sent you).
Buying Oysters, Mussels, and Clams
Check the Seal, Sound, and Weight of the Shell
When shopping for oysters, consistency in shell shape suggests an aquacultured product, which is great as they’ll be easier to open than wilds. Always look for tight shells. There should be no gaping, and shells should feel heavier than they look. Check the sound of the shells by tapping them together and if they sound solid, take them home. Sound hollow? Pass them by.
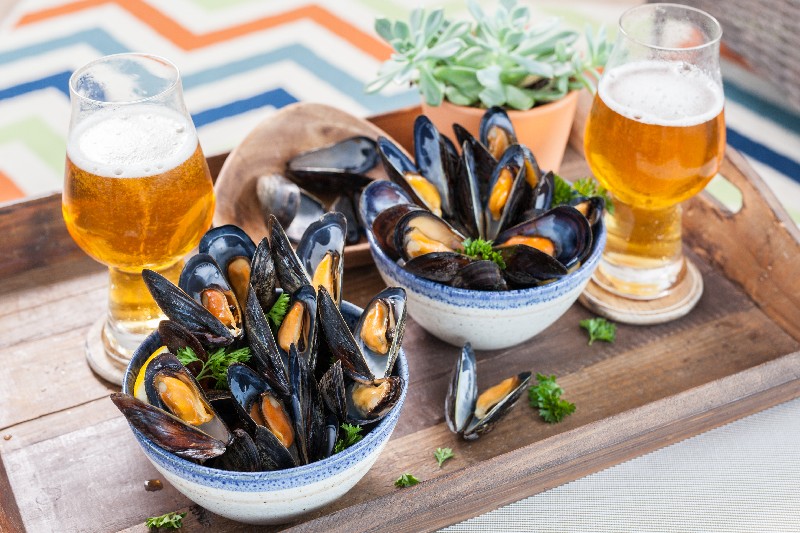
In mussels, you want to look for even shapes and tightly closed shells. If a shell is open a bit, tap it, and the shell should close. If it doesn’t close, send it to compost. Again, look for happy, clean ocean smells. The mussel beard should be intact. You’ll have to clean it (pull the beard); it’s easy and great for fresh flavors.
For quahogs (hard shell clams), I’m looking for clean, tight shells, no gapping or cracks in the shells. For steamer/softshell clams, I’m looking for fresh ocean scents, and when you pick up the clam, it will squirt water out! That’s why they’re called “pisser clams”—now that’s fresh!
Check the Color

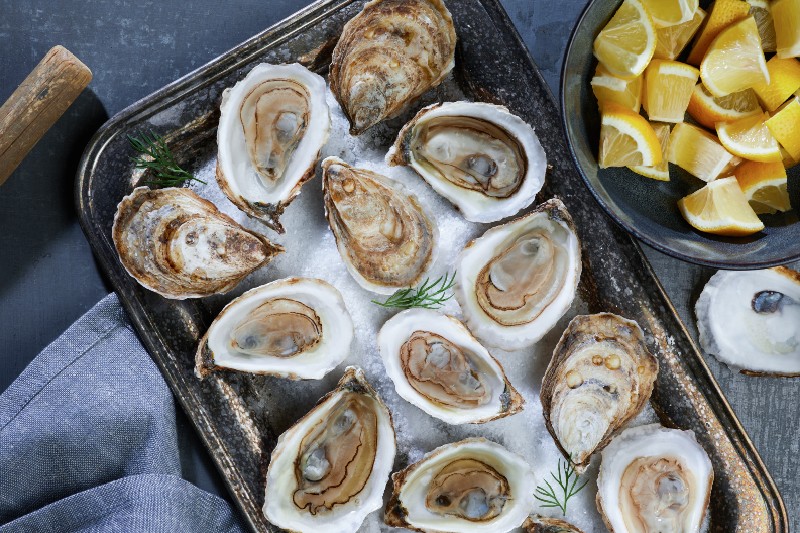
Checking the color is also important. In oysters, light greens and browns on the shell showcase the natural environment the oysters have come from.
Check the Smell
Learning to be able to identify a healthy-smelling bivalve is crucial. If in a box, or loose, grab a handful and inhale. They should have “happy smells” like the ocean breeze, sea greens, or freshwater. All those scents are great. “Unhappy smells,” like rotten eggs, gaseous, fermented leaves—no, thank you!
The Best Regions for Bivalves
Oysters, mussels, and clams can come from anywhere the ocean touches land globally. The flavor is based on species, then region, and the farming techniques used to finish the shellfish. Colder waters tend to showcase brighter, ocean-salty flavors.
Prince Edward Island has a wonderful balance of salt and sweet nutrient-rich waters to produce fantastic and memorable shellfish. Areas in the Pacific Northwest, Gulf Coast, and New England all are known for cultivating oysters and other bivalves. If you’re traveling abroad, France, Spain, and Japan are also known for their premium shellfish.
How to Store and Clean Bivalves
How to Store Bivalves Before Cooking
The best way to store shellfish is to keep them in a stainless steel bowl in the refrigerator and cover them with a wet paper towel or cloth. Do not keep them in water. If iced, use a colander to let the meltwater drip through.
How to Clean Bivalves Before Cooking
Most shellfish produced are “restaurant ready,” meaning already cleaned by the growers using seawater. At most, you may have to give them a quick rinse under cold running water. If you want to get your oysters and clams super cold before serving, place the shellfish into a bowl with 50/50 ice and water for 15 minutes before serving.
How to Know When a Bivalve is Safe to Eat
Most shellfish from reputable fishmongers, or grocery stores, have been harvested in clean and federally inspected waters and processing facilities. They will have fishing tags tied to each back or box, describing where and when they were harvested. You can get great shellfish all year long.
How to Cook and Serve Bivalves
Shucker Paddy’s Tips for Cooking Bivalves
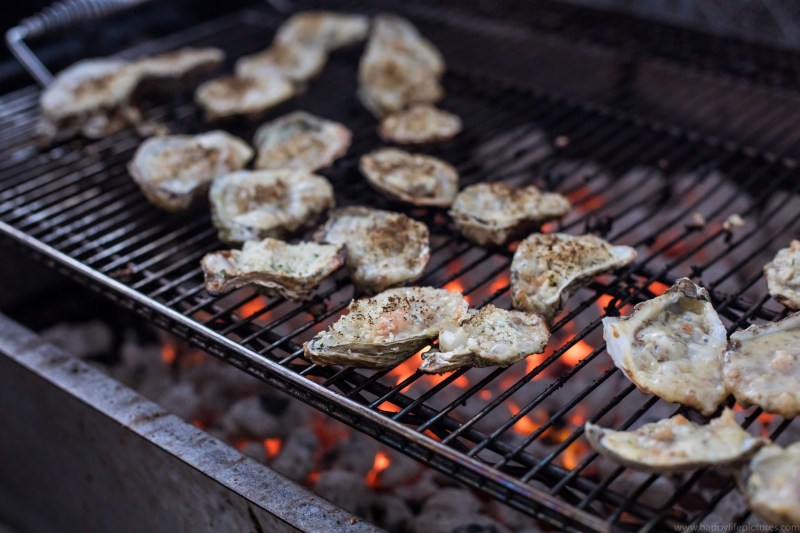
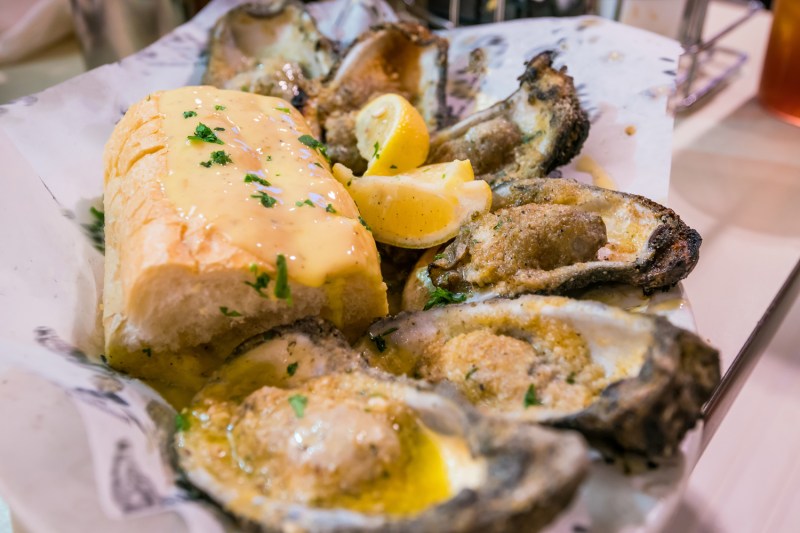
For oysters, the easiest way to cook is in the shell and on a charcoal grill. Char-grilled is another fabulous treat – butter, garlic, Parmesan Reggiano, and lots of fire! Mussels are commonly steamed with white wine garlic, shallots, butter, and dill.
For quahogs, you can keep it simple by steaming them with white wine and butter. If you want to get fancier, try them chopped and stuffed or in a classic NJ White clam pizza. With steamers, the best way is simply with butter and the seawater from the clam itself, which creates a salty-sweet broth. Be sure to bring the crusty bread!
How Shucker Eats His Bivalves
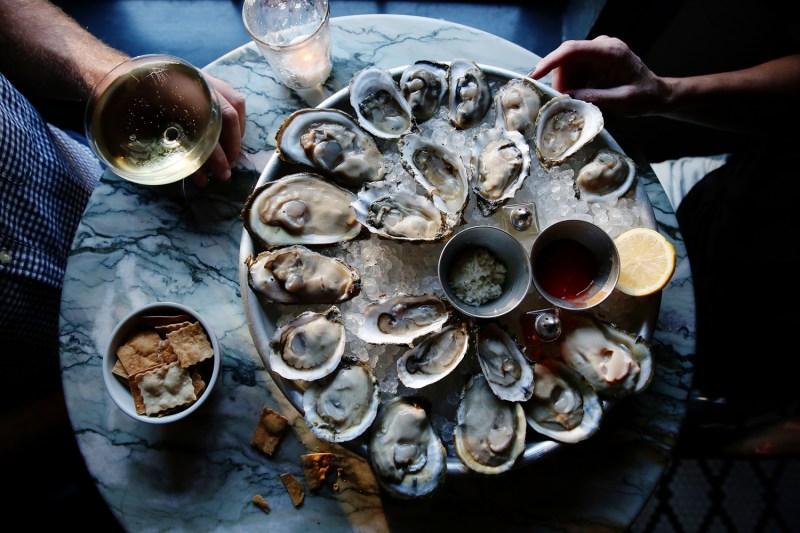
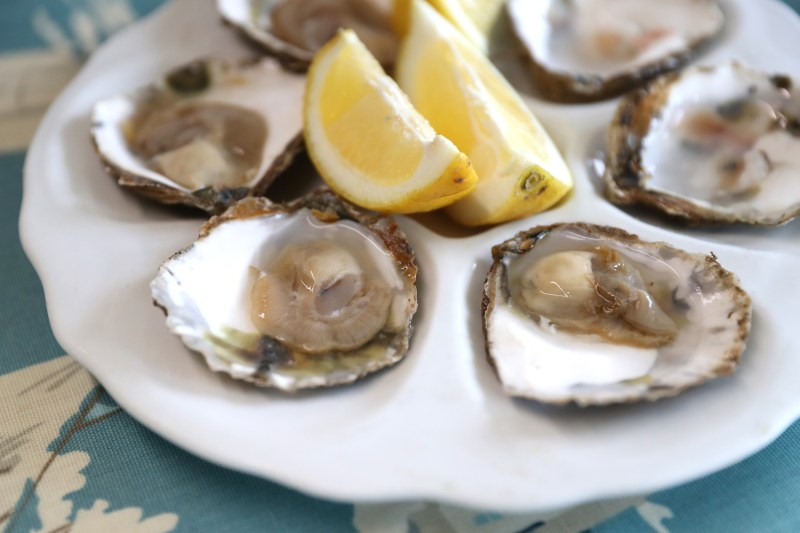
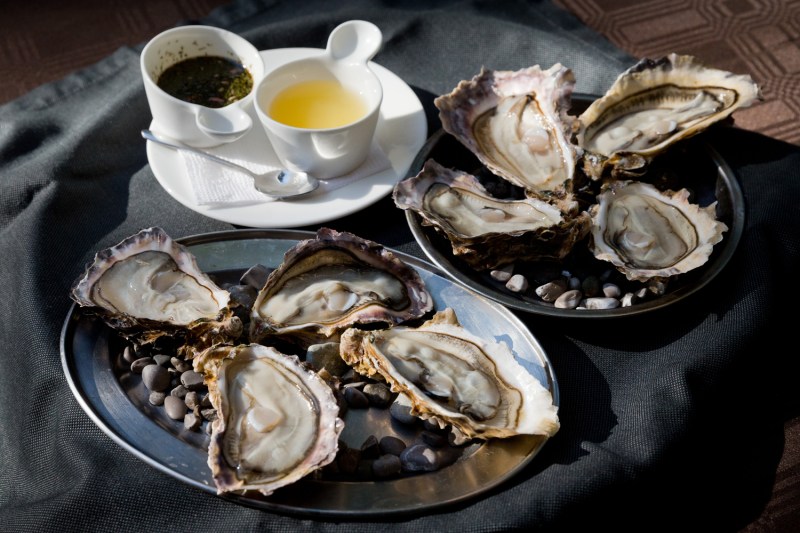
The proper way to eat anything is up to the individual. Some of Shucker’s favorite ways to eat bivalves are as follows. The most delicious oysters are oysters in their primal state, raw on the ½ shell, without any toppings to truly savor the merroir (the taste of the place where the oyster came from).
Tasting the freshly shucked, sip the oyster from the shell, 2-bite chew, and then aerate (like in tasting wine), bringing in air through the mouth to allow the palate to better understand the flavors. Shucker Paddy prefers quahaugs to be served on the ½ shell as well. When eating mussels and soft shell clams, Shucker likes them steamed, as mentioned above.
Some Great Ways to Top-Off an Oyster
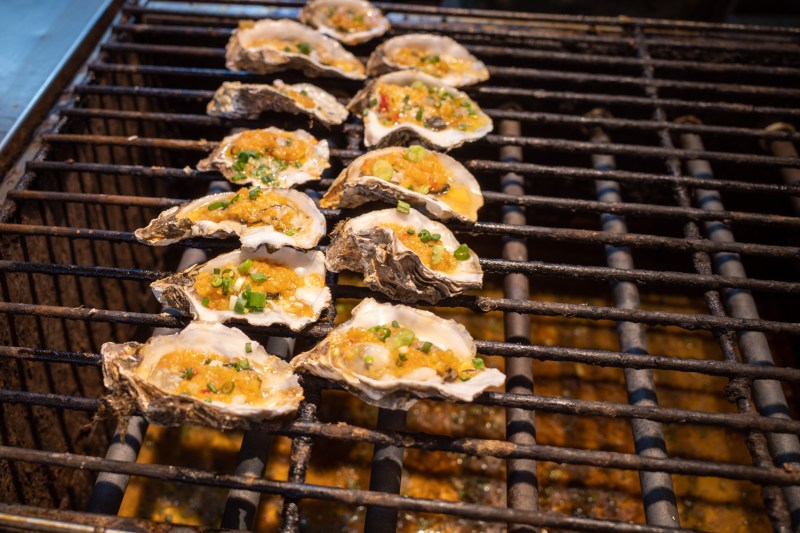
Lots of folks love to top oysters off with sauce. Mignonette is more of a French/European taste, a champagne vinaigrette with shallots and pepper. Some people prefer cocktail or tabasco sauce with a dry saltine cracker to balance the wetness of the oyster. At restaurants, you’ll find more contemporary toppings that go beyond sauce, such as caviar, flavored foams, and microgreens. It’s nice to experiment and try whatever the chef can come up with.
Shucker’s Delight Grilled & Chargrilled Oysters
(From Shucker Paddy McMurray)
Ingredients:
- 2 dozen (or your desired amount) fresh oysters
- 2-3 fresh lemons
Method:
- Heat the grill to medium-high heat.
- Place oysters on grill top side down and close the lid. Sip beverage, tell a story for 2 minutes.
- Flip oysters to cup-side (bottom) on the grill and close the lid. Sip beverage, tell a joke for 3 minutes.
- Once they open a wee bit, open the top enough to squeeze a lemon wedge into the oyster (use a grill glove or tongs, oysters will be very hot).
- Leave on the grill for another couple of minutes.
- Remove from grill, plate, and offer a knife to pry open the wee besties – beware, the shells are hot!
- Enjoy!
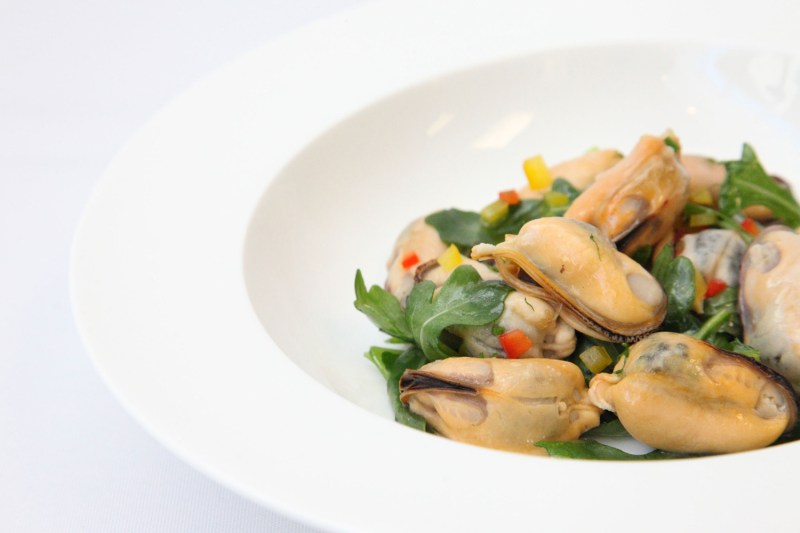
PEI Citrus Honey Mussel Salad
(From Prince Edward Island Seafood)
Ingredients:
- 2 lb fresh PEI Mussels
- 1⁄4 cup yellow peppers diced
- 1⁄4 cup red peppers, diced
- 1⁄4 cup red onions diced
- 1/2 cup arugula
- salt and pepper to taste
- 1/2 shallot, finely chopped
- 1⁄2 cup honey
- 1⁄2 cup freshly squeezed lemon juice
- 1⁄2 cup vegetable or canola oil
- 1 tbsp Dijon mustard
- 1 tbsp finely chopped Italian parsley (or chives)
- zest of half a lime
- juice of 1 lime
Method:
- Rinse fresh PEI mussels under tap water. Tap any mussels that are still open and discard any that do not close after tapping and rinsing. Set aside.
- Steam mussels in a covered pot for 5-7 minutes, or until the mussels open up. Discard any mussels that do not open.
- Combine shallots, honey, lemon juice, vegetable or canola oil, Dijon mustard, parsley, chives, and lime in a jar with a tightly fitting lid and shake well – or whisk in a bowl until emulsifies – for the citrus honey vinaigrette dressing. Set aside.
- Remove mussel meat from shells and set aside.
- Refrigerate the dressing for one hour prior to serving. The dressing will keep for 10 to 14 days in the refrigerator.
- When ready to serve, combine mussel meats, peppers, onion, arugula, salt and pepper, and dressing.
- Stir and serve.


