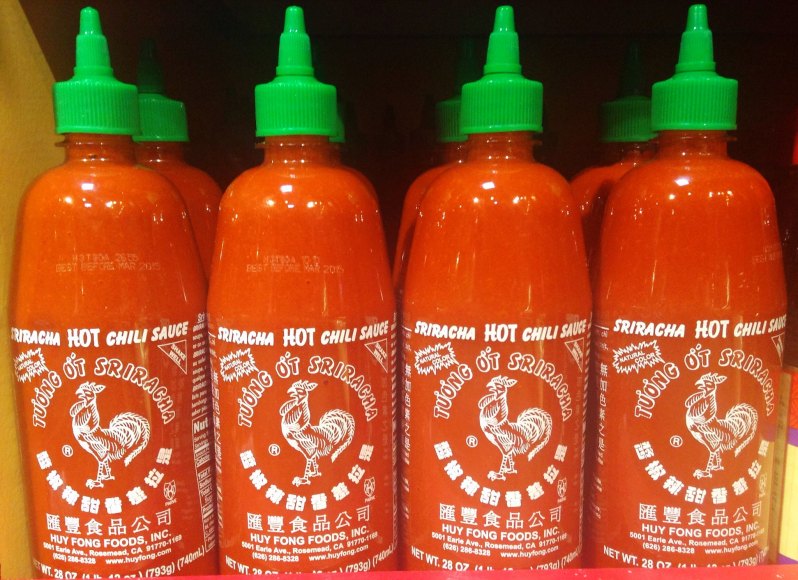
Most of us fell in love with sriracha ages ago, when it could still be found on almost every casual restaurant table, and grocery store shelves were bursting with the bottle’s signature green cap and rooster logo. Even more cruel a memory? At the time, one of those bottles would only set you back a couple of bucks. Remember those days? Sadly, times have changed, and just one 28-ounce bottle of Huy Fong Foods’ favorite condiment is running over $20 on sites like Amazon. And even those bottles are selling like crazy, hotter than their delicious contents. So if you don’t mind spending five times what you did just a few precious years ago on your beloved brand, you’d better do so fast.
In a sriracha shortage that has now gone on for three long years, it seems that the always-fun combination of legal battles and climate change is to blame. A dispute between Huy Fong Foods and its pepper supplier, Underwood Ranches, that started in 2017 is still causing problems that just don’t seem to be getting any better. Pair that drama with terrible drought and unpredictable weather conditions, and there doesn’t seem to be any reprieve in sight for Huy Fong Foods’ popular sriracha sauce.
Sullen and defeated, once hopeful fans are now turning to other alternatives for their fiery fixes, but according to popular opinion, few brands hold a candle to that cocky old rooster. Thankfully, we have a solution that is not only easy and affordable, but, we daresay, even better than anything you can (or can’t) find in a store.
So don’t lose hope. Simply grab yourself a few simple ingredients, your vacuum sealer (or mason jars), and a little faith. Your long-suffering sriracha craving is about to be satisfied.

Homemade sriracha recipe
Chances are, if you’re reading this article, we needn’t tell you what to do with sriracha. But, if you’re new to this deliciously sinful sauce, we envy your newness to its siren song. If you’re asking yourself, “What do I put sriracha on?” the answer is everything. Everything. Popcorn, salads, tacos, eggs, baked potatoes, corn on the cob, ice cream (yep, ice cream), Bloody Marias, soups, avocado toast. Everything. We said what we said.
Ingredients:
- 300 grams red pepper (Fresno or red jalapeno)
- 9 grams salt
One week later…
- 3 cloves garlic
- 1/4 cup sugar
- 1 tablespoon salt
- Splash of vinegar *See tips and tricks
- Small bit of xanthan gum *See tips and tricks
Method:
- Remove stems from chilies and roughly chop.
- In a large bowl, toss peppers and salt until mixed thoroughly.
- Vacuum seal the salted peppers for about one week or until the bag is so puffed it looks like it may burst.
- Remove peppers from the bag and blend with garlic, sugar, 1 tablespoon salt, vinegar, and xanthan gum (if using).
Homemade sriracha tips and tricks
- *Vinegars all come with their own distinct flavor profiles, just like anything else. For this recipe, we recommend either apple cider vinegar, which will give your sauce a deep, richer flavor, or distilled white vinegar for a cleaner, crisp brightness.
- *If you aren’t used to cooking or baking with xanthan gum, don’t let the weird name deter you. This naturally gluten-free ingredient is used to bind ingredients together, helping to prevent sauces and other things from breaking. It also acts as a thickening agent. So while it isn’t absolutely necessary in this recipe, you’ll want to use a bit to get the same texture as the bottled stuff.
- The ratio that should be used for xanthan gum is .5-1% of the total weight of the finished sauce.
- This recipe uses a fermentation process that is achieved by vacuum-sealing the peppers with salt and leaving them to ferment for roughly one week. This is arguably the easiest method and the best way to maintain flavor integrity, but if you don’t happen to have a vacuum sealer at home, you can brine your peppers instead.
- To brine the peppers, mix 1 quart of water and 3 tablespoons of salt per pound of peppers.
- Place peppers in glass jars and pour brine inside, covering the peppers completely. It is very important to ensure the peppers are totally submerged in the salt and water mixture.
- Tightly seal the jars with lids and set out for at least one week, regularly unscrewing the lid to let the accumulating gases escape. Ideally, jars should be kept in a temperature range of 55-75 degrees Fahrenheit.
Editors' Recommendations
- 33 easy and delicious recipes any man can make
- How to grill the steak of your dreams: An aspiring steak master’s guide
- Learn how to make perfect grill marks every time
- You’ve probably never grilled these foods … but you should
- Grilling safety tips (so the only things roasted are your meat and veggies)


