Out of brown sugar? Here’s how to make your own

Here's how to reverse-engineer brown sugar to create the ultimate version

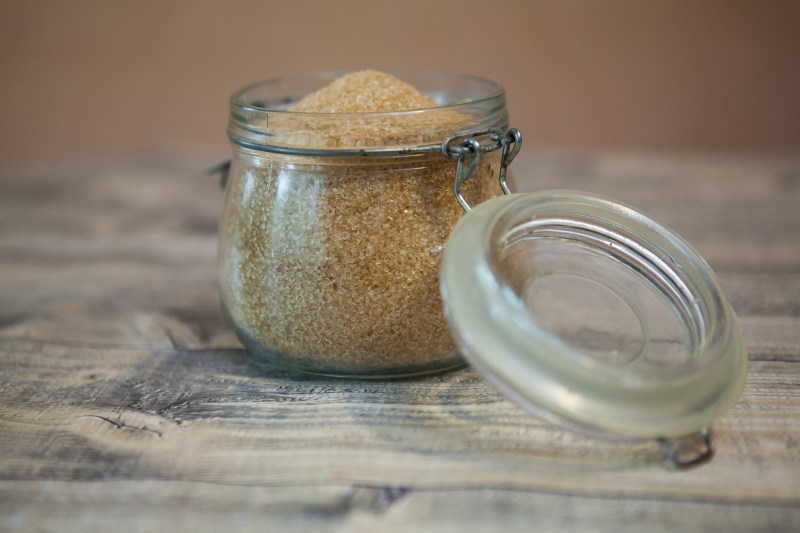
A jar of brown sugar.
Gabi Sandra/Pixabay

In all its forms, sugar plays a fundamental role in baking, but none more prominent than as brown sugar. Brown sugar often stands out with its distinctly warm caramel notes, perfect for your favorite cookies. But what if you’re out of it? While it’s readily available in stores, you can easily make your own brown sugar at home using a combination of white sugar and molasses.

Read on as we reverse-engineer this amazing ingredient to create the ultimate brown sugar at home. Here’s what you should do.

How to make brown sugar

Gather the ingredients

To make brown sugar, you’ll need two primary ingredients: White granulated sugar and molasses. White sugar is refined and devoid of molasses, which is responsible for the distinct color and taste of brown sugar. Molasses, a thick syrup obtained from sugar cane or sugar beet processing, is the key to achieving the desired result. By adding the molasses back into the white sugar, you can create the ultimate brown sugar.

Determine the ratio

The ratio of white sugar to molasses will determine the darkness and flavor intensity of your brown sugar, so it’s highly customizable.

  • For light brown sugar, mix 1 cup of white sugar with 1 tablespoon of molasses.
  • If you prefer a darker brown sugar, increase the molasses to 2 tablespoons per cup of white sugar.
  • Adjust the ratio according to your taste preference.

Combine the ingredients

  • Place the white sugar in a mixing bowl.
  • Slowly pour the molasses over the sugar. Using a fork or a whisk, blend the sugar and molasses together until well combined.
  • Keep mixing until the molasses is evenly distributed throughout the sugar, resulting in a uniform texture and color.

Adjust consistency

The moisture content of molasses can vary, affecting the texture of your homemade brown sugar. If the mixture seems too dry or clumpy, add a teaspoon of water and continue blending until the desired consistency is achieved. If the mixture appears too moist, sprinkle a small amount of additional sugar and mix well.

Store and use

Transfer the freshly made brown sugar to an airtight container to prevent it from hardening. Label the container with the date of preparation. Homemade brown sugar can be stored at room temperature for several months.

By following these simple steps, you can create your own brown sugar at home using white sugar and molasses. This convenient method allows you to customize the darkness and flavor of your brown sugar to suit your preferences.

Whether you’re whipping up a batch of cookies, glazing a ham, or sweetening your morning coffee, homemade brown sugar adds a delightful touch to your culinary creations — and now you know how to make your own if you ever run out!

Editors' Recommendations

Sarah Joseph
Contributor
Sarah is a lover of all things outdoors. With a bright sense of adventure and a heart for the mountains, she is always…
How to craft a heavenly vodka martini: Shaken or stirred
We know James Bond likes his vodka martini shaken, not stirred, how do you like yours?
Vodka martini with olives in a martini glass


The martini is an iconic cocktail, with millions being poured since its inception. Former British Prime Minister Winston Churchill was known to down martinis, as did legendary author Ernest Hemingway and the greatest spy of all time, James Bond, who famously liked his vodka martini shaken, not stirred. As you can see from Bond's specifications, there is more than one way to make a martini and crafting a martini the "proper" way is a subject of debate. Does a martini have to employ gin or vodka? Will the Martini Police pop up out of nowhere if you use vodka instead of gin?

Read more
This is how to sharpen a serrated knife the right way
This fearsome blade needs a little extra love
Knife blades closeup

In every good set of kitchen knives, there is one particular blade that most people both love and hate. We love it for its ability to flawlessly slice through foods like crusty baguettes and plump, ripened tomatoes. Its jagged edge gives us smooth cuts through otherwise tricky-to-slice ingredients, all while appearing rather fierce in the process. But this knife can be desperately infuriating in its trickiness to sharpen. This is the serrated knife - a fiercely toothy blade with a saw-like edge.

Serrated knives come in all sizes for a variety of kitchen tasks. Their toothy edge is perfect for many culinary uses, allowing for crisp, clean cuts without tearing or squashing the ingredient's often tender interior.

Read more
How to start your own home bar: the tools and mixers
the best home bar glassware version 1612854960 for your 2021

So you're building up your home bar. You've got the essential spirits in. You've added a selection of liqueurs and bitters to combine them with. Now, it's time to add the finishing touches. From mixers to tools to glasswear, we're rounding up everything else you'll need to turn a corner of your kitchen into a great home bar.
Speaking of the kitchen – this is, in my experience, the absolute best place for a home bar. While I love a good bar cart for a living room (or even an office, if you have that kind of job!) these are really more decorative than a practical place to mix drinks. The problem with using bar carts for serious cocktail making is twofold: One, the surfaces are usually too low, at below hip height, so you'll be bending over uncomfortably while you try to make your drinks. That's not chic, and it's hard on your back too. Instead you want something that's counter level, hence opting for the kitchen. The second issue is access to ice and a sink. Mixing serious cocktails requires a large amount of ice and frequent washing of glasses and tools. Sure, you can get an attractive ice bucket for your bar cart, and that certainly makes a fun decorative accessory. But you'll still be running back and forth to the kitchen to use the sink all the time anyway.
If you love the style of a bar cart, I certainly wouldn't want to stop you having one. They are great fun, and stylish to boot. I have a bar cart myself in my living room, which I love and use for very simple mixed drinks like negronis (though even then, you still have to go and fetch ice every time you want a drink). It's a great place for occasional special bottles, particularly beautiful glasswear, cocktail books, and other decorative accessories.
But for serious cocktail making, you want an area of clear counter space, near to a sink and to a freezer full of ice, and with easy access to all your bottles and tools. I find a small kitchen island perfect for this purpose, tucked into a corner of the kitchen near the appliances. Store bottles and equipment on the lower shelves of the island or on wall-mounted shelves to save space, and make sure you have a lamp or decent overhead lighting so you can see what you're doing while you mix. You'll want a small chopping board as well for slicing citrus and other fruit, and a small, sharp knife that you can borrow from your kitchen equipment.
Then it's time to turn your attention to home bar tools.

Essential home bar tools

Read more