
The Manual may earn a commission when you buy through links on our site.

How to ferment your own pickles (it’s not gross, we promise)

Pickling and fermenting are processes as old as time that have recently regained popularity. It seems like there are new pickle recipes and methods for at-home pickles popping up everywhere, and it can be tough to sift through them all. Fermented pickles may sound gross to you, but they are precisely the opposite. If you like kimchi or kombucha, you’ll love fermented pickles. If you’re new to the fermented foods game and want pickles, they are a great way to get into fermented foods. Pickle fermenting at home is easy — the process is simple, and perfecting the recipe is a matter of trial and error for your specific tastes. Learn how to ferment your own pickles at home below.

Image used with permission by copyright holder

The difference between pickling and fermenting

Fermenting and pickling are both ancient food preservation techniques that are often confused because the categories overlap each other a bit. That is, some fermented foods are pickles, and some pickled foods are fermented. By definition, a pickle is a food that has been preserved in a brine (salt or salty water) or an acid like lemon juice or vinegar.

Fermented food is preserved and transformed by benign bacteria, which usually means that the natural sugars and carbohydrates in the food have been eaten by the good bacteria present in the food. The bacteria then turn the sugar into acids, carbon dioxide, and alcohol, preserving the food and adding to its flavor. So when you eat something like kimchi, you also consume the good bacteria that has preserved the cabbage.

The overlap

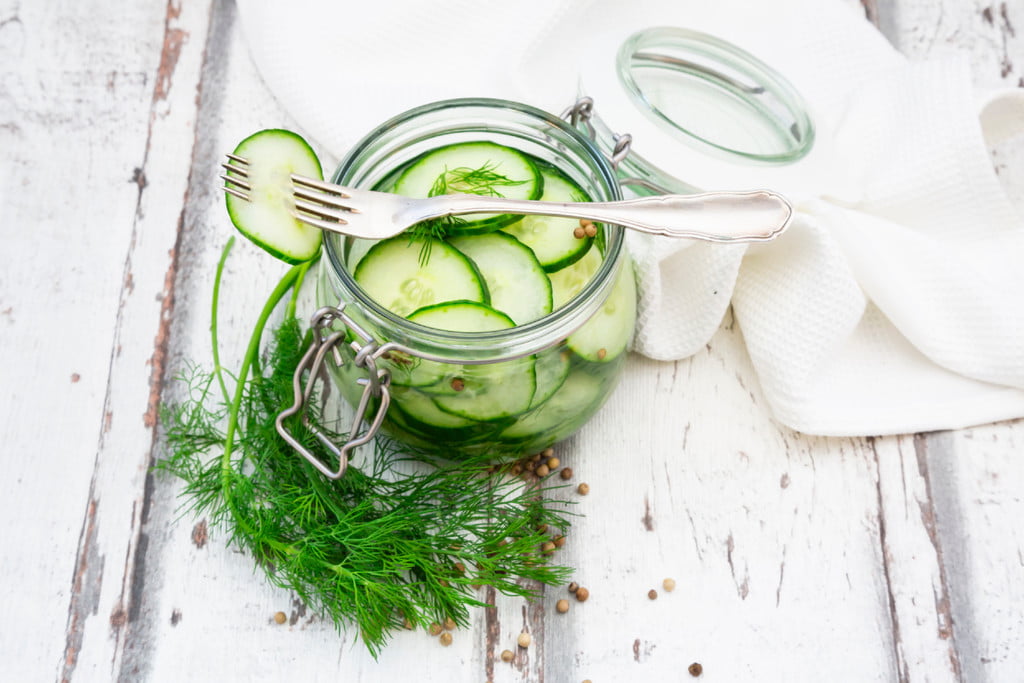
Pickles have been preserved with brines, as we’ve established. Many fermented foods also start with brine, so they are also pickles — fermented pickles. Sauerkraut is an example of a fermented pickle since it’s made by packing cabbage with salt and letting it ferment. Traditionally, dill pickles are fermented cucumbers in salty water. On the other hand, beer and yogurt are fermented, but you would never put them in the same category as a pickle.

Image used with permission by copyright holder

How to ferment your own pickles

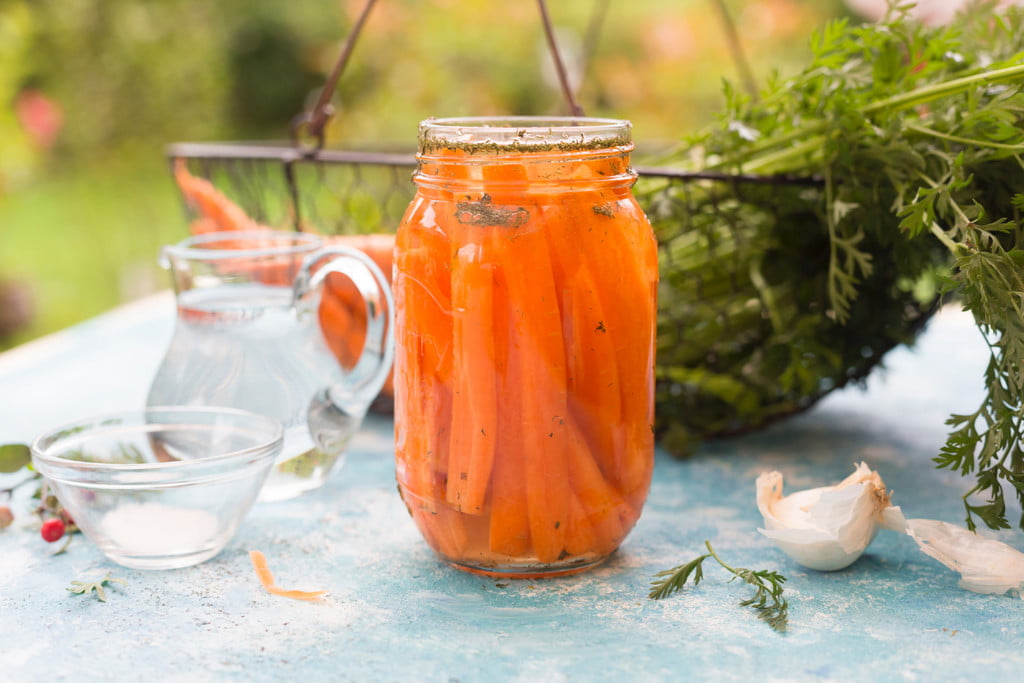
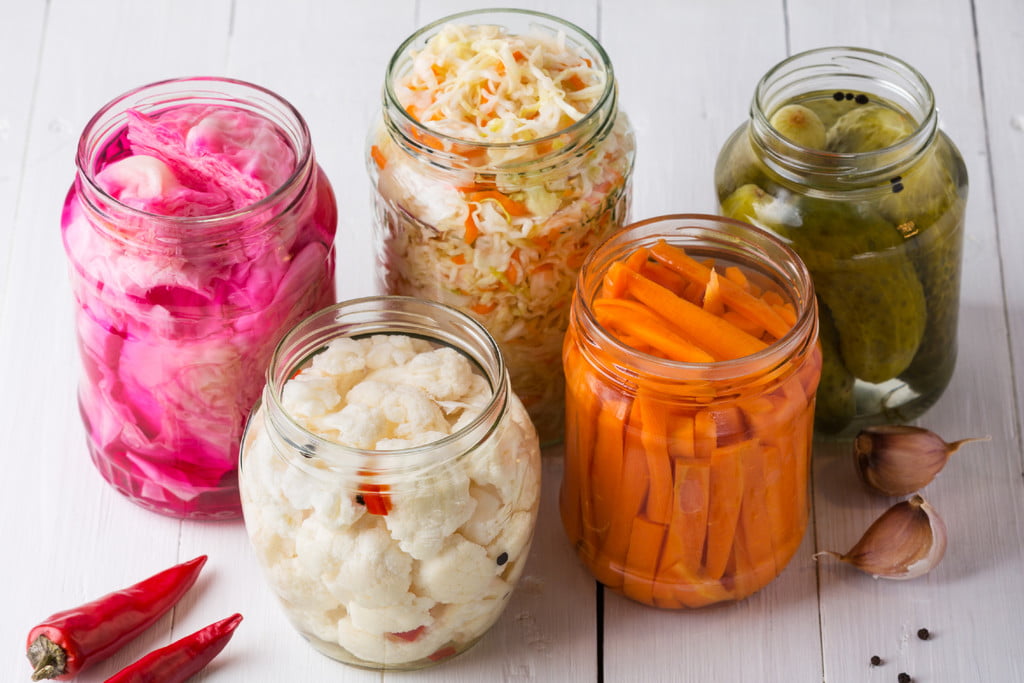
Now that you know the differences and similarities between fermented foods and pickles, why not learn to ferment your own pickles at home? You can use almost any vegetables you have on hand to ferment pickles, even though most people think of cucumbers when they hear the word “pickle.” In fact, pickling is a fantastic way to preserve all of the vegetables your garden produces. There are two popular methods of fermenting pickles — read more about each below. 

Sous vide

To cook sous vide, you need an immersion circulator, which is a tool that sounds way fancier than it really is. It sets the water temperature you immerse it into, and, in turn, any food in the water gets cooked to that same exact internal temperature. So, to pickle something sous vide, you would complete all of your usual canning steps, submerge your jars into the water, and sous vide them until they reach the desired internal temperature (140 degrees Fahrenheit). The cooking process takes about two and a half hours if you are using quart-sized jars. If you are using smaller or larger jars, you will have to adjust the sous vide time accordingly, which may take a bit of experimenting.

Buy Now

Lacto-fermentation

Lacto-fermentation is the process that produces traditional dill pickles and works because harmful bacteria cannot tolerate salt. And pickles are made with lots of salt or brine, as mentioned previously. There is no canning, no submerging, no heating, etc., involved in lacto-fermentation, which means that it is not used for long-term preservation. Most fermented foods are edible for two months or more, and their flavors develop and become more acidic over time. So, to prepare fermented pickles, you proceed as you usually would with the steps for canning until you get to the point where you would start to cook your jars. Once the lids are on, store the jars in a cool and dry place for up to two months.

Image used with permission by copyright holder

The choice is yours

Now that you know the difference between pickling with the sous vide (or canning) method and lacto-fermentation, the decision is yours. We think that the sous vide method yields crisper pickles, so texturally, they’re way better, but it depends on what you like and what you are preserving. Don’t worry; you don’t have to choose one method. Try them both out and see which produces the foods you like best.

Editors' Recommendations

Kelly Kaliszewski
Former Digital Trends Contributor
Kelly's work has appeared in blogs and on websites. When she's not writing, she is playing with her two dogs, cooking, or…
How to make hard apple cider from the comfort of your home
Hard apple cider in a glass, surrounded by apples.

As much as we like to talk about beer and how to brew it yourself, hard cider is equally delicious and a whole lot less complicated to make at home, requiring far less equipment. Indeed, making hard cider is a really a simple equation: Apple Juice + yeast + time = hard cider. Naturally, there's a bit more to it than this, and a few potential pitfalls you'll want to know about before you get started. Read on as we explain the ins and outs of how to make hard cider.
Hard cider is easy to DIY

From a broad perspective, learning how to make hard cider and then actually making it is quite straightforward. Yes, there might be tons of canned ciders for convenience, but nothing beats the taste of your own craft. You get yourself some fresh apple juice (either by mashing the apples yourself or buying pre-squeezed juice), add some yeast (Champagne yeast is a great choice), and then wait a few weeks for everything to ferment. Who knows? Maybe you'd be able to make your own cider cocktail next time. While there are some additional steps to making a great hard cider (which we'll get into below), this is the basic idea behind hard cider.
What you'll need to make hard cider

Read more
Flying with alcohol: How to pack beer and wine in your luggage
Can you fly with alcohol? Learn how with this packing guide
Packing a suitcase.

If you're a craft beer aficionado or ardent wine lover, chances are that, at some point, you'll find yourself in a predicament when packing for a flight. You've gone a little overboard at the breweries and wineries and couldn't resist splurging on several of those delicious bottles. Don't worry; we've all been there. From a souvenir perspective, locally produced beer and wine make for refreshing mementos from any journey, as well as great gifts to bring back from your travels. Here's the big question though. Can you bring alcohol on a plane?

The short answer is yes. Like with anything else in life, there are rules and it's important to know them before you head to the airport including how much and what you can bring. It's also essential to know how to pack the alcohol for the flight. There’s nothing worse than a bottle of red wine breaking in your suitcase and staining everything or a broken beer bottle making your luggage smell like yeast right before a long-haul flight. With a few smart packing decisions, your beer or wine will be safely waiting for you at the baggage carousel, wherever your final destination may be.

Read more
You can make a quick hollandaise in your microwave in under 2 minutes – here’s how
It's time to stop cursing at broken sauces
Eggs Benedict on plate

During my very first break from culinary school, I went home to visit my parents. As one does, I'd decided to show off with all of my fancy new culinary know-how and spent the weekend preparing a royal spread of pastries, breads, desserts, and every meal I could dream up...or had at least had jotted down in one of my notebooks. But on the third or fourth morning, exhausted from croissants and brioche, I decided to make for my my parents eggs benedict, complete with the most silky and buttery of all the sauces - hollandaise. Hollandaise sauce is truly something straight from the gods. Traditionally made from egg yolk and butter, emulsified slowly over low heat and accentuated with a lemony kiss, this velvety sauce is what brunchtime dreams are made of. Traditionally served over a number of dishes, it just doesn't get any more delicious than a classic hollandaise.

Unfortunately, however, this delicious sauce can also be one of the most finicky to make. That morning with my parents, hopeful and full of joy and optimism after spending a few nights in my childhood bedroom, I set to work making a perfect eggs benedict with hollandaise for my sweet parents. I did everything right. The eggs were tempered, the bain marie was perfect, the eggs were poached to perfection. And then, out of nowhere and with no warning, along with my sweet young heart, my hollandaise broke. In a fury of embarrassment, I poured the entire batch down the drain and started again. And again. If memory serves, it was the fourth batch that finally worked, though I'd done absolutely nothing different than in the first three batches. Needless to say, it was a frustrating (and expensive) morning.

Read more