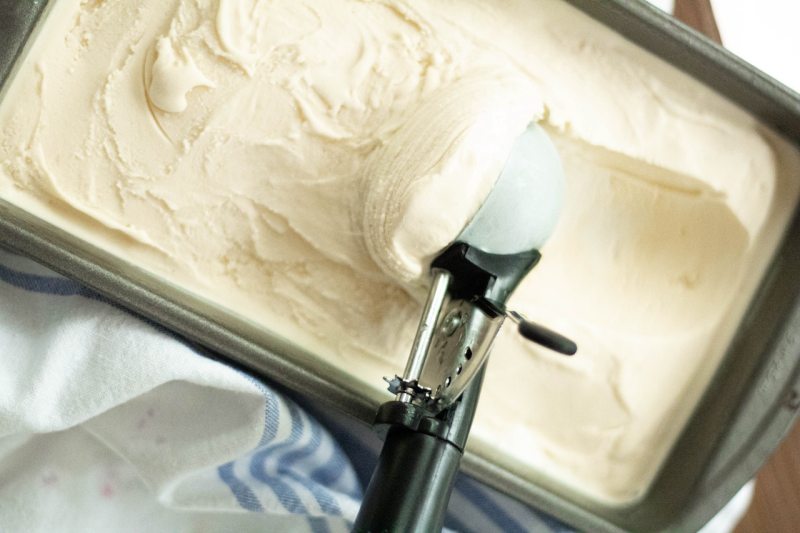
The weather is finally warming up and that can only mean one thing: ice cream. Whether you’ve been churning up your own homemade batches for years, or you’re new to the homemade ice cream game, now is the perfect time to get started making absolutely divine, restaurant-quality ice cream in the comfort of your home. Simply create the base, churn it in an ice cream maker, add any extra flavorings, freeze, and let the ice cream harden before digging in.
Making your own ice cream
The most basic ingredients you’ll need for making ice cream at home include whole milk, a sweetener of some kind, heavy cream, sea salt, and vanilla extract. You can get as adventurous as you want from there, but the core ingredients are super simple.
We like to use the KitchenAid Ice cream attachment anytime we make homemade ice cream. If you already own a stand mixer like a KitchenAid, the ice cream attachment is a no-brainer. This way, you won’t have to spend a ton of money on a completely new device. Just make sure to freeze the bowl of your KitchenAid attachment for about 24 hours beforehand. Here are seven KitchenAid ice cream recipes you should make this summer.

1. Matcha green tea ice cream
These days you can walk into pretty much any coffee shop and find a matcha latte on the menu. The bright green caffeinated tea is said to give you a calmer buzz compared to coffee but without that extra jitteriness. Turn your matcha latte cravings into a creamy dessert this summer with this matcha green tea ice cream recipe.
Ingredients:
- 2 1/4 cups whole milk
- 3/4 cup heavy whipping cream
- 4 tablespoons matcha green tea powder
- 3/4 cup sugar
- 1/8 teaspoon kosher salt
Method:
- Combine the milk and heavy cream in a medium saucepan on medium-low heat.
- Add the sugar and salt and whisk together.
- Once the sugar dissolves, remove it from the heat and add 3 tablespoons of the milk mixture to a bowl of matcha. Mix until the liquid is absorbed. Repeat until the mixture forms a thick paste.
- Using a whisk, combine well. Add the matcha mixture back into the milk and whisk to combine.
- Fill a large bowl with ice.
- Position a smaller bowl in the middle of the bowl of ice. With a fine-mesh strainer placed over the smaller vessel, pour out the matcha mixture and strain it until you have a smooth base.
- On a low speed, pour the ice cream base into the chilled bowl of the KitchenAid mixer and let it run for about 20 to 30 minutes.
- Once the ice cream looks firm, you can either eat it as soft-serve ice cream or scoop it into another container and pop it in the freezer for 2 to 4 hours.
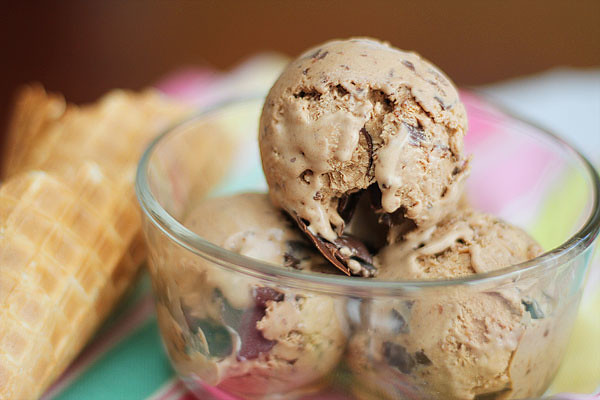
2. Coffee ice cream
Who doesn’t love coffee ice cream? The next time you brew a little too much coffee in the morning, save it and make a batch of this rich coffee ice cream. You could even add a scoop of this ice cream to your next batch of hot coffee for a morning affogato.
Ingredients:
- 1 cup heavy cream
- 1/2 cup milk
- 1/3 cup granulated sugar
- 1 teaspoon vanilla extract
- 1/2 cup chilled, strong brewed coffee
- 1/8 teaspoon kosher salt
Method:
- In a medium bowl, mix the cream and sugar until the sugar dissolves and the cream starts to look frothy.
- Add the milk, chilled coffee, and vanilla. Whisk until fully combined.
- Cover the bowl with plastic wrap and place in the refrigerator for 1 hour.
- On a low speed, pour the ice cream base into the chilled bowl of the mixer and let it run for about 20 to 30 minutes.
- Once the ice cream looks firm, you can either eat it as soft-serve ice cream or scoop it into another container and put it in the freezer for 2 to 4 hours.
3. Mango coconut ice cream
If you love a mango lassi, you’re going to love this mango coconut ice cream recipe. It’s the perfect balance of creamy, fruity, and refreshing.
Ingredients:
- 1 1/4 mango purée
- 1/3 cup maple syrup
- 1 1/4 cups full-fat coconut milk
- 2 tablespoons freshly squeezed lime juice
- 1 3/4 cups half-and-half
Method:
- Blend the mango and maple syrup in a blender until it’s smooth.
- Add the lime juice and process again.
- In a large bowl, combine the coconut milk and half-and-half.
- Fold the mango puree into the milk mixture. Taste until you’ve reached your desired sweetness.
- On a low speed, pour the ice cream base into the chilled bowl of the mixer and let it run for about 20 to 30 minutes.
- Once the ice cream looks firm, you enjoy it as soft-serve-style ice cream or scoop it into another container and pop it in the freezer for 2 to 4 hours.
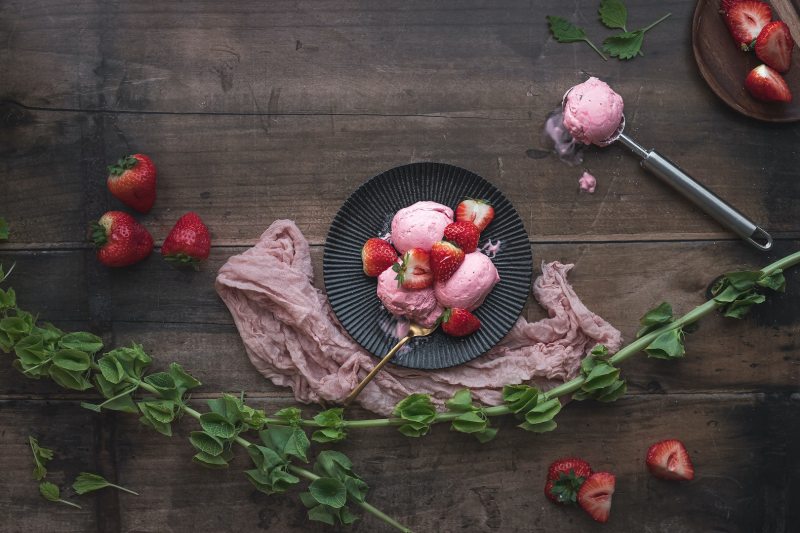
4. Strawberry ice cream
Don’t sleep on those juicy strawberries at the farmers market. Do yourself a favor and make a batch of this fresh strawberry ice cream while they’re in season. You won’t regret it.
Ingredients:
- 4 cups chopped strawberries
- 1 1/4 cups sugar
- 4 egg yolks
- 1 cup whole milk
- 1 cup heavy cream
- 1/4 cup coconut oil
- 1 teaspoon vanilla extract
- 1/8 teaspoon kosher salt
Method:
- In a medium saucepan, place the strawberries and 3/4 cup sugar on high heat until it boils.
- Reduce heat and simmer for 5 minutes. Let it cool.
- Purée half of the strawberries until smooth and combine them with the remaining strawberries. Place in the refrigerator to cool.
- Whisk 1/2 cup sugar with egg yolks.
- Heat the coconut oil and milk until warm, making sure not to let the mixture bubble. Add vanilla and sea salt.
- Whisk 1/3 cup of the hot milk into the egg mixture and then add this mixture back into the hot pot of milk.
- Over medium heat, let the mixture thicken to form a custard.
- Strain custard into a bowl. Add cream and strawberries.
- Refrigerate for 4 hours.
- On a low speed, pour the ice cream base into the chilled bowl of the mixer and let it run for about 20 to 30 minutes.
- Once the ice cream is firm, eat it soft or put it into another container and pop it in the freezer for 2 to 4 hours.
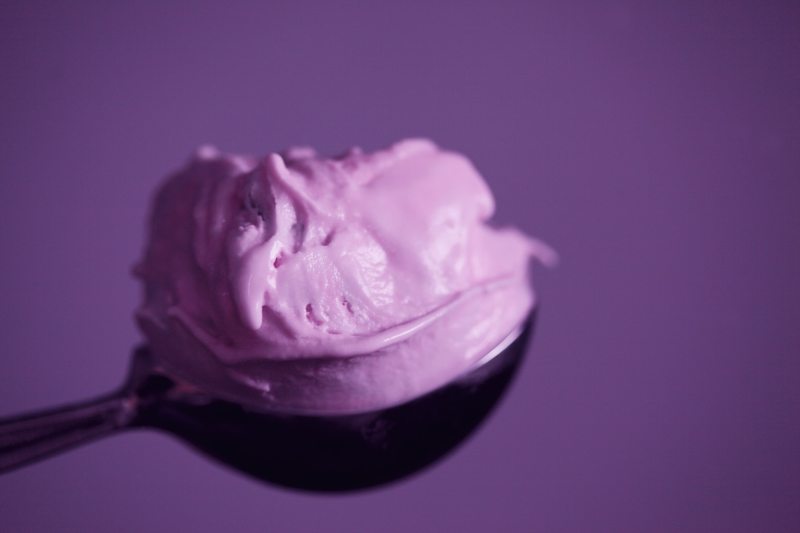
5. Ube ice cream
While ube, or purple yam, has roots in the Philippines, you can find ube desserts on all kinds of restaurant menus these days. With a nutty, vanilla-like flavor, ube makes a bright and beautiful addition to your favorite vanilla ice cream recipe.
Ingredients:
- 2 10-ounce cans of condensed milk
- 10-ounce ube jam
- 8 teaspoons ube extract
- 2 teaspoons vanilla
- 4 cups heavy cream, whipped to stiff peaks
- 1/8 teaspoon kosher salt
- 1 tablespoon maple syrup
Method:
- In a large bowl, mix together the condensed milk, ube jam, ube extract, maple syrup, and vanilla. Fold in a scoop of whipped cream.
- Combine ube mixture with the remaining whipped cream.
- On a low speed, pour the ice cream base into the chilled bowl of the mixer and let it run for about 20 to 30 minutes.
- Once the ice cream looks firm, enjoy soft or place it into another container and pop it in the freezer for 2 to 4 hours.

6. Lemon poppy seed ice cream
If you’re a sucker for lemon poppy seed muffins, this ice cream is for you. It’s tangy and sweet in all of the right ways. This might just become your new go-to ice cream this summer.
Ingredients:
- 1 1/2 cups heavy cream
- 1 1/2 cups whole milk
- 1/2 cup sugar, 1/4 and 1/4
- 1/3 cup lemon juice
- 1/4 cup honey
- 2 tablespoons lemon zest
- 1/8 teaspoon salt
- 6 egg yolks
- 2 1/2 teaspoons poppy seeds
- 1 teaspoon vanilla extract
Method:
- Combine the milk, cream, 1/4 cup sugar, honey, zest, lemon juice, and salt in a saucepan over medium-high heat. Cook for 6 minutes, stirring every minute until the mixture starts to steam.
- In a separate bowl, whisk together the egg yolk and 1/4 cup sugar until smooth.
- Whisk 1 cup of heated milk into the egg yolks to temper and then add the yolk mixture back into the pan with milk. Cook for about 5 minutes or until the custard mixture thickens enough to coat the back of a spoon.
- Remove the pan from the heat. Stir in poppy seeds and vanilla.
- Pour custard into a large bowl, cover with plastic wrap, and cool for 4 hours.
- On a low speed, pour the ice cream base into the chilled bowl of the mixer and let it run for about 20 to 30 minutes.
- Once the ice cream looks firm, either eat it as soft-serve ice cream or scoop it into another container and pop it in the freezer for 2 to 4 hours.
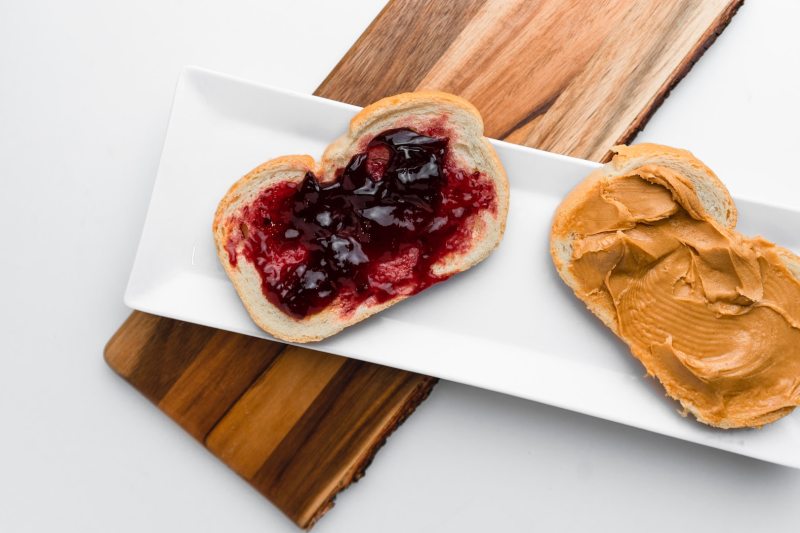
7. PB&J swirl ice cream
Turn your favorite sandwich into a brilliant ice cream flavor with this easy PB&J ice cream recipe. Level up your PB&J game with a wild strawberry jam instead of traditional jelly. You can’t go wrong with this classic.
Ingredients:
- 1 1/2 cups whole milk
- 2/3 cup brown sugar
- 1/2 teaspoon kosher salt
- 1 large egg, lightly beaten
- 2/3 cup creamy peanut butter
- 2 cups heavy cream
- 2 1/2 teaspoons vanilla extract
- 1/2 cup strawberry jam
Method:
- In a large saucepan, heat the milk, salt, and brown sugar until the milk starts to steam.
- Mix 3 tablespoons of the hot milk into the egg mixture and then return it back to the milk pan, whisking until custard forms and the mixture is thick enough to coat the back of a spoon.
- Remove from heat and whisk in peanut butter. Pour the mixture into a bowl and place the bowl into an ice bath for a couple of minutes.
- Stir in the vanilla and cream. Refrigerate for 2 to 4 hours.
- On a low speed, pour the ice cream base into the chilled bowl of the mixer and let it run for about 20 to 30 minutes, layering in the strawberry jam in the process.
- Once the ice cream looks firm, eat it as soft or scoop it into another container and pop it in the freezer for 2 to 4 hours.
Once you start making your own ice cream, you’ll never go back to the store-bought kind. The best part about making ice cream at home is having fun with your toppings. You can play around with in-season ingredients and test out your concoctions on your friends and family in the process.
If you’re lactose intolerant, you can always play around with dairy-free and plant-based milks to see which one will give you the creamiest consistency. If you don’t have any kind of ice cream machine, now is the time to invest and develop a new hobby in the process. Thank us later.
Editors' Recommendations
- How to make an Old Fashioned cocktail the right way
- These are the 7 classic tequila cocktail recipes you need to know
- 9 delicious drink recipes for Cinco de Mayo (that aren’t all margaritas)
- The 8 best hot dog topping alternatives you need to try
- The 5 best vegetarian and vegan dishes to try right now