When I’m in a beautiful setting — like The Chin of Mount Mansfield — I’ll get out my iPhone and begin snapping photos. Some places are too striking to ignore, and I’ll want to capture the moment to share on social media or reflect on later. Over time, it’s fun to build up a library and look back on those places.
Though iPhones are technological marvels, capable of taking vivid pics, there are ways to take your photography even further. Whether adjusting phone settings or capturing pics at specific times, you can turn your travel photos into amazing images. Here’s how.
A memorable photo brings a special satisfaction

During your travels, you’ve probably snapped a memorable shot now and then. That might’ve been the result of careful planning or happened while randomly viewing the surroundings. Either way, it’s fun to create these works of art, share them with friends, and store them for later.
For me, it was capturing the total solar eclipse on the summit of Mount Mansfield, the highest point in Vermont. As the moon covered the sun, a shadow enveloped the surroundings, highlighting the peach horizon, and Lake Champlain shimmering in the distance. I felt like I was on another planet.
5 tips for optimal iPhone photography
The following tips are simple, effective ways to optimize iPhone photography. Each gives your snaps that extra edge, taking them from good to great, enhancing your social media posts, and preserving the moment.
Take pictures during the Golden Hour

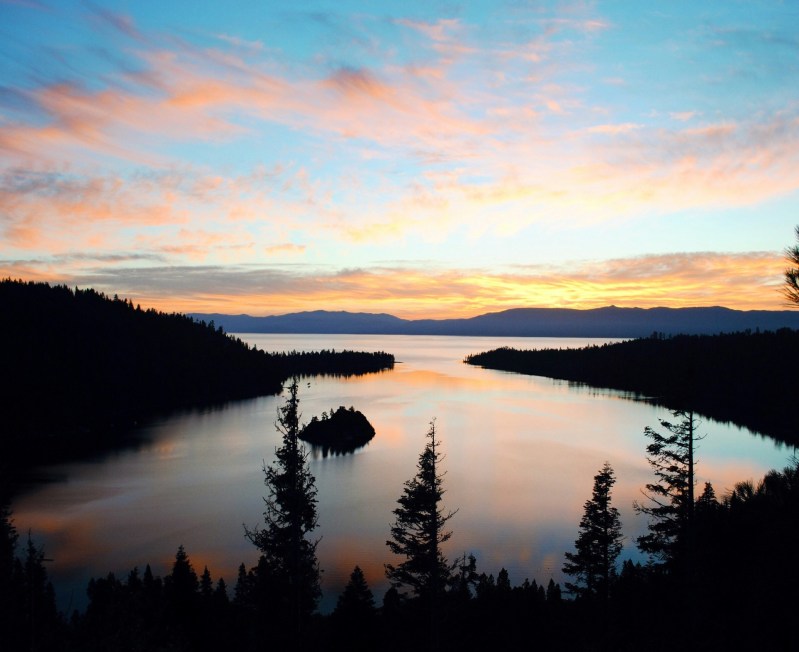
The Golden Hour — the first hour after sunrise and the last hour before sunset — creates ideal lighting for photos that glow. That’s because, during these times, the sun’s at a lower point in the sky, producing indirect light that enhances warmth, creates shadows, and optimizes exposures.
Not only that, but with light changing minute by minute, every photo is different. Over an hour, you can play photographic artist, picking from a palette of lights and hues, for a library of shots.
Use Smart HDR for the perfect exposure

The right exposure — the amount of light that reaches the camera’s sensor — is key to producing vivid, clear photos. But when you’re hiking a mountain or exploring a city, you probably don’t want to fiddle with settings like shutter speed, ISO, or aperture. Your iPhone’s HDR (high dynamic range) feature does the work for you.
In HDR mode, your iPhone takes several pictures at varying exposures and then blends them into a single image, for an ideal exposure. Though you can manually turn on HDR, you can also configure it to automatically kick in. Just go to Settings > Camera, then switch on Smart HDR.
Turn your phone upside-down for low-angle pics

Certain settings invite low-angle photos. Maybe you’re by a lake as the sun rises, and the still water shimmers just right. You could be in a bustling city and want to capture the street surface as cars and people fly by. But doing that with an iPhone presents a challenge, with the camera lenses positioned at the top.
An easy solution is flipping the phone, so the lenses skim the surface, letting you take low-angle shots with ease. With the phone mere inches above, you’ll take pictures that capture interesting perspectives and memorable moments.
Use Live Photos to create long exposure shots

Long exposure shots slow down the shutter speed to blur moving objects, while stationary subjects remain clear. Picture a heron floating under a waterfall, or a spectator watching race cars fly by. The technique adds life and energy to otherwise pedestrian shots.
On your iPhone — instead of fiddling with exposure settings — you can use the Live Photos features to create the same effect. After taking a photo in Live mode, then open it in the Photos app. At the top, open the drop-down menu, or swipe up to show “Effects”, then select “Long Exposure”.
Utilize grid lines for better composition

Just as important as a photo’s lighting and exposure are its composition. That refers to the positioning of elements within the frame, which helps create a shot’s unique feel. One type of composition uses the “rule of thirds”, which divides the frame into thirds, vertically and horizontally, and positions the central subject at the intersection of the grid lines.
Using that rule, the subject occupies about one-third of the picture, and the surroundings the other two-thirds, generally accepted to create a good-looking snap. To do that on your iPhone, click on Settings > Camera, then select Grid under Composition.
Now you can create next-level memories

Sure, your iPhone can take good photos without any special techniques or settings. But that’s not what you’re after. When you visit Maui, Hawaii, or Lake Tahoe, you want pictures that capture the moment’s every detail. Not only that, but you want the mood to shine through. These techniques can help you achieve that and more, and better yet, don’t cost a thing. So pick a spot during the Golden Hour, dial in those settings, and create some memories.


