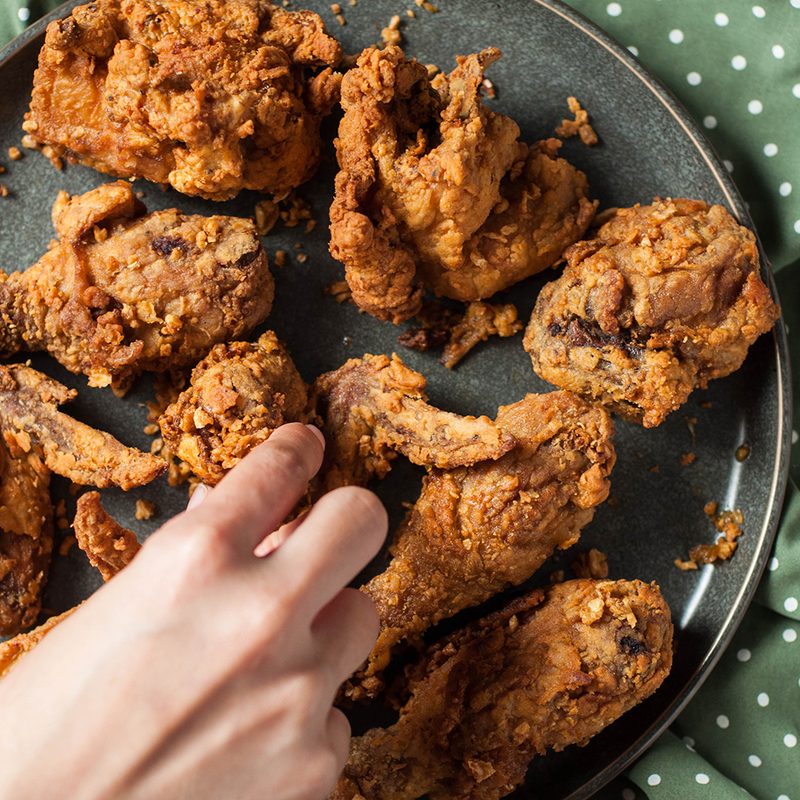
The best thing about fried chicken is that it’s great hot out of the frying pan or served cold. It travels well, too, which is something to think about when going on summer road trips or beach getaways. But for most people, buttermilk fried chicken is the ultimate comfort food. It’s cooked perfectly to a golden brown. It’s crispy on the outside and juicy inside. Plus, you’ll get to hear that unmistakable crunch as you take your first bite.
Why buttermilk, though? Buttermilk is thick and contains lactic acid, which helps tenderize the meat. Buttermilk sticks to every nook and cranny of chicken, and when you dredge it in flour, the flour sticks better, too. With our home chef-approved recipe, you’ll be able to cook up the crunchiest and juiciest Southern-style buttermilk fried chicken in the whole galaxy.
Brining the Chicken
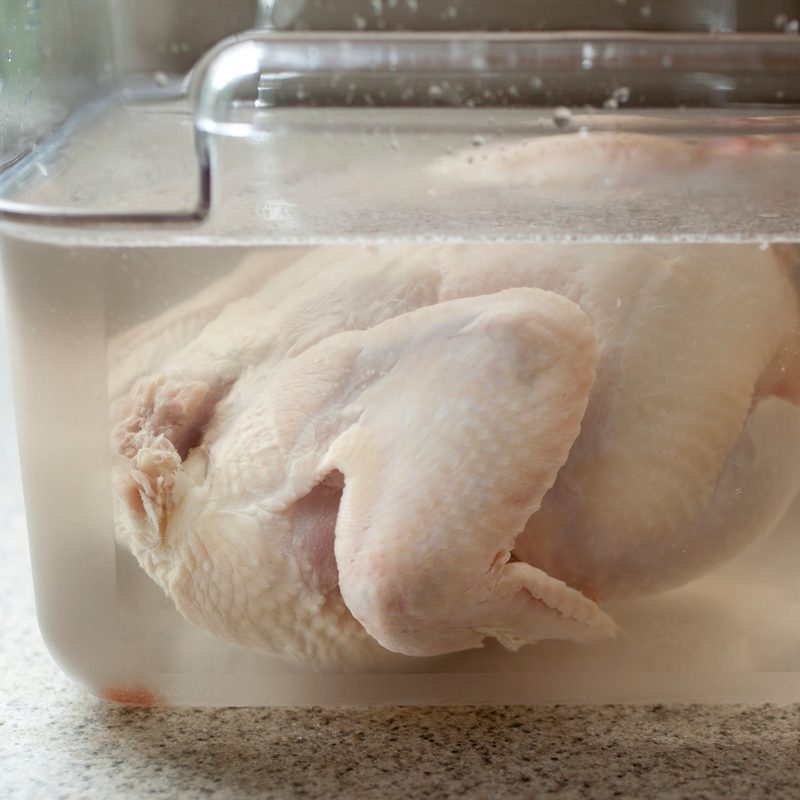
For a juicy fried chicken, you want to brine your chicken ahead of time. Overnight is best, but brine it for at least six hours. The brining solution is a mixture of water, salt, and sugar. Without getting all sciency, the salt will allow the water to trap in the protein of the chicken. The sugar adds flavor and helps in the cooking process.
A basic brine is 10 cups of water with 2 tablespoons of kosher salt and 2 tablespoons of brown sugar. You can substitute table salt for kosher, and you can use just about any sugar if you don’t have brown sugar. The brown sugar will give your meat a deeper flavor and sweetness that you can’t get from plain sugar. This brine works with all meats and poultry, and you can customize the flavors depending on the protein you are working with.
Once you have the basic brine down, you can add different ingredients for enhanced flavors. For example, add fresh garlic, rosemary, sliced onion, and lemon for a classic roasted chicken flavor. This brings us to another point: You can use the brine for meats that you are grilling, roasting, or baking, and you can also use it if you’re cooking with an air fryer.
It’s important to note that dark meat takes longer to cook than white meat does. You can use either boneless, skinless chicken or you can use skin-on chicken. You will just need to be careful that skinless chicken doesn’t get overcooked and dried out since there is no layer of fat (skin) protecting it. If you need to add more brine, you can do it using the following increments: 1 cup water, 1 tablespoon salt, and 1 tablespoon sugar.
Southern-Style Buttermilk Fried Chicken Recipe
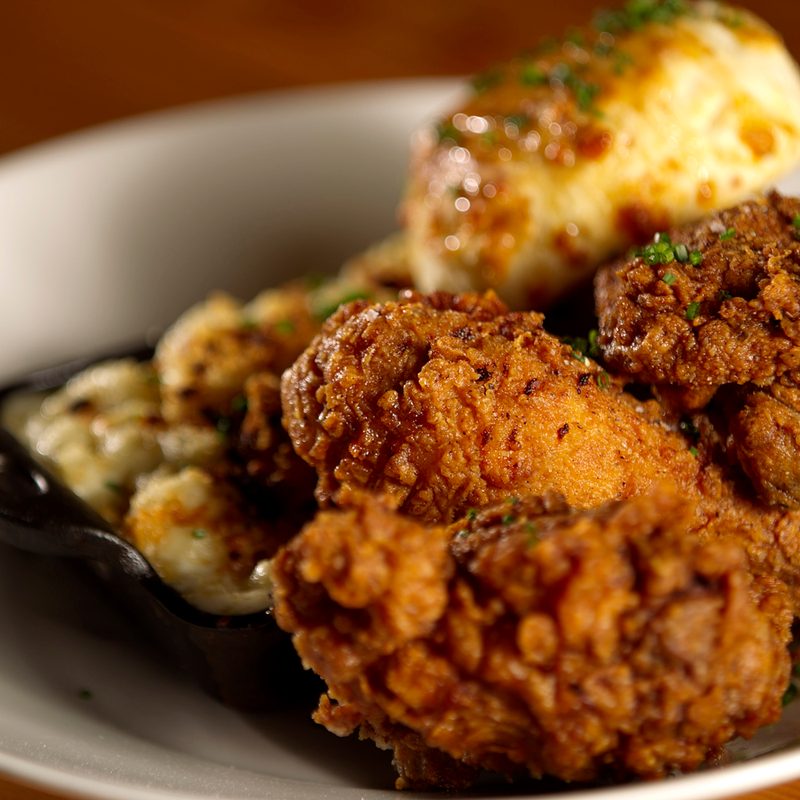
This is going to be some of the best chicken you have ever had, and you will never eat chicken any other way again. It takes a bit of preparation, but it is well worth the effort. You can eat it plain or dunk it in BBQ sauce or ranch.
Ingredients:
- 1 to 2 pounds chicken, skin on or boneless
- 5 cups of water
- 2 tablespoons Kosher salt
- 2 tablespoons brown sugar
- 1 small onion, thinly sliced
- 3 garlic cloves, peeled and smashed
- 2 sprigs of rosemary
- 5 cups all-purpose flour
- 2 tablespoons ground pepper
- 2 tablespoons Kosher salt
- 2 tablespoons paprika
- 2 cups buttermilk
- Vegetable oil for pan-frying
Method:
Brine
- Place the water, salt, sugar, onion, garlic, and rosemary in a saucepan. Bring to a simmer until sugar and salt are dissolved. Place in refrigerator to cool before adding chicken.
- Place chicken in a leak-proof container and add brine. Make sure the chicken is completely submerged. Cover with plastic wrap and refrigerate overnight or for at least six hours before cooking.
- Prior to cooking, remove chicken from the brine and rinse off the chicken. Dry with paper towels. Cover and set aside to come to room temperature.
Southern-Style Buttermilk Fried Chicken
- Preheat oil in your pan to 350 degrees Fahrenheit. Line a sheet pan with parchment paper.
- For the dredge, combine the flour, pepper, salt, and paprika in a bowl.
- Place the buttermilk in another bowl.
- Dredge the chicken in the flour, then the buttermilk, and then the flour again. Make sure each piece is thoroughly coated in each layer and there is no exposed meat or skin. Once the pieces are breaded, place them on the sheet pan.
- Carefully place three or four chicken pieces into the hot oil, being careful not to overcrowd the pan. Cook for six minutes and flip. Cook another six minutes or until chicken is golden brown or reaches an internal temperature of 165 degrees.
- Discard parchment paper and line sheet pan or a plate with paper towels.
- When the chicken is cooked thoroughly, place them on the paper towels to soak up excess cooking oil.
- Allow chicken to rest 5 to 10 minutes before serving. This will allow the chicken to reabsorb the flavorful juices.
- Serve and enjoy.