Why pay for something you can do yourself? Most of the time, unclogging a garbage disposal is something you can do yourself. And the best part is you don’t have to be incredibly handy to do it. So, save a little money and go the DIY route.
Take the time to learn how to unclog a garbage disposal drain. You only need 30 minutes to learn this new skill, and the knowledge will be useful forever! Knowing the cause is essential to preventing frequent clogs — you don’t want to be unclogging your disposal more often than you absolutely need to.
Why is my garbage disposal not draining?
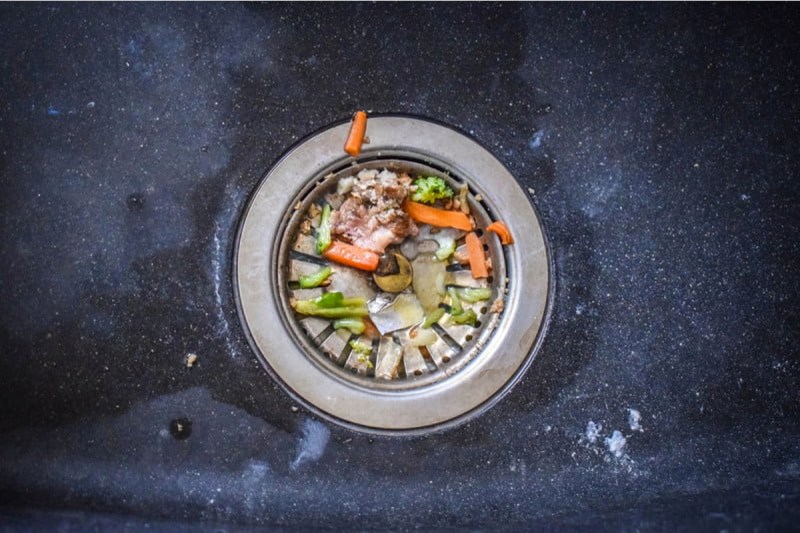
A garbage disposal clog could happen for one of several reasons — but in general, it occurs when objects bind the impeller blades or clog the drains of the appliance. When this happens, the disposal drain is more likely to back up, leading to water leaks under your sink and foul smells in your home. Here are possible reasons for clogs:
- Lack of flushing water: Not using enough water when disposing of food waste will slowly lead to buildup. Over time, this buildup will prevent the flow of water, clogging your disposal drain.
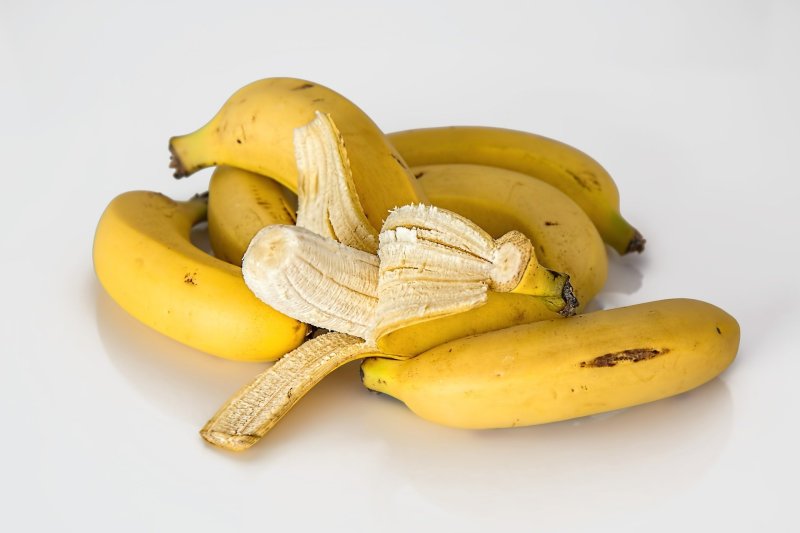
- Grinding certain items: There are certain items, such as coffee grounds, eggshells, potato peels, and banana peels that are great at causing clogs. Food peels, in particular, form a thick paste that easily stops your drain.
- Foreign objects: Dropping foreign objects, such as silverware, into your drain can result in a clog. Before grinding up your waste, ensure it doesn’t contain anything that isn’t food.
- FOG: Disposing of liquid fat, oil, and grease in the disposal drain causes clogs, too. While they may seem innocuous, they quickly solidify, turning into a tough, waxy substance that inhibits waste flow.
You also need to know that your garbage disposal should never be used for inorganic waste such as tin foil, paper, plastic, etc. These should go into your trash can — adding them to your disposal will quickly jam it up, resulting in a clog.
Tools you need
Before you begin, gather all these tools and items, and then you’re ready to follow each step and unclog your garbage disposal.

- White vinegar
- Catch bucket
- Baking soda
- Pliers
- Pipe wrench
- Clamps
- Allen wrench
- Plunger
- Drain snake or drain auger
Step 1: Shut off the power switch and unplug the disposal
Safety is essential, so never work on a disposal while it’s still connected to power. For most systems, the switch is usually under the cabinet, on a wall nearby, or near the disposal. If you can’t locate it, turn off the breaker on the main power panel.
Avoid placing your hand in the disposal, even when you have turned the power off. Your switch can be defective, unexpectedly turning the disposal on.
Step 2: Check the garbage disposal
You’ll then need to inspect your disposal — a flashlight can be quite handy here. If there’s a clog, it might be possible to see a blockage in the disposal. If there’s anything obvious that you can see, use tongs or pliers to grab it and dispose of it.
In some cases, if you turn on your disposal, you might hear the motor turn on and hum, even if it’s not rotating the macerators — this means it’s probably jammed.
Step 3: Use a natural cleaner
If the clog is because of food waste buildup, create a natural cleaning solution using a 1/2 cup of vinegar and a 1/4 cup of baking soda. Mix the solution well and pour it into your drain. Leave it for about 10 to 20 minutes, and then pour hot water into the drain.
For most food waste and FOG clogs, using a natural cleaner is an effective way to unclog your drain. If it fails, try the other options below.
Step 4: Plunge the drain
If the natural cleaner fails to work, then you’ll need to use a plunger, which is one of the most effective ways to unclog sinks and drains. Before you plunge the drain, it’s advisable to clamp off the dishwasher connection hose if you have one. This helps prevent dirty and foul drain water from flowing back into the dishwasher itself.
Once you have taken care of the dishwasher line, place the plunger directly over the drain — make sure it’s covering the entire thing. Add water to your sink and ensure it’s covering the lip of the plunger. Then plunge the drain until the water flows. If it flows, it means you have unclogged the disposal — pour hot water down the drain to remove any residues.
Step 5: Manually turn the disposal’s blades
In some cases, the disposal can be bound up. You’ll need to manually rotate the blades and pick out any debris. We can’t stress this enough — make sure that the power to the disposal is turned completely off before putting your hand into it.
You can either reach your hand (or a tool like a wooden spoon) down into the drain or check under the disposal to locate the operator for turning the impeller blades. In some cases, you’ll need to use an Allen wrench to turn the blades. As you turn the blades, you’ll either break down the clog or at least rotate it so that you can grab it manually.
Step 6: Clean the P-trap
The garbage disposal unit is usually attached to a pipe known as the P-trap or S-trap — it looks like a P or an S shape. In some cases, plunging fails to resolve the issue because of a buildup of debris in the P-trap. In this case, the best way to remove the debris is to remove the trap and clean the pipes as best as you can.
Place a catch bucket under the drain trap, use pliers to loosen the slip-nut fittings on the trap, then remove it. Allow the standing water and food waste to flow into the bucket.
Check the trap and clean it if there’s debris in it. If it’s clear, check the trap arm — this is the horizontal pipe that connects the P-trap to the branch drain pipe. Clean the trap arm as needed. If you can’t fully disassemble the drain pipe(s), use a piece of coat hanger or something similar to manually dislodge any blockages.
Using a drain snake or drain auger to unclog the drain pipes is also a possibility here. Depending on the amount of space in your home, it might be worth it to buy a small, manually operated drain snake to keep on hand for tough clogs. It’s a multi-use tool — use it for any drain in your house.
Tips on how to avoid a clogged garbage disposal
Here are some additional tips to help prevent garbage disposal clogs in the future.
Grind with cold water: Always run cold water while using the garbage disposal and for a few seconds afterward. The cold water helps solidify grease and keep it from sticking to the blades.
Grind in small batches: Don’t overload the garbage disposal. Grind food scraps in small batches to avoid jamming the blades.
Regular cleaning: Once a month, grind up a handful of ice cubes with some lemon or orange peels to help sharpen the blades and freshen the disposal. Note that eggshells don’t actually help sharpen the blades; they help clog the garbage disposal instead.
Closing thoughts
Be sure not to use chemicals to unclog your garbage disposal — the chemicals can eat away the plastic parts of your disposal system. Natural cleaners (described above) can be an effective replacement for chemical ones. In the event of a tough clog, you’ll need to use the plunging method or the disassembly method to unclog your disposal. Once you get the hang of it, unclogging the garbage disposal will be almost effortless.
Editors' Recommendations
- Drink up at these amazing bars — they’re favorites of famous authors
- 6 easy camping cocktails to shake your post-hike thirst
- How to cook salmon: A complete beginner’s guide
- Clams vs mussels: The differences explained
- Secrets revealed: Easy ways to elevate your cocktail game from a pro mixologist