
Before you travel, make sure you do this to your Google Maps app first

Person using Google Maps application on an Android smartphone
Ingo Joseph / Pexels

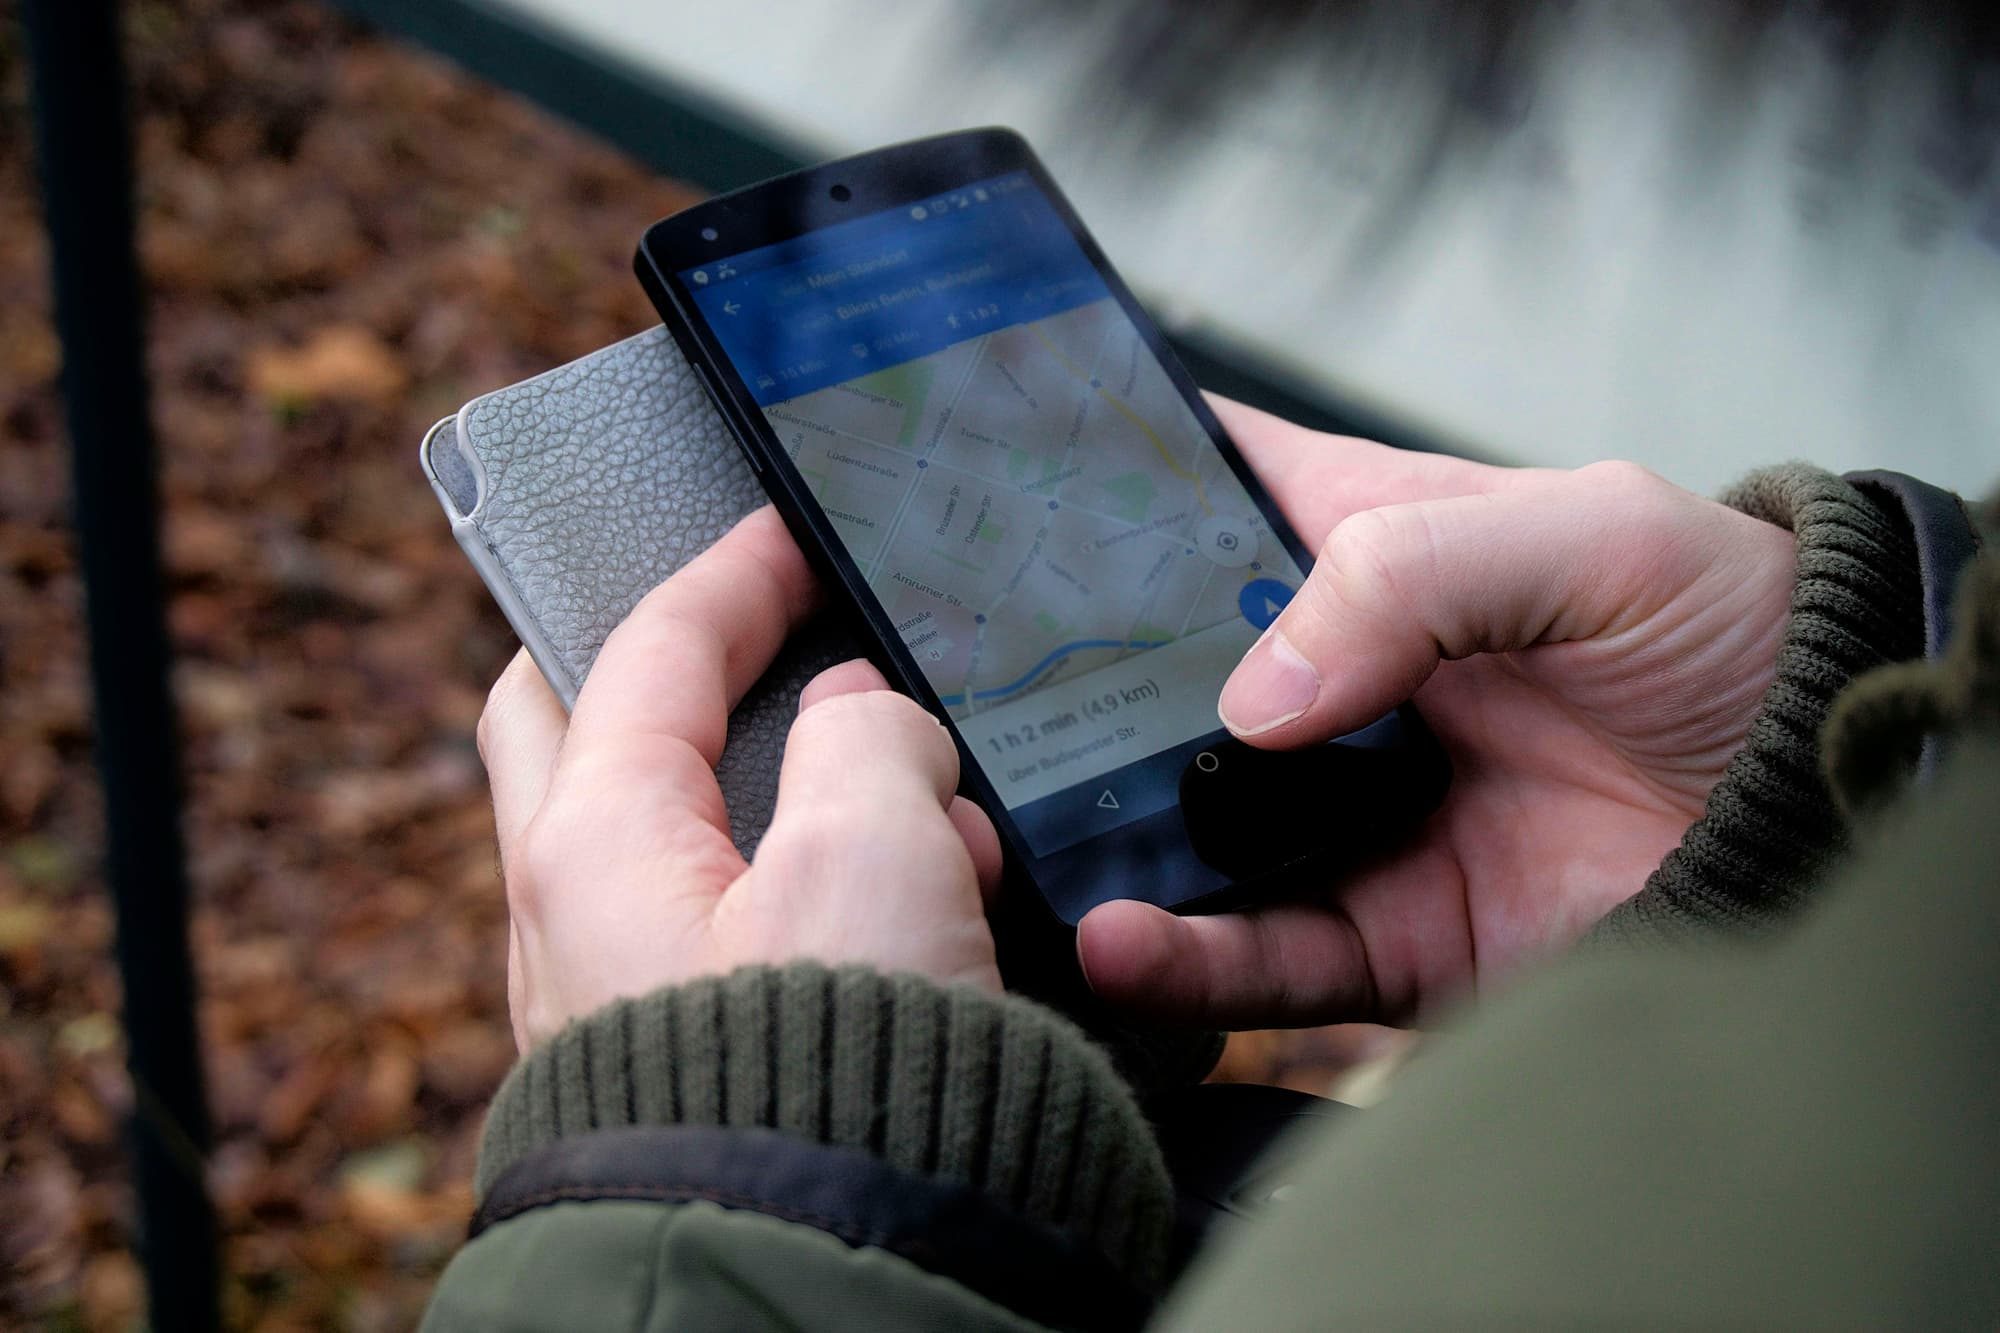
Are you planning an upcoming trip? Whether you’re road-tripping across the country, backpacking through Europe, or simply heading to a family member’s house for the holidays, having access to accurate maps and navigation is essential when traveling. 

Google Maps has become one of the most widely used navigation apps for travelers worldwide. But before you fully put your trust in Google Maps to get you from point A to point B, there’s an important calibration step you should take first. 

Person holding black android smartphone
Cottonbro Studio / Pexels

Why you should calibrate Google Maps 

Taking a minute to calibrate Google Maps can help optimize the accuracy and reliability of the app. 

Over time and through regular usage, the compass and GPS sensors in your smartphone can accumulate minor errors. Frequent recalibrations help counteract this distortion. Calibrating resets your phone’s orientation and gets the Maps app functioning properly again. This ensures you’ll get precise turn-by-turn driving directions, accurate public transit routing and pinpointed walking routes.

Close up of maps on a smartphone
PhotoMIX Company / Pexels

How to calibrate Google Maps

Luckily, calibrating Google Maps using an Android or iOS only takes a few seconds. 

Here’s how you can get started:

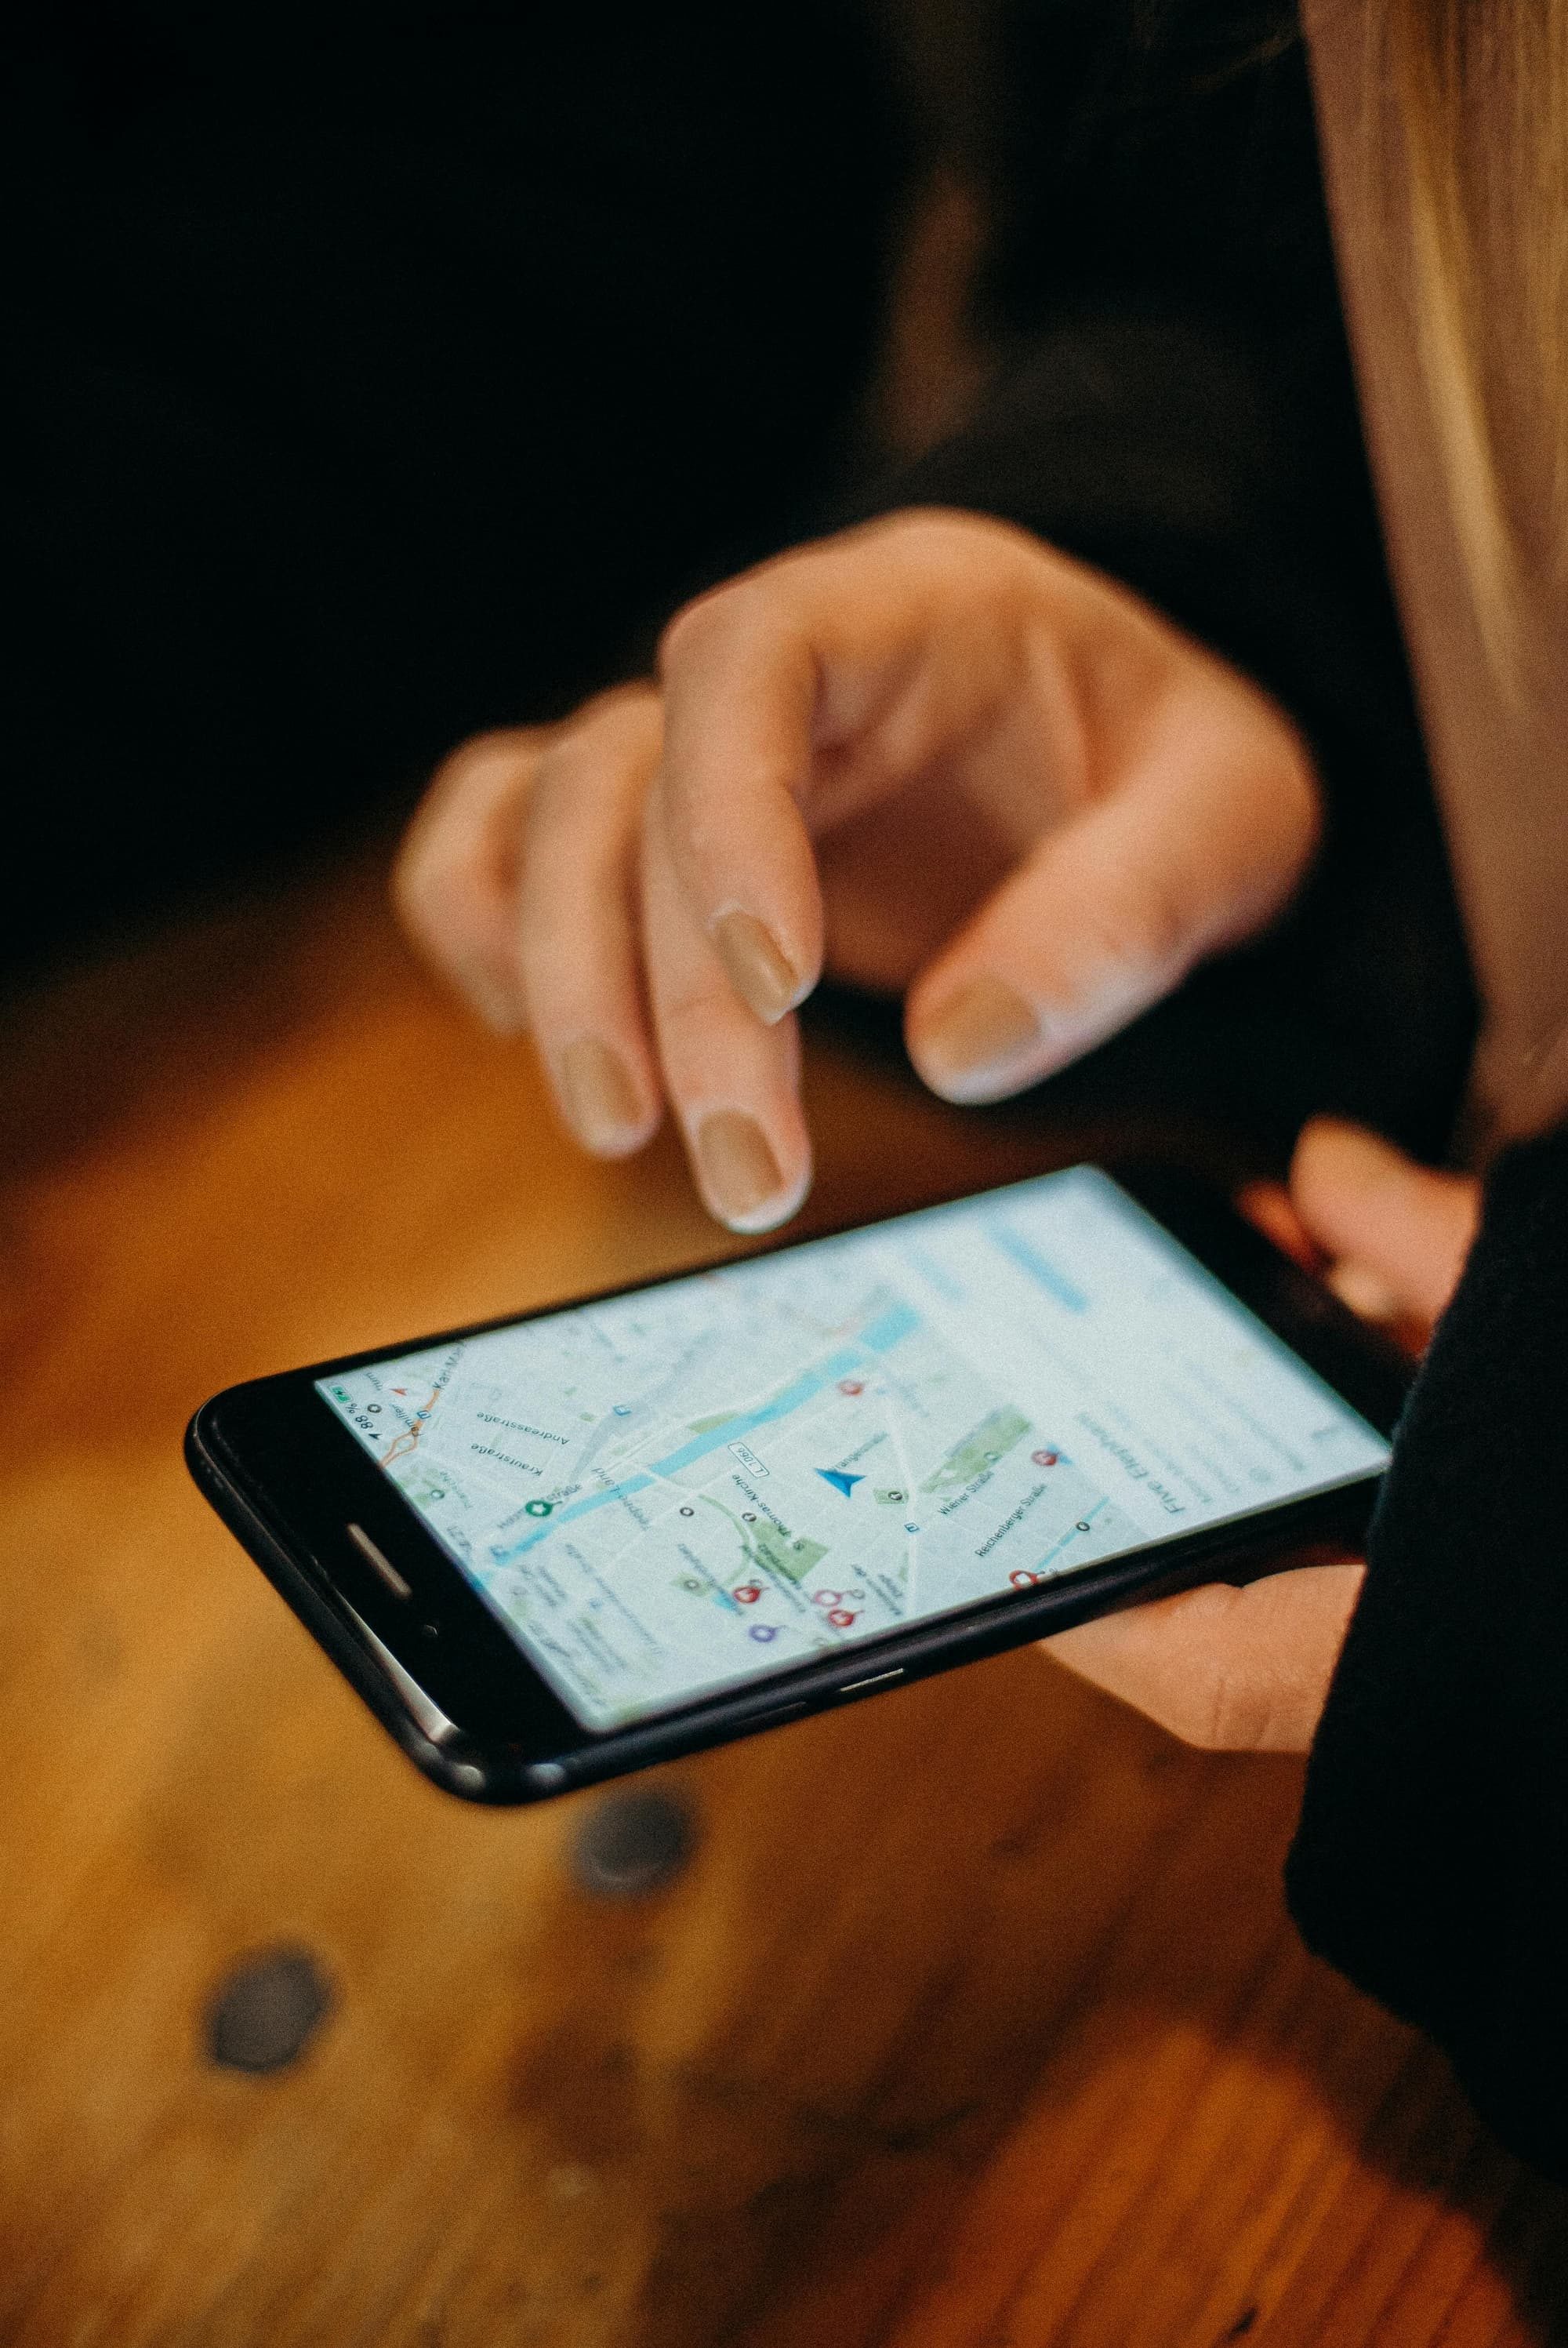
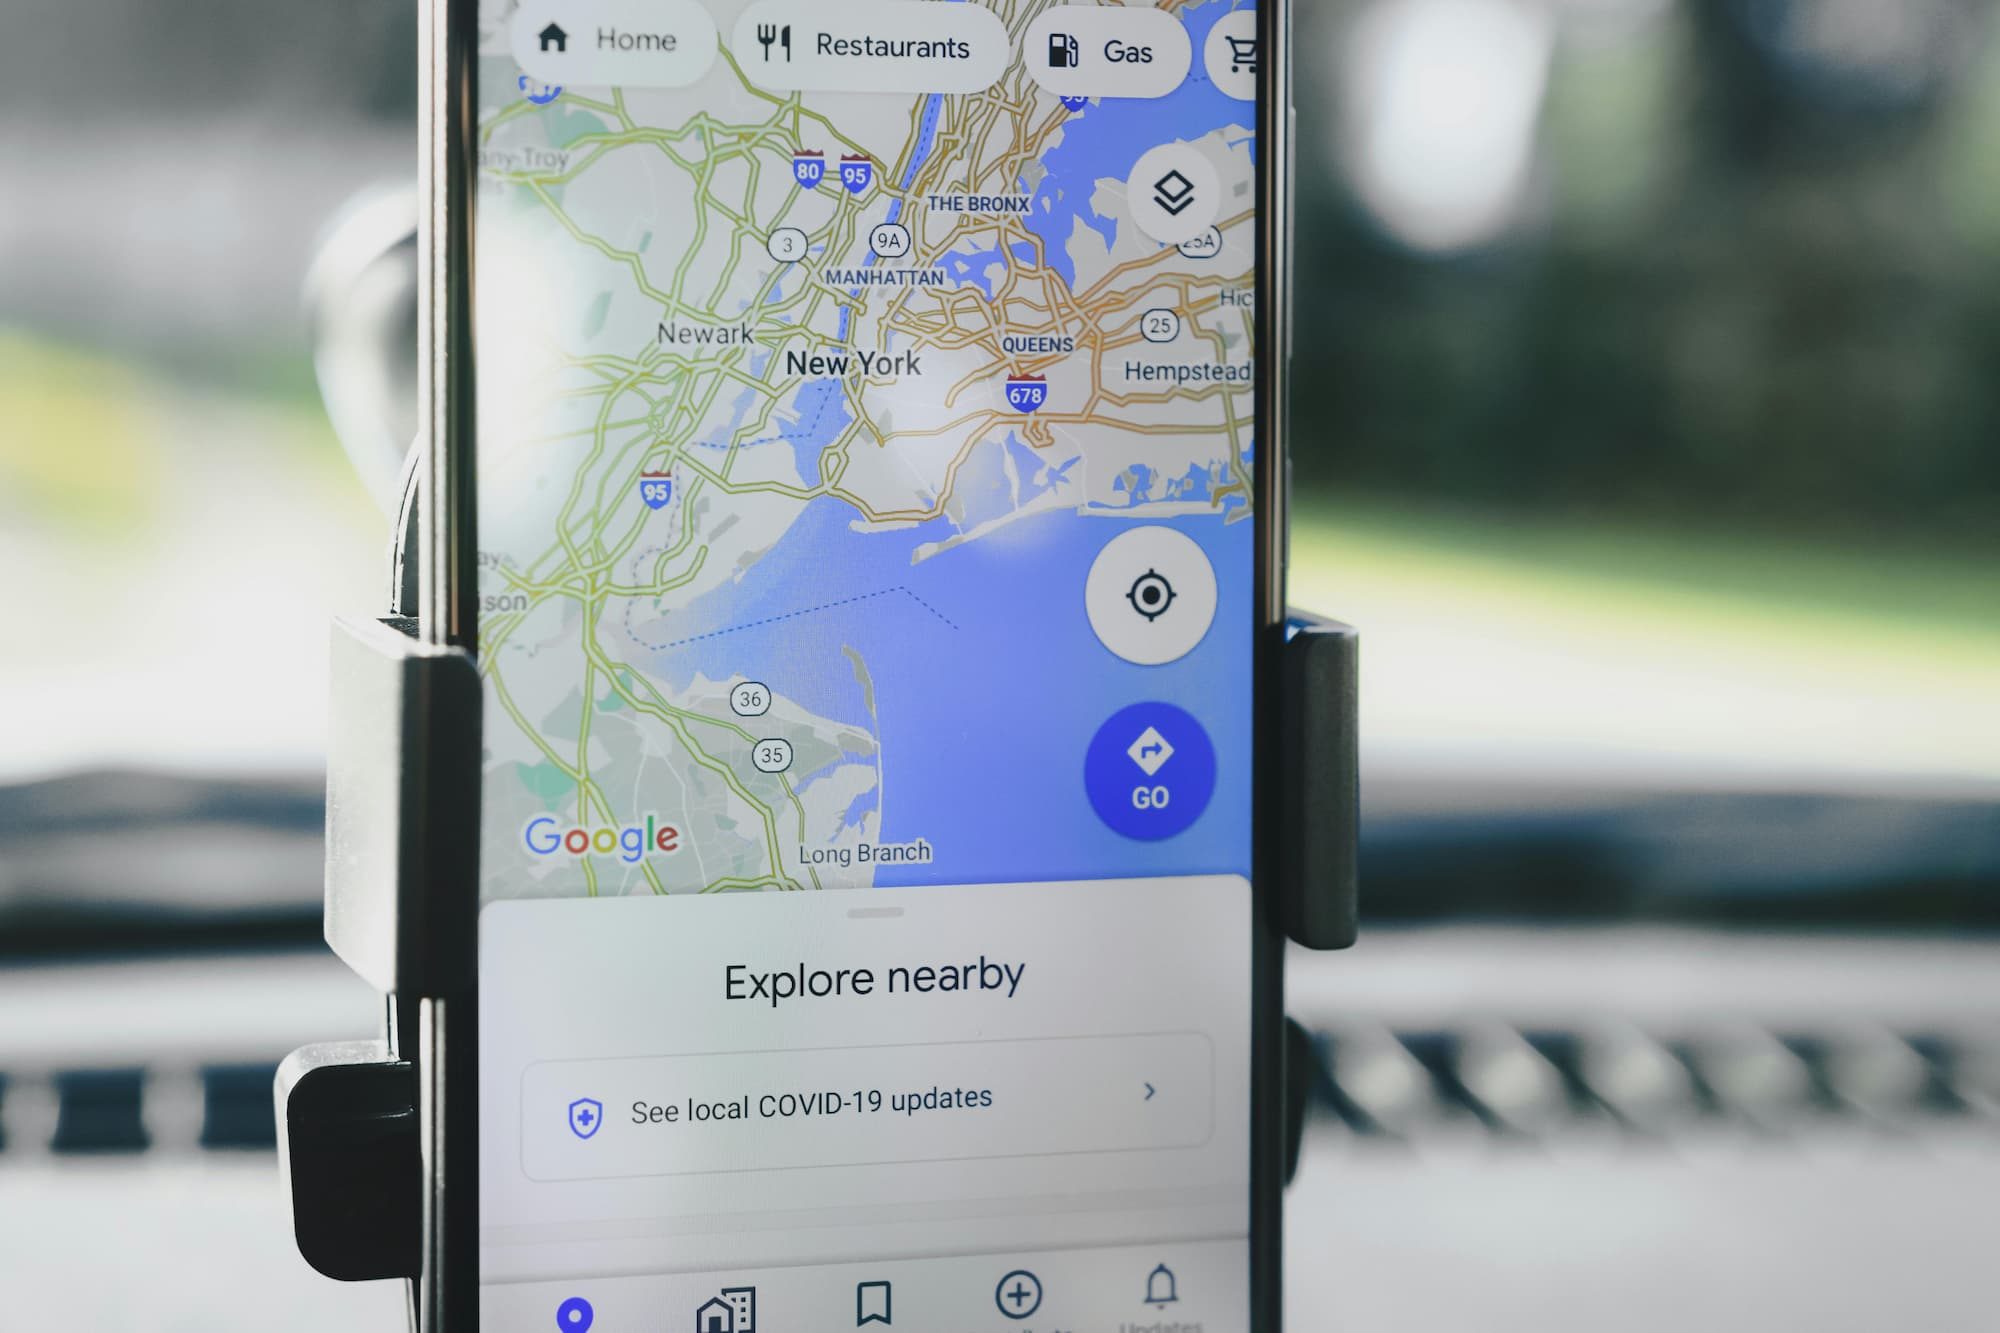
  1. Open the Google Maps app and give it a few seconds to figure out where you’re located. To ensure it has your precise location, tap the location indicator button in the bottom right corner of the screen. On Android, this is a spiked circle icon that resembles a compass. On the iPhone, there is an arrow icon pointing to the upper right. Tapping this will center the map on your precise location.
  2. Tap the blue dot that represents you and press “Calibrate.” If Google Maps detects your location accuracy is low, it may automatically prompt you to calibrate
  3. As prompted, hold up your camera and scan your surroundings with “Live View.” To do this, hold it in front of you with the camera facing outward. Slowly pan the camera horizontally to capture the surrounding buildings, streets, and store signs. This calibration process needs to be done outdoors for Google Maps to analyze your location properly. Move the phone camera smoothly around you in a circle, keeping it pointed straight ahead.
  4. For Android users, if Live View calibration does not successfully pinpoint your location, you will have the option to “Use Compass” instead. Tap this button to switch to compass calibration. Move your phone slowly in a figure 8 motion to calibrate the compass sensor.

For iPhone users, Live View is the only calibration method available. If it’s not working in your current location, you may need to move to a spot with a clearer view of distinguishable surroundings for the calibration to be successful. Keep trying until Google Maps can properly analyze the area to pinpoint and lock in your position.

Once the calibration is complete, Google Maps will go back to providing you with accurate directions, location tracking, and navigation guidance. Make it a habit to recalibrate periodically, especially before relying on Google Maps during trips near or far. Having a properly calibrated maps app can save you time, headaches, and frustration if you take a wrong turn on unfamiliar roads.

Google Maps app on phone
Brett Jordan / Pexels

Bottom line

Don’t risk getting lost with a malfunctioning navigation app. Take a minute to calibrate Google Maps before your next adventure – it’s a quick adjustment that helps ensure accurate directions throughout your travels.

Editors' Recommendations

Kelly Baker
Kelly is a writer who loves good books, baking homemade bread, playing the piano, and spending time with her family.
The most common (and weirdest) items found in unclaimed baggage at the airport
close up photo of airport baggage sign

Have you ever wondered what gets left behind at the airport airport? Well, wonder no more! Unclaimed Baggage released its first-ever "Found Report," giving us a glimpse into the fascinating (and sometimes bizarre) items left behind by travelers in 2023. For the uninitiated, Unclaimed Baggage is a retail store that sells unclaimed and lost airline baggage and its contents (after the airlines make every effort to return the luggage to their owners, of course). So what have they found?
The top 40 most fascinating finds of 2023

This list is a wild mix of the wonderful and the weird. Two live snakes slithering around at the airport? Now that's a travel story most people wouldn't want to tell!  Luxury finds like Birkin bags and Rolex watches make you wonder about the frantic searches at the baggage claim.  Musicians will be surprised to see a rare banjolele and a 4-foot tall Ethiopian harp lost in the shuffle, while gamers might mourn the misplaced Atari and Nintendo Super Famicom.  

Read more
How to get over jet lag quickly — Try these effective tips
Forget about jet lag and enjoy your trip
Inside of plane

Jet lag, the dreaded consequence of crossing multiple time zones, can wreak havoc on your body and shake up your travel plans. From headaches, to fatigue, to insomnia, jet lag can leave you feeling drained, making it difficult to enjoy your vacation. However, with a few simple adjustments, you can minimize the effects of jet lag and start enjoying your travels in no time. This is how to get over jet lag.
How long can jet lag last?

While jet lag symptoms are generally temporary and tend to improve as your body adjusts to the new time zone, the duration of jet lag can vary from person to person. A few factors that influence the duration of jet lag include:

Read more
Don’t pack these 9 TSA-prohibited items in your checked baggage
Some of the items may surprise you
Baggage Inspection

As travelers, we are accustomed to meticulously planning what we can and cannot bring in our carry-on luggage, ensuring compliance with airline regulations and security protocols. However, amidst the focus on carry-on restrictions, it’s easy to overlook the limitations imposed on checked baggage. Surprisingly, there is a long list of TSA prohibited items that are strictly banned from being stowed away in the checked compartment of a plane. So, before you zip up your suitcase and bid farewell to your checked bag, let’s explore what items must remain out of sight during your journey. 

What can you take on a plane? TSA prohibited items
When it comes to packing for a flight, we are often well-versed in the restrictions placed on carry-on items, particularly the infamous 3-1-1 liquid rule. Yet, as we organize our carry-ons, it is crucial not to ignore the contents of our checked baggage. While it may seem like a convenient place to store bulkier or less essential items, several objects should never be put in your checked baggage. From flammable materials to certain liquids to popular foods, the restrictions are broad and varied. These are just a few of TSA prohibited items to consider before packing your suitcase.
1. Wrapped presents
Wrapped presents always run the risk of being flagged by security. These wrapped gifts can trigger suspicion or require additional screening, leading to delays and potential damage to your wrapped items. Additionally, if security officials cannot identify the contents of a wrapped gift, they may need to unwrap it entirely.
2. An abundance of cash
Packing an abundance of cash in your checked baggage is ill-advised for several reasons, particularly concerning security and potential legal complications. While no specific TSA regulations limit the amount of cash you can carry domestically, travelers entering the U.S. must declare amounts exceeding $10,000 to customs officials. However, regardless of the amount, carrying a significant sum of cash can attract attention from TSA agents, who have the authority to question you about the source and purpose of the money.

Read more