
Knowing how to properly feed yourself to stay energized throughout the day is essential to success on the trail. Whether you’re out hiking for the day or on a multi-day thru-hike, nutrition will make or break your trip. There are loads of trail snacks on the market that you can take in your pack, but if you hit the trail every day, these can be costly.
We all want to be a bit more environmentally conscious. As outdoor enthusiasts, we have a much closer connection with the natural environment than most. Even some of the more environmentally aware companies still wrap their snacks in plastic packaging, and many snacks come individually wrapped for convenience. Save yourself money and look out for your environmental footprint in one move by learning how to make your own trail snacks at home. Here are six of our favorites.
Raisin, cherry, and honey flapjacks
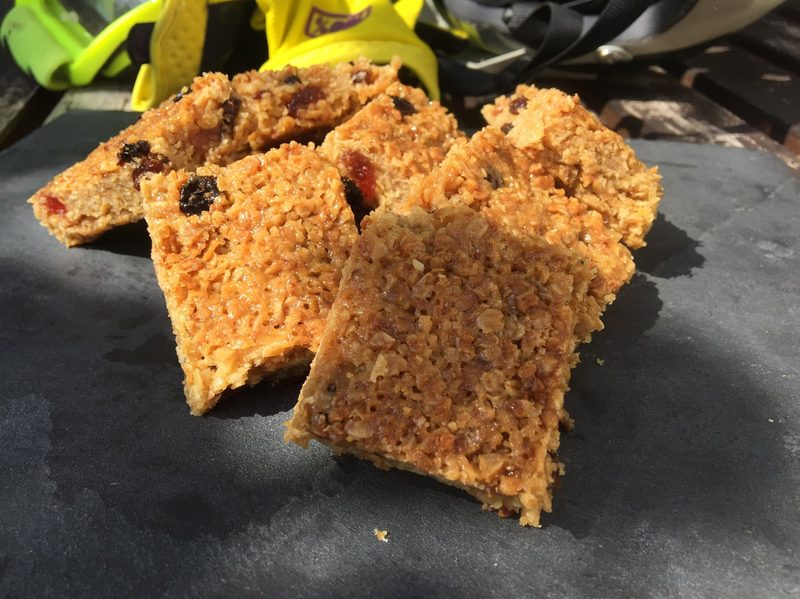
We’re starting with a classic. Can you truly call yourself a hiker if you’ve not munched on a flapjack while taking in the world around you? Flapjacks are quick and easy to make and cost almost nothing, yet stores will sell small squares for a few dollars each.
Ingredients
- 1 cup unsalted butter
- 1 cup demerara sugar
- 1 cup grams honey
- 2 cups grams porridge oats
- 1/4 cup raisins, Glacé cherries, chocolate drops for flavor
Method
- Preheat the oven to 350 degrees Fahrenheit.
- Put the butter, sugar, and honey in a saucepan and heat, stirring occasionally, until the butter has melted and the sugar has dissolved.
- Line an 8-by-11-inch brownie tin with baking parchment.
- Add the oats and flavors, and mix well.
- Transfer the oat mixture to the prepared tin and spread.
- Smooth the surface with the back of a spoon.
- Bake in the preheated oven for 15 to 20 minutes, until lightly golden around the edges, but still slightly soft in the middle.
- Let cool in the tin, and then turn out and cut into squares.
Date and cashew bars
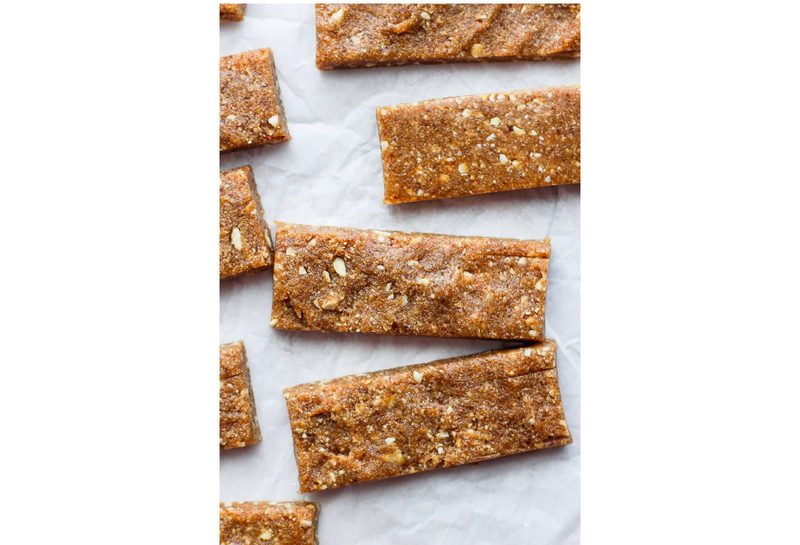
These chewy bars only have two ingredients but they are packed full of energy. These bars balance the slow-release fats and recovery proteins from the cashews with the faster-release sugars and carbohydrates of the dates. Not only that, but they’re easy to make and they taste great.
Ingredients
- Cashews
- Medjool dates
- Coarse salt
Method
- Pop everything into a high-speed food processor and mix on high until the dough pulverizes together.
- Add a few more cashews, then pulse them into the dough so they are coarsely chopped. Now, you’re ready to transfer the dough into a pan.
- Transfer the dough to a square pan and use your fingers or a spatula to press it into the pan. Freeze for 30 minutes, then remove the dough from the pan, slice, and enjoy!
Vegan sweet potato chocolate cake
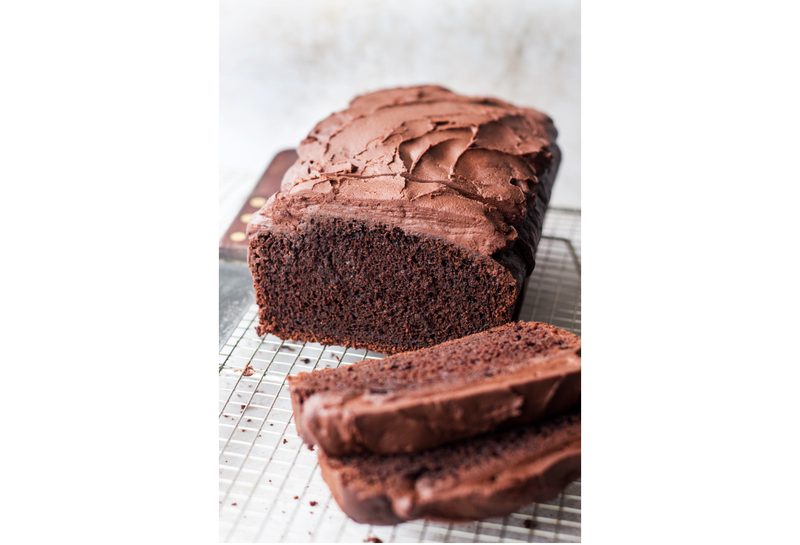
What if you could eat chocolate cake on the trail while still fuelling yourself properly? Well, with this sweet potato chocolate cake, you’ll be getting a massive boost of carbohydrates and sugars, all while enjoying one of your favorite snacks. Pull this out and you’ll be the envy of your fellow trekkers.
Ingredients
For the frosting
- 1/2 cup hot mashed cooked sweet potato
- 3.5 ounces vegan dark chocolate
- 3 tablespoons maple syrup or plant milk
For the wet ingredients
- 1/2 cup mashed cooked sweet potato
- 1 1/2 cups almond milk (or other plant milk)
- 1/2 cup smooth hazelnut or almond butter
- 1 cup sugar
For the dry ingredients
- 1 1/2 cups all-purpose wheat flour or GF all-purpose flour mix
- 3/4 cup cacao powder
- 1 teaspoon baking powder
- 1/2 teaspoon baking soda
- 1/4 teaspoon fine sea salt
Method
- For the frosting, place 1/2 cup of hot sweet potato in a food processor together with roughly chopped chocolate. Process until all the chocolate has melted and you get a smooth frosting. Taste and add maple syrup if you feel that the mixture lacks sweetness (which depends on how sweet your chocolate is and on your preference). If you’re not using maple syrup, add almond milk to achieve a more spreadable consistency. Transfer to a bowl and set aside.
- Warm up the oven to 350 degrees Fahrenheit and line a 2-pound cake tin with baking paper. Move the oven rack a notch down from the middle position.
- Process 1/2 cup of sweet potato in the food processor with 1/2 cup of almond milk. Once smooth, add the remaining wet ingredients and whizz until smooth.
- Transfer to a large bowl. If you don’t have a food processor, you could probably mash sweet potato with a fork by adding a splash of almond milk (from the amount of milk the recipe calls for) to get a smooth puree before adding the remaining wet ingredients. If you do use a food processor, make sure you scrape all of the wet mixture that stays on the lid, blade, etc. using a spatula so that the ratio of wet to dry ingredients remains correct.
- Sift all the dry ingredients into another bowl and mix until thoroughly combined.
- Add dry ingredients to the wet ones in three batches, folding well each time. Fold gently with a spatula until there is no dry flour left, but do not overmix (important if you are using a flour containing gluten).
- Transfer the cake batter to the prepared baking tin. It should be thick.
- Bake for about 55 to 60 minutes, or until a toothpick inserted into the center comes out clean. Remove from the oven and cool completely before applying the icing.
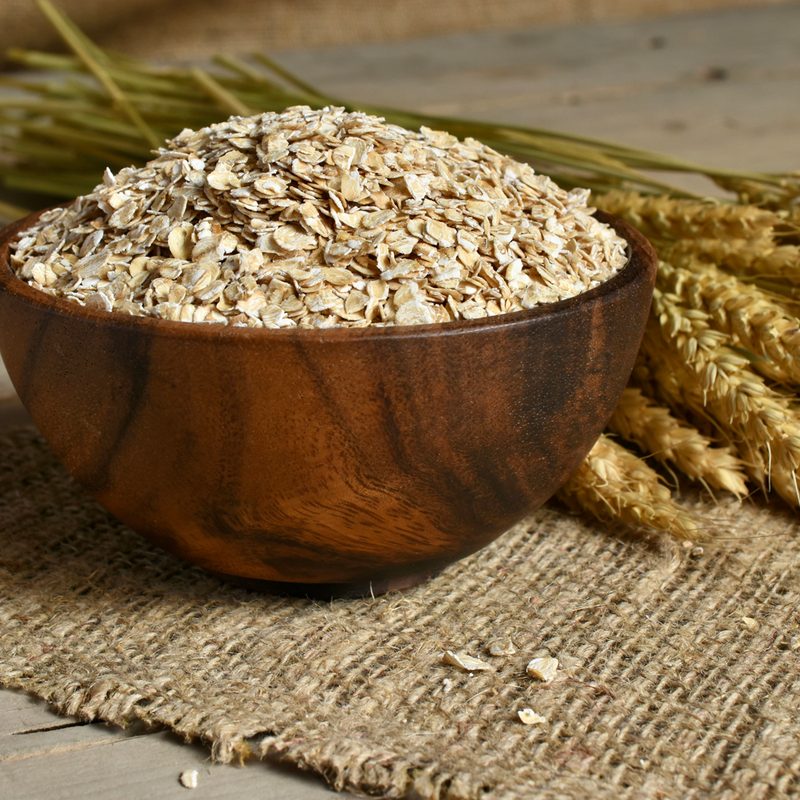
No-bake oatmeal energy balls
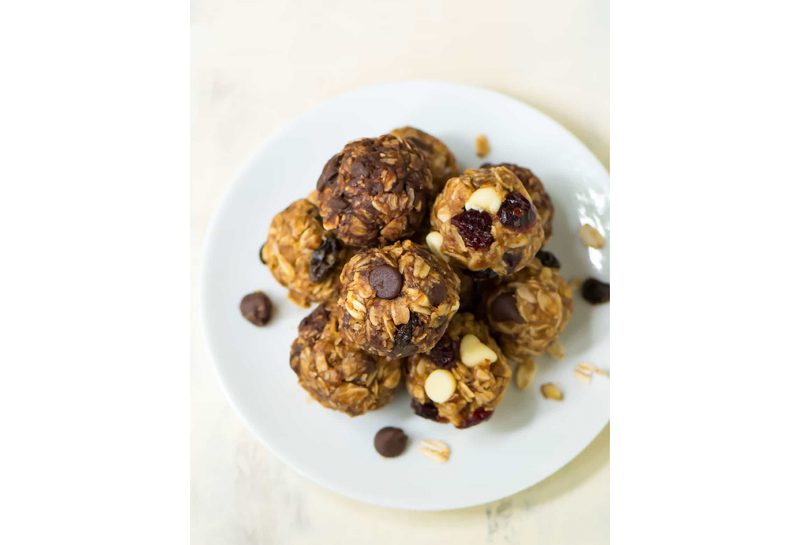
These bite-sized energy balls can be filled with all of your favorite goodies to keep you going. With a base of rolled oats, peanut butter, and chia seeds, these little balls give you everything you need for hours of hiking. Dark chocolate and almond are a favorite, or if you want a natural sugar hit, try white chocolate and cranberry.
Ingredients
- 1 1/4 cups rolled oats, quick oats, or a blend of half quick and half old fashioned
- 2 tablespoons “power mix-ins” — chia seeds, flaxseeds, hemp seeds, or additional rolled oats
- 1/2 cup nut butter of choice — peanut butter is my go-to
- 1/3 cup sticky liquid sweetener of choice — honey or maple syrup
- 1 teaspoon pure vanilla extract
- 1/4 teaspoon kosher salt
- 1/2 cup mix-ins — chocolate chips, almonds, raisins, white chocolate, cranberries
Method
- Place all of the ingredients in a large mixing bowl: oats, mix-ins, nut butter, sweetener, vanilla extract, salt, power mix-ins, and any other spices you’d like to add. Stir to combine. If the mixture seems too wet, add a bit more oats. If it’s too dry, add a bit more nut butter. It should resemble a somewhat sticky dough that holds together when lightly squeezed. Place the bowl in the refrigerator for 30 minutes to set. (This will make the balls easier to roll later on.)
- Remove the bowl from the refrigerator and portion the dough into balls of the desired size. (I use a cookie scoop to make mine approximately 1 inch in diameter.) Enjoy!
Rice cakes
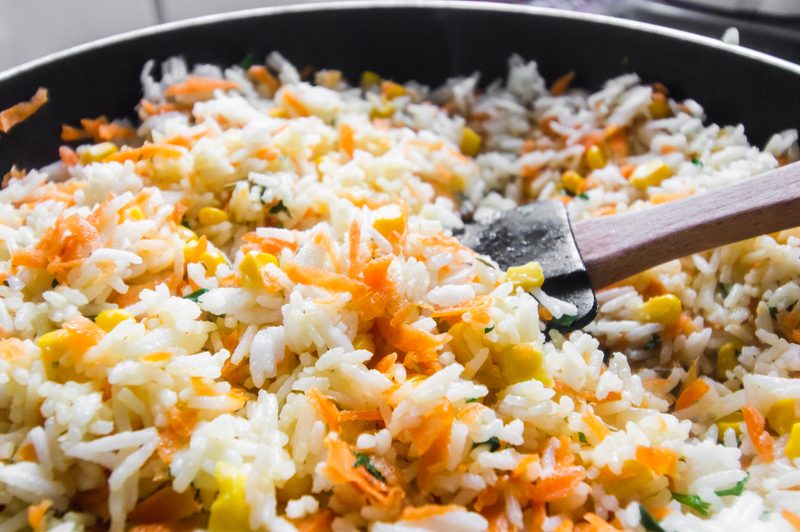
If sweet snacks aren’t your thing, then this one’s for you. These aren’t your puffed rice, empty-calorie diet-friendly snacks. These rice cakes are made from leftover sticky rice and loaded up with eggs, bacon, veggies, and anything else you want to add. The rice gives you a carbohydrate base and you can tailor the extras for fats and proteins.
Ingredients
- 2 cups uncooked Calrose or other medium-grain “sticky” rice
- 3 cups water
- 8 ounces bacon
- 4 eggs
- 2 tablespoons liquid amino acids or low-sodium soy sauce
- Maple syrup or brown sugar (to taste)
- Salt (to taste)
- Grated parmesan (optional)
Method
- Combine rice and water in a rice cooker.
- While rice is cooking, chop the bacon before frying, then fry in a medium saute pan. When crispy, drain off fat and soak up excess fat with paper towels.
- Beat the eggs in a small bowl and then scramble on high heat in the saute pan. Don’t worry about overcooking the eggs as they’ll break up easily when mixed with the rice.
- In a large bowl or in the rice cooker bowl, combine the cooked rice, bacon, and scrambled eggs.
- Add liquid amino acids or soy sauce and sugar to taste.
- After mixing, press into an 8- or 9-inch square baking pan to about 1 1/2-inch thickness. Top with more brown sugar, salt to taste, and grated parmesan, if desired. Leave to cool and slice.
No-bake granola bars
We’re fans of no-bake snacks, so here’s another DIY trail snack that doesn’t involve baking or cooking.
Ingredients
- 1 3/4 cups rolled oats (old-fashioned or quick-cooking work)
- 1/2 cup chopped nuts and/or seeds (almonds, peanuts, walnuts, pumpkin seeds, chia seeds — choose your favorites)
- 1/2 cup dried fruit (chopped dates, raisins, cranberries, chopped apricots, etc.)
- 1/4 cup honey or maple syrup (or a combination of both)
- 1/4 cup nut butter (creamy peanut butter, almond butter, or cashew butter all work well)
- 1 teaspoon ground cinnamon (optional)
- Pinch of salt (optional)
Method
- In a large bowl, combine the rolled oats, chopped nuts/seeds, and dried fruit.
- In a separate small saucepan or microwave-safe bowl, heat the honey or maple syrup and nut butter together over medium heat (or in the microwave on high power for 30-second intervals, stirring in between) until it’s melted and well combined.
- Pour the wet ingredients (honey/maple syrup mixture and nut butter) over the dry ingredients (oat mixture) in the large bowl. Add the cinnamon and salt (if using) and stir everything together until it’s well coated and evenly distributed.
- Line an 8-by-8-inch baking pan with parchment paper, leaving some overhang on two sides for easy removal. Press the granola bar mixture firmly and evenly into the prepared pan.
- Refrigerate the bars for at least 30 minutes or until they are completely set.
- Once chilled, remove the bars from the pan using the parchment paper overhang. Cut the bars into desired sizes and enjoy!
Try out all these recipes, and you can change them up to suit you; but no matter how you make them, they will keep you fueled for hours on the trail.


