
The Manual may earn a commission when you buy through links on our site.

Spring Lawn Care Tips: How to Bring Your Yard Back to Life After Winter

If you take a look at my back yard right now, you’re going to have some explaining to do, because you can only see the yard from inside my house or from neighboring private property. Instead, how about I take a look for you, and then I’ll tell you what I see.

person mowing lawn with long grass
Image used with permission by copyright holder

I see plenty of work needed. Grass lawns don’t just grow back healthy and hearty year after year, not without help, anyway. We laid down brand-new sod on our property just four years back, and for the first year following, the yard looked pretty great with minimal effort. In all the years since, however, the effort needed to keep the lawn healthy has grown every spring.

The fact is, in most parts of America, a grass lawn will be all weeds and moss after just a season or two unless it receives concerted effort and upkeep. The good news is, with proper guidance and tools, you can revive your lawn with just a few hours of work on a few weekends followed by routine maintenance like mowing, light weed killers, and proper irrigation.

What You Need

With the right garden tools, you can breathe new life into your lawn in no time. OK, maybe in like an afternoon of work. As it happens, breathing life into the lawn is quite the apt metaphor.

Here are some tools you’ll want before you start:

  •  Thatching rake: Thatch is that layer of dead stuff — mostly grass — that builds up between the blades of grass and the soil and prevents the roots from getting enough water or air. You can dig into the thatch pretty aggressively as you rip it away from the healthy green blades.
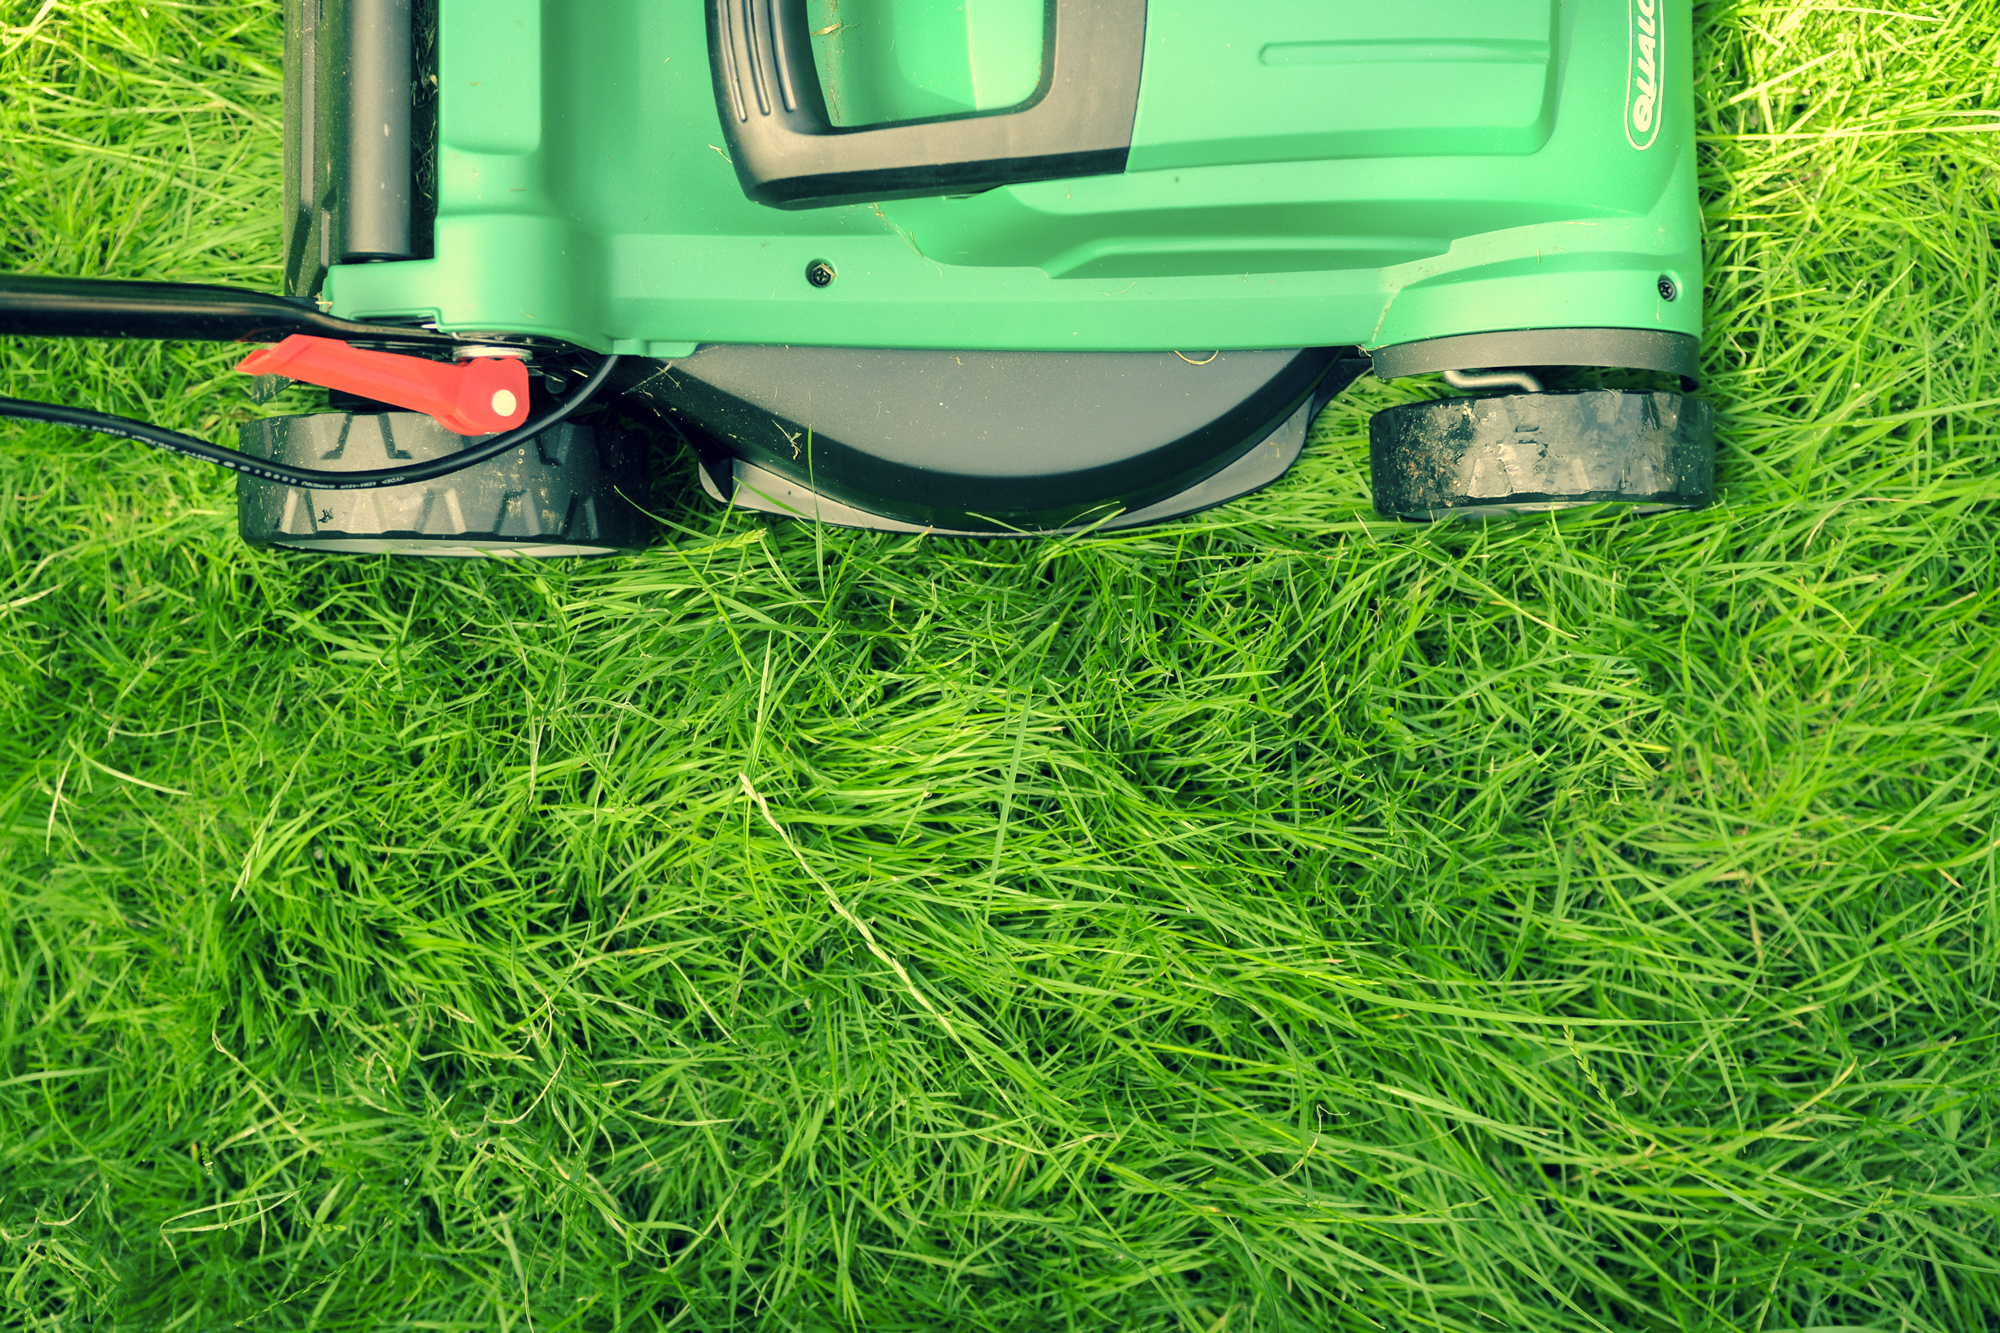
  • Lawn aerator: Just like you, your grass needs to breathe to grow. (Unlike you, it doesn’t need oxygen, but still.) Aerating the soil allows air to get down to the roots and leads to a healthier lawn better able to resist weeds.
  • Weed remover: Weeds compete for water and nutrients, so you need to get rid of them. If there are only a few about, just pull them by hand. If you have lots of weeds to contend with, try a weeding tool like the one shown at the link.
  • Broadcast spreader: Whether you use it to spread “weed n’ feed” for a yard with a serious weed problem or to spread lime or fertilizer to help the grass thrive, a broadcast spreader is a cheap, reliable way to make your yard maintenance easier.
  • Transfer shovel: Usually used for moving stuff like mulch and fertilizer around (transfer, see?), this type of shovel is also great for cutting beds or cutting out patches of yard that can’t be revived.
well groomed lawn
Image used with permission by copyright holder

What to Do

  1. Some patches of your yard just aren’t coming back, buddy. If you have areas where moss has fully taken over or where it’s all weeds or all grown grass without a hint of green shoots, the best thing to do is tear out those sections entirely. Use a shovel with a broad blade (and a pick if needed) to cut out the sections of lawn that aren’t coming back, then prepare the area of removed material for new sod by raking across the exposed soil or by added enough peat moss to hold the seeds you’ll soon be sowing.
  2. It’s time to get to the de-thatching. As noted above, if your yard is relatively healthy, you can be pretty aggressive as you pull out the thatch. Go in one direction across the yard, then switch and de-thatch in a perpendicular direction to make sure you get it all up. Or most of it, anyway.
  3. Now it’s time to do some weeding. Hopefully you caught some of the weeds with that thatch rake of yours, but take the time to remove as many more as possible, as they will thrive along with your grass if you don’t.
  4. Finally, use your aerator to make sure that lawn can breathe. The yard should now be prepped for the final steps: new growth.

A Note About Over-Seeding Grass

Few lawns not comprised of sod laid within the last year are so healthy that they don’t need further improvement. Over-seeding is the process of adding more grass seed to a yard where plenty of blades are already growing. To over-seed, you need to have a ready supply of peat moss on hand as well as, of course, grass seed.

Spread a thin layer of peat moss all over the yard — just a quarter-inch or so, a little something to hold the seeds and some moisture but not so much that it covers any existing blades — then spread grass seed evenly everywhere. If you can see a lot of the seeds, add another thin layer of peat moss.

Now water the yard daily with a lawn sprinkler for at least the next month (unless it rains, of course), and remember that single long watering sessions are much better then multiple short sessions, as long watering encourages deep roots, which means healthier grass more readily resistant to weeds.

And go ahead and apply some fertilizer, but not until late spring when the grass has had the chance to toughen up some.

Editors' Recommendations

Topics
Steven John
Former Digital Trends Contributor
Steven John is a writer and journalist living just outside New York City, by way of 12 years in Los Angeles, by way of…
Moving Tips: How to Make Moving Day as Easy as Possible
moving tips day guide couple packing

Moving is hell. It just is. Besides the psychological chaos that comes with being uprooted from the familiar, there’s also the actual chaos involved in having to pack everything you own, from furniture to clothing to every last little paperclip, move it somewhere else — whether across the street or around the world — and then unpack it all into a new space. It’s time-consuming, disruptive, and even when done on the cheap, expensive. Depending on how much you take on yourself, it can also be physically taxing as you lift and carry boxes to and from a living space and to and from a truck (and possibly up or down stairs). But with career opportunities, family obligations, upsizing, or downsizing, sometimes it just has to be done. 

To help make the whole hellish process easier to handle, we took some time to speak with the founder and CEO of Roadway Moving, Ross Sapir, to get some advice about the dos and don’ts of moving so that your next move might be a little easier.

Read more
The 10 best Dominican cigars I’ve tried and tested in 2024
Santo Domingo in the Dominican Republic.

Every seasoned cigar lover has a preference for where their cigars come from. Cuban and Cuban cigars are the more obvious choices, but there is also Nicaraguan tobacco, Central African, Indonesian, Mexican, Ecuadorian, and Dominican. Some tobacco is even grown in the United States. Each region has a distinct flavor profile that adds a little something extra to the tobacco grown locally, as well as the cigars made there. The Dominican Republic is prized by many connoisseurs because of exactly this -- a rich, unique profile that enhances Dominican-grown cigars. That's in no small part due to the fertile soil and thriving climate of the region, which is ideal for tobacco growth and cultivation. If you've never tried a Dominican cigar, you're in for a real treat, there are some fantastic options out there.
The best Dominican cigars I've tried

Out of all the cigar guides I've put together so far, this one was one of the more interesting experiences for me. I had a great time trying out Dominican cigars, and I've definitely come away with an appreciation for blends made in the region. I'd also like to point out that Corey Suarez helped recommend some of these. If you haven't tried the JR Cigars or Cigars.com concierge service yet, you really should. Here's a little more about all of the best Dominican cigars I've tried:
Ashton Symmetry

Read more
The 12 best Connecticut cigars I’ve tried and tested in 2024
Best Connecticut cigars up close and personal

Connecticut cigars are the clear winner for smoking on a hot summer day, in the morning with some coffee, or when you just don't want a swift kick in the teeth (of pepper). There's no shortage of options, either. Connecticut shade wrappers are one of the most prevalent in the world of cigars, and it's certainly the most common natural shade. Maduro is also popular, but the two wrapper types couldn't be any more different. Connecticut wrappers, and by proxy Connecticut cigars, are typically mild to medium in strength and brimming with creamy, smooth flavors. They're composed of tobacco leaves grown in the Connecticut River Valley in the United States -- which is where the name Connecticut comes from. Consistent and flavorful, some of the best beginner-friendly cigars are Connecticut-wrapped, but you should never sell them short. A Connecticut shade cigar can be just as refined, elegant, and premium as any other. If you know where to look, you may even find some of your favorite blends in the category across a wide range of brands and cigar makers.

I'm about to take you on a magical, doughy, and delicious trek through the broad range of Connecticut cigars. In short, here are the best Connecticut cigars tried and tested by a genuine enthusiast of the craft: yours truly.
The best Connecticut cigars I've tried and tested
While the Connecticut Broadleaf wrapper is considered a Connecticut shade, I did my best to steer clear of recommending them for this list. They're better classified as a Maduro shade or darker cigar. That doesn't mean you should avoid them, quite the contrary. But for this list, I wanted to stick to smooth, relaxing smokes that are strong on flavor but not quite so strong on pepper and spice. I also tried not to choose a lot of repeats. If you see your favorite cigar missing, that might be because it was recommended on another list or it just didn't make the cut. If you have any recommendations of your own, I'm always available through social media or email. Without further ado, let's get this thing started.
Aganorsa Leaf Connecticut

Read more