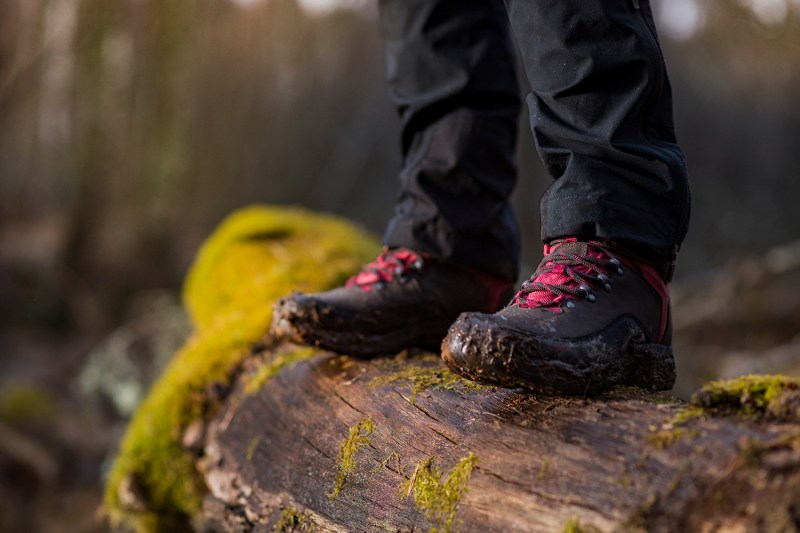
No matter where you hike or what you hike in, one thing is for sure: Hiking boots are supposed to get dirty. Your new boots might look fresh and clean right out of the box, and after that, every scrape and stain may be a badge of honor. But that doesn't mean they should stay that way. Follow the tips outlined below to keep your hiking boots clean, functional, and ready to hit the next trail.
Leaving boots damp and soiled with mud or caked-in dirt can lead to serious damage over time — the type of damage that goes beyond cosmetics and can impact performance and longevity. Plus, a quality pair of hiking boots can put you back a pretty penny, and a regular cleaning prepares them for the long haul.

Clean the Exterior
First things first: Remove any mud. If your boots are saturated, try to get most of that off before heading inside. Best way to do that? Go ahead and slam those boots together — don't worry, they can take it.
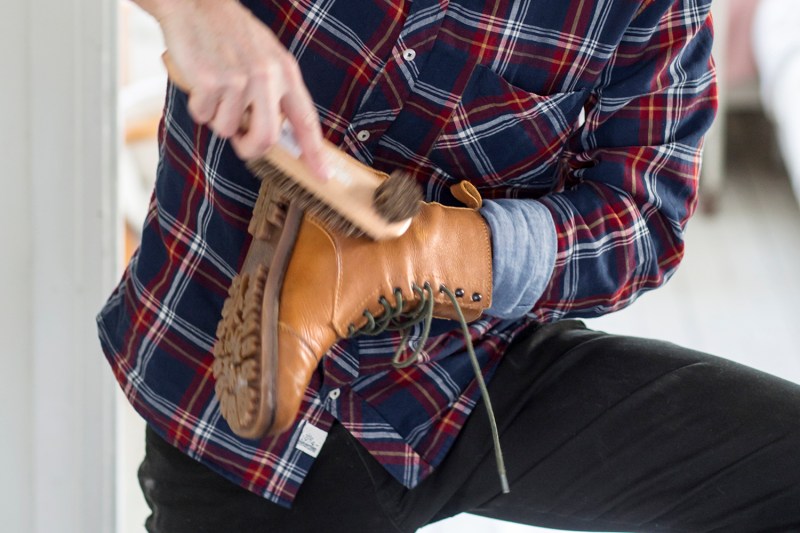
Get as much of that mud off as you can with brute force, then switch to a good, stiff brush or slender rod. You should remove as much mud, dirt, leaves, and rocks as possible because the longer that stuff sits there, the longer it will keep the boots damp.
Once you’ve removed as much mud as you can from the exterior of the boots, grab a bucket and fill it with some warm water and a little biodegradable dish soap. Remove the laces and dip the sole of your boots into the warm water and give them a good scrub.
No need to completely submerge them. The bucket is handy because it allows the warm water to coat the boots (making the dirt easier to remove), and it collects the dirty water, which you can toss outside when you’re finished (saving your sink and drain). Try to prevent the insides from becoming too wet, as this could lead to mold and mildew issues. To avoid this, stuff your boots with a hand towel at the start of the washing process.
Clean the Interior
Once your boots are looking as good as new from the outside (or at least close to it), it’s time to focus on the inside. The dampness your feet produce, along with any moisture from snow, fog, or rain, can all damage the inside of your boots (especially salty sweat and saltwater).
Pull out any insoles, wipe them down, then use a clean, lightly damp rag to wipe out the inside of your boots. Do this step before more extensive cleaning of the exterior, because once you get the insides dry, you want them to stay that way.
Condition and Waterproof
If you’re going to waterproof and condition your boots, the best time to do it is right after they’ve been cleaned and while they’re still wet.
Most hiking boots are pre-equipped with durable water repellent (DWR), but over time, this finish wears off and your boot will start to absorb more water. So, it’s important to re-treat your boots every once and awhile. After you’ve cleaned your boots and before you leave them to dry, go ahead and apply your waterproofing product. There are different options for leather, suede, and synthetic boots so make sure you’ve grabbed one that best suits your boots.
If you have full-grain leather boots, you’ll want to condition them if they appear dry and cracked on the outside. To apply the conditioner, take a quarter-sized amount and apply it to the boot, rubbing in a circular motion. Allow the first coat to air dry before applying a second and third coat if necessary.

Dry the Boots
While you might be tempted to place your boots in a warm, sunny location or next to an artificial heat source; think again. The best way to dry your boots is to place them in a cool and airy location; too much heat isn’t ideal as it shrinks leather and can lead to cracking. Using a hairdryer also isn’t ideal, as it can lead to further cracking and damage.
To aid the drying process, you may want to stuff the boots with a couple of dry washcloths, socks, or anything else that's nice and absorbent. Just be sure to remove and/or replace the stuffing every few hours or so because by that time they will have soaked up as much moisture as they can. You can also speed up the drying process by using a fan. Getting your boots completely dry — to the point where you can wear them again — will likely take a couple of days. Once your boots are clean and dry, store them in a cool, dry environment away from direct sunlight.
Before You Hit the Trail
Before you head out on your next hike, take a look at the condition of your hiking boots. If they’re still covered in mud from your last trek, it’s definitely time for a clean. It might be tempting to throw your boots in the washing machine, but that can do lasting damage to both the machine and your boots. So don’t do it!
Find your boots past the point of no return? It happens. Go ahead and invest in a new pair of hiking boots and promise yourself to do better next time.
Editors' Recommendations
- How to clean your hydro flask for tang-free hydration
- How being stinky when hiking in the deep woods might actually save your life
- Tactical boots vs. hiking boots: What’s the difference?
- How to poop in the woods: A guide for when nature calls when you’re out in nature
- Vans UltraRange review: Putting the hiking (and real) worlds on notice


