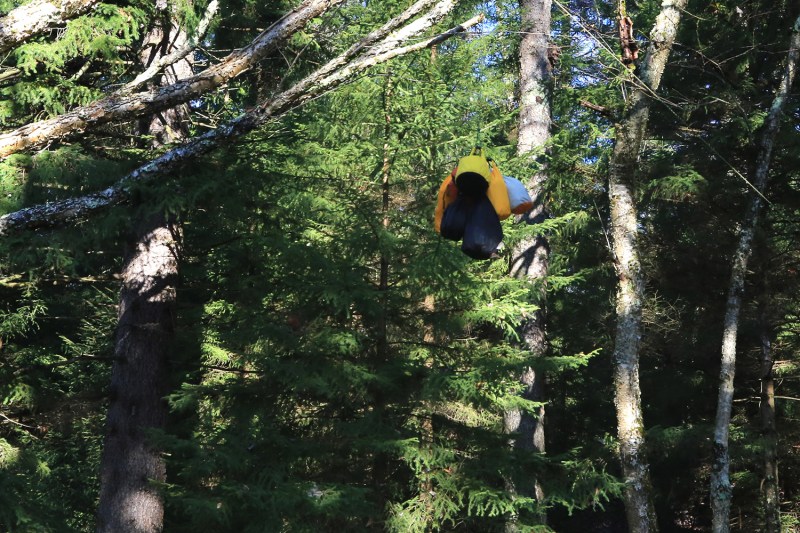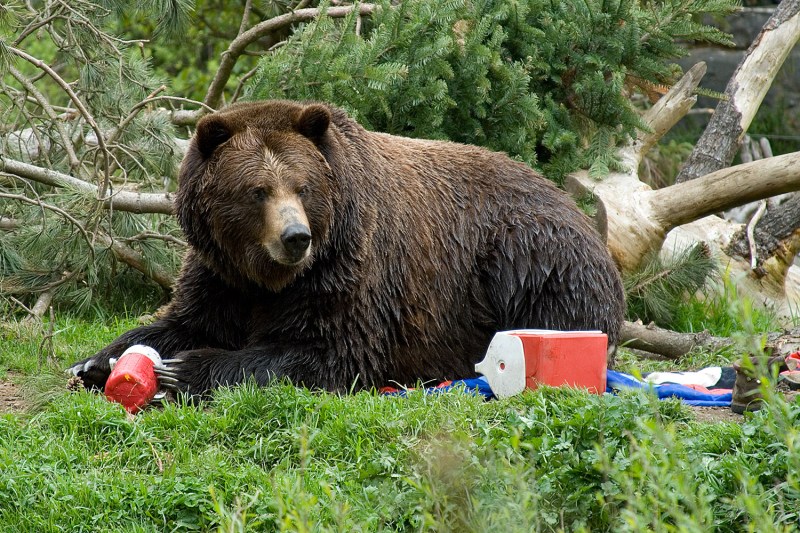
Do you like peanut butter? How about instant oatmeal or trail mix — or at least the M&M’s you pick out from the overstuffed trail mix bag? Well, so does every mountain critter, from a cute little squirrel to a big ol’ Grizzly. If you’re heading into the backcountry and know you’ll be in bear territory, it’s time to learn how to hang a bear bag. Although it sounds like a basic, self-explanatory task, there is a right way and a wrong way to store your food.
Take note that bear bags are typically only needed in backcountry situations. Most road-accessible or well-maintained campsites have bear boxes for food, negating the need to provide your own storage gear.
Bear Bag Checklist
Let’s start out with a material list. The following are items you will want to add to your backpack packing list:
- Bag: Almost any bag will do! Feel free to repurpose a stuff sack or even use your backpack.
- At least 25 feet of rope: Invest in something durable that you can leave in your backpack for years. Paracord is a great investment.
- Bear spray: Because if you’re in bear country, you should always have bear spray.
- Carabiner: Optional.

How To Hang a Bear Bag
Ready to head into the backcountry? Bring along this nifty how-to:
- Get it together: Once you get to camp, the first thing you should do is gather up all foodstuffs. That includes food (duh), cookware, trash, and anything that has an odor, such as gum, suntan lotion, and pretty much any toiletry items. Just because you wouldn’t eat toothpaste, that doesn’t mean a bear wouldn’t be curious about your Tom’s all-natural, fluoride-free peppermint toothpaste dessert snack. Anytime food is not being prepped or consumed, it should be hanging up high.
- Grab your bag: Load up all foodstuffs and close the bag as securely as possible. Again, pretty much any bag will do since the bag does not need to be odor-proof. It just needs to hold food items securely and stay out of reach from curious animals.
- Choose your limb: Some backcountry campsites actually have food storage structures built to easily hang food from — think of a tall, skinny soccer goal. Others don’t. What’s important is that you find a sturdy, horizontal limb to suspend your food from, one that provides at least 4 feet of clearance from any tree trunk or other ledge that a bear can reach from. Choose a limb that is tall enough to give your bag a minimum of 10 feet of clearance from the ground — shoot for 12 feet — once it is hung. Also, choose a limb that is not directly next to your tent!
- Toss that rope: If you’re anything like me, you’ll wrap one end of your rope into a small, crumpled ball and try to throw it over your limb. This might work on your first try … or leave you frustrated on your 10th try. A second method is tying the end of your rope around a heavier object (e.g., a rock or a piece of durable gear) and using the weight of the object to easily toss your rope over your limb of choice.
- Hoist your bag: Securely tie your bag to one end of the rope, hoist the bag up at least 10 feet high, then tie the other end of the rope to the nearby tree trunk or food storage structure. Consider using a bowline knot at each end as it’s a simple, weight-bearing knot that is easy to untie. Here is where the optional carabiner comes in! If you’re planning on hoisting and using your bear bag multiple times a day or for days on end, it’s a pain in the bear bag to have to repeatedly tie and untie knots. Instead, you can tie one end of your rope to a carabiner, which will easily clip to and unclip from your bear bag!
- Relax and enjoy: Without any food items in or around your tent and the knowledge that anything a bear might want to eat is hanging out of reach, you can lay your head to rest knowing that your risk of a bear encounter has been minimized. Now fluff your small camping pillow, give your handy bear spray canister a kiss, and snuggle up for a wonderful night under the stars. Now you’re camping!
Now that you have the knowledge and tools to successfully hang your bear bag high, make sure you have everything else you’ll need to be safe and comfortable in the backcountry. For your ease, The Manual put together a backpacking checklist to outline any items you might need on your trip. Have fun out there, and remember — if you respect wildlife, wildlife will respect you.
Editors' Recommendations
- 3 things you need to know about mountain biking in Sedona
- A beginner’s guide to fly fishing: Everything you need to know
- How to pack a cooler for camping (or any outdoor trip away from home)
- Sleep like a baby on one of the best air mattresses for camping (or for wherever you need it)
- These are the 8 sailing knots you need to know when out to sea


