You wouldn’t hire a professional carpenter to come to your house to hang a simple picture frame, right? And calling a plumber to repair a little damage to the caulk around your tub, sink, or shower would be a bit much, no? So why haven’t you hung that awesome poster you had framed? And why is there still duct tape covering damaged caulk in the shower?
Many home projects fall into a gap between being so simple you tackle them they minute they arise (changing a light bulb, for example) and being just a bit too great of an undertaking for your level of DIY can-do. Thus it is that almost every home has that one cabinet that doesn’t close just right, that one piece of artwork tucked behind a door that has yet to be hung, and that one faulty outlet that continually emits showers of sparks down onto the bedroom floor. (For the record, if you have an outlet that is actively sparking, go ahead and call a professional. And the fire department. And also run.) Ah, but with a bit more how-to knowledge and a couple of easy DIY life hacks, you can tackle all sorts of projects around the house in less time and with less effort than you might have expected.
Let’s talk about five in particular:
How to Hang a Picture Frame
Most framed artwork, photos, or posters will have either a wire or a metal band affixed to the back. If this is not present, come back when you have some art that’s ready to hang (or add the hardware yourself). If said hardware is in place, then let’s roll with this thing.
Generally speaking, when the space allows, you want artwork to hang such that the average viewer’s eye will be approximately centered on the piece in terms of height. Determine where you need to sink a screw or hook into the wall by holding up the frame, then figure out there the hardware will be when that happens. Keep in mind that a wire will allow the frame to sit below the hardware sunk into the wall; put tension on the wire to find the true height at which it will hold the artwork.
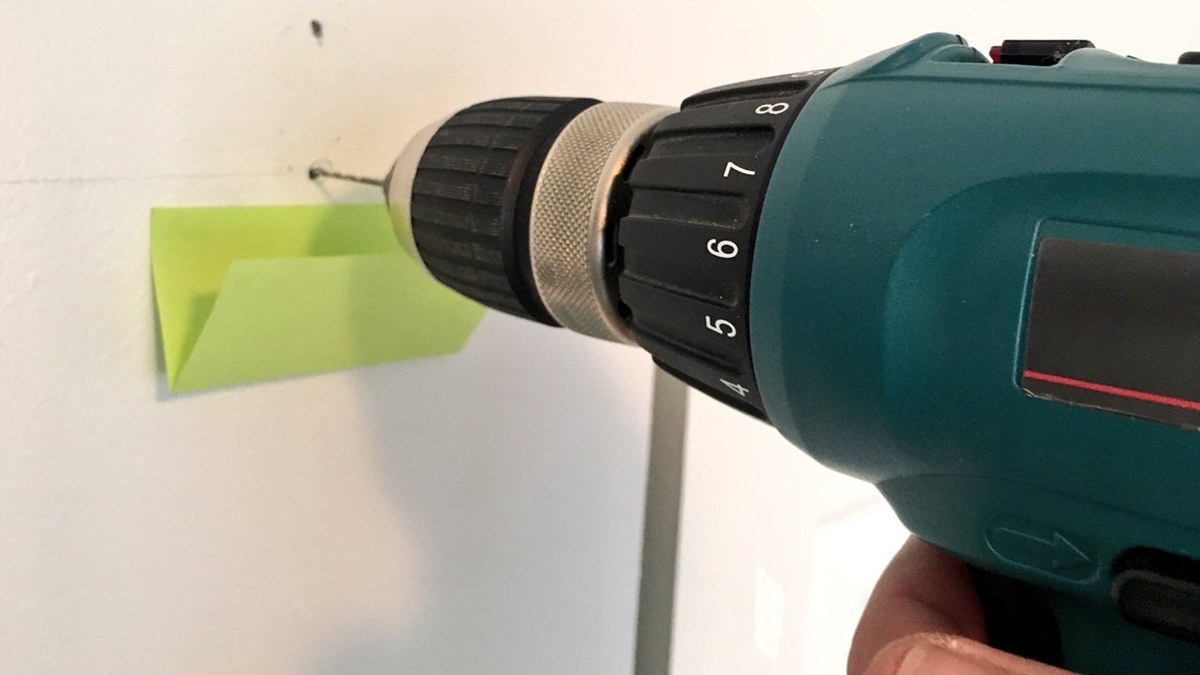
Now we come to the two hacks! First, when you drill the hole for the screw or hook that will hold the frame, place a Post-It (or off-brand sticky note thing) on the wall and fold it upward, creating an ad hoc tray. This will catch the falling drywall powder and sawdust, making the whole hanging process mess-free.
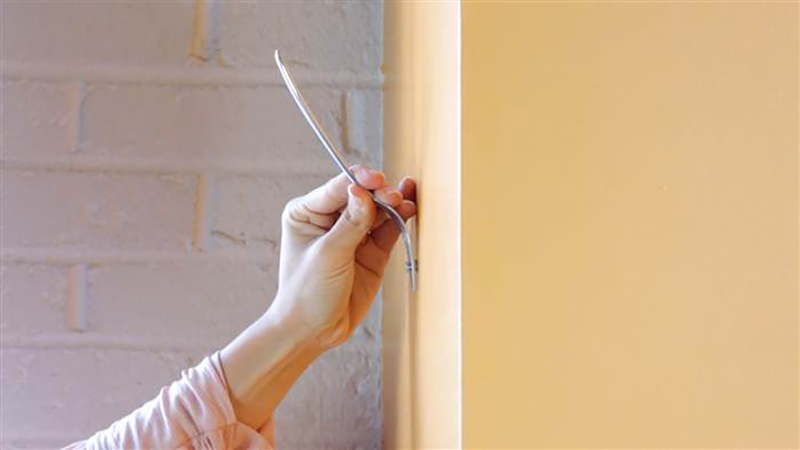
Second, before you slide a hanging wire down onto its screw or hook, stick a fork down onto the hardware with the handle leaning away from the wall. This will allow you to glide the wire down into place with minimal effort, saving you time and avoiding scratching the wall. Then you can reach back and pull the fork out with ease.
How to Remove a Stripped Screw
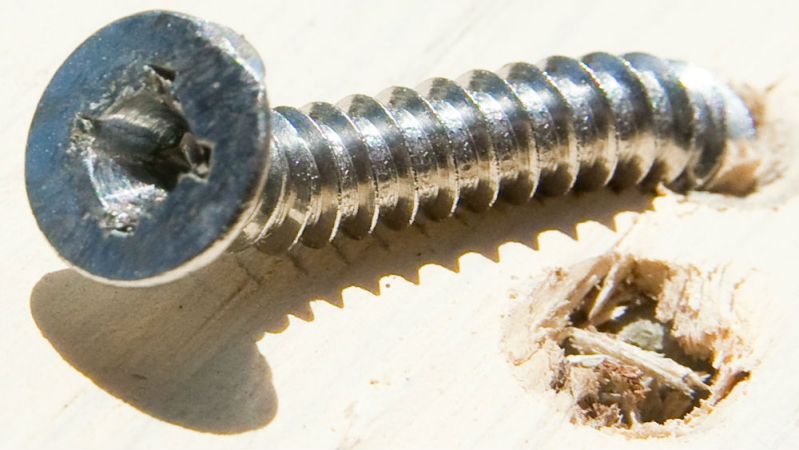
There are few things quite so frustrating as the moment when that drill bit or screwdriver starts to spin uselessly as the head a Phillips screw strips. But not to worry — removing a screw with a stripped head is annoying, but not impossible.
The first thing to do is simply try using a different screwdriver or bit. Try both larger and smaller heads, as they might be able to bite wider or deeper than the driver that caused the stripping. If that doesn’t work, the next course of action is to lay a broad rubber band across the top of the screw, then again try unscrewing it. The rubber can push its way into any little gaps that remain, creating enough grip to create torque.
Failing those nice and easy solutions, you can always try a dedicated screw extractor. Some require drilling down into the screw, while others can be used with the damaged screw itself. But before you run out and buy a screw extractor set, do you have a hacksaw? By using a narrow bladed saw, you can slice a groove into the top of a damaged Phillips screw that will effectively turn it into a flathead.
I recommend you turn to pliers only after those other approaches have failed, because when you start gripping a damaged screw with pliers, there’s a decent chance you will bend or even break it, which will make extraction even harder. If you do snap the screw, or if no other extraction method is working, you can always use an arbor drill bit that will cut a circular portion of the base material away, destroying and removing the damaged screw wholesale. Of course, then you have to repair that hole…
How to Fix a Hole in Drywall
Repairing holes in a standard drywall wall is really fabulously easy and no cause for concern. Unless, that is, you can’t match the paint properly. Because then your hole repair process also involves repainting an entire room with a new shade. (Don’t forget what we talked about above — just hang a picture to hide that glaring disparity in hue!)
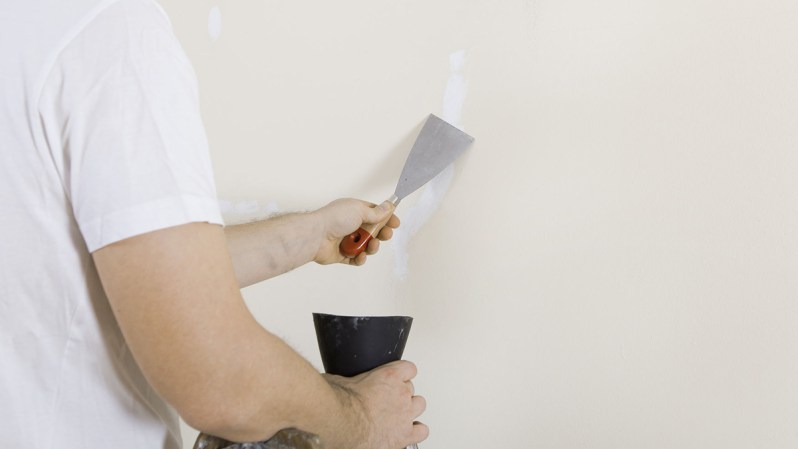
If the hole(s) in question are small enough, you can use a bit of spackle to simply fill it up. Then use a plastic putty knife (or a stiff piece of cardboard) to smooth things flat. Wait a couple hours, then do some light sanding if need be, then re-paint. You’re done. You can find a more in-depth guide to the process here.
For larger holes in drywall, the process will take longer, but it’s still really simple stuff. In addition to the paint, spackle, and sand paper, you will also need a piece of drywall that’s larger than the damaged area and a knife with which to cut out said area and trim the new drywall.
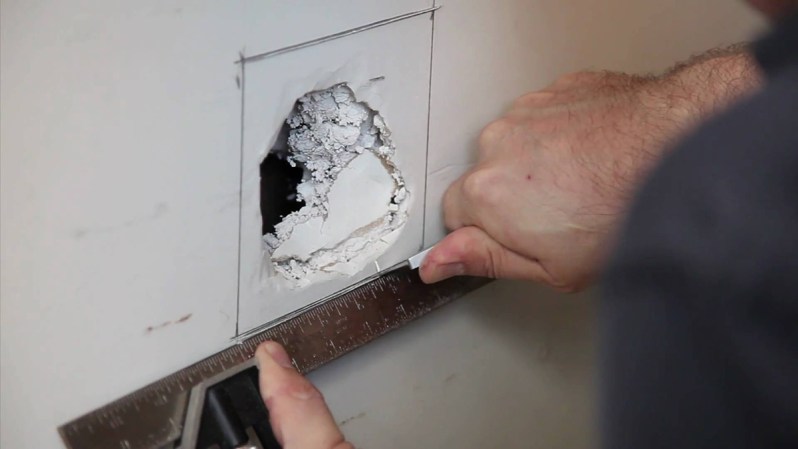
Always cut out square or rectangular sections of drywall even if the damage is circular, irregular, or in the comical outline of a person’s face. Lay the damaged rectangle over a piece of intact drywall and trace it out, then cut the new section just inside the traced lines. Now coat the edges of this patch in spackle (or a dedicated joint compound if you want to do things to the nines) and slip int into place. Let it rest a bit and set, then add more sparkle around the edges if need be. Wait more. Sand. Paint. Walk away.
How to Repair Damaged Caulk in the Bathroom
Almost any bathtub, shower, or sink that has a ring of caulk around it is also going to have gaps, cracks, and gouges in said caulk. These can look unpleasant and can allow water to leak through, potentially leading to mold and other issues down the line. So do yourself a favor, and spend a few minutes fixing the caulk. It’s really easy. Unless you need to replace all of the caulk, in which case it’s really annoying.
For those smaller problem areas, cut away all of the damaged caulking, including a millimeter or two on each side. You can soften the damaged area with mineral spirits or a caulk remover and wait a couple hours before scraping at it, or you can just use elbow grease and carve the stuff away using a utility knife or a dedicate caulk remover.
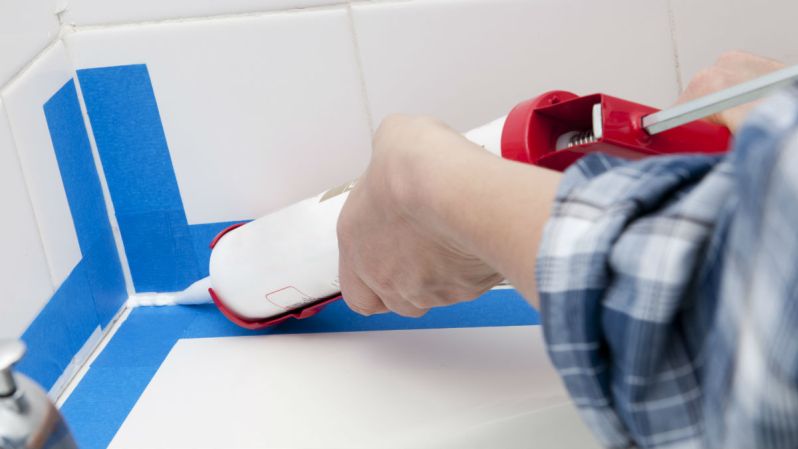
Then squeeze a bead of matching caulk into the gap and smooth it down with your finger. Remove the excess with a paper towel (or just with your finger) and then give it a day to cure and dry. If this is your first time caulking, then we suggest outlining the area in tape to avoid a larger mess.
Ah, but here’s your pro tip: If you’re caulking around a bathtub, fill the tub as much as possible before applying the caulk and leave it filled while the stuff sets. Many tubs will subtly flex downward when filled, and this pressure can be just enough to separate caulk, opening the very gaps you may well be fixing right now. Once the caulk has cured, you can drain the water and use the bathroom normally.
How to Clean a Microwave
Microwave ovens are an essential part of many domestic kitchen and dormitory rooms alike, but they can quickly become hotbeds of filthy, caked on food grime. Cleaning a microwave can be tedious and thankless, as often even vigorous scrubbing with a sponge or paper towel still leaves behind oils, sauces, and … is that cheese?
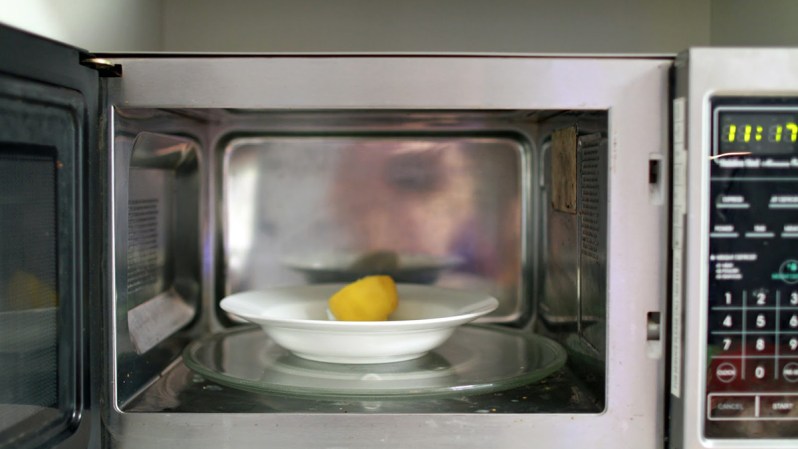
But fear not — getting your microwave showroom clean need not be a laborious chore. You can use science to your benefit. And vinegar. And a lemon. First, pour about half a cup of basic white vinegar into a sturdy plastic bowl. Now microwave the liquid on high for three minutes. Wipe out the interior of the microwave with a rag or some paper towels, marveling at how easily all the gunk lifts away from the walls, ceiling, and floor of the unit.
Next, slice open a lemon and put the two halves in a bowl with a bit of water. Microwave them for one minute, then let the lemons sit in there for another minute or two. Remove the lemons and bowl, wipe the microwave down again, and leave the door open for a few hours. Now the oven will be clean and fresh yet again. Until you overcook that mac and cheese this evening.
Article originally published February 13, 2018. Last update May 4, 2018.


