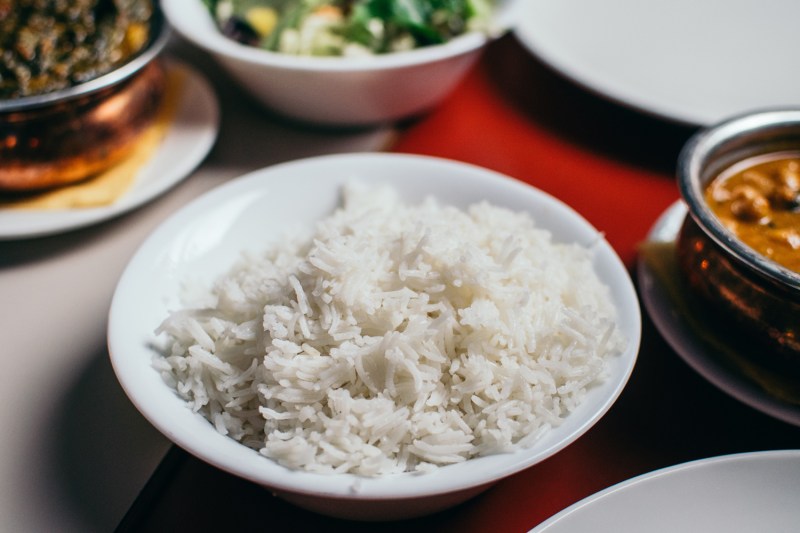
Rice is a staple portion of or a whole meal. Practically anywhere in the world, that region’s cuisine features rice to some extent. Not only does it go with everything from steak to chicken, but it can also be used in sweet dishes, too (rice pudding, anyone? How about sweet sticky rice with fresh mango?).
Rice is also a perfect dry ingredient to keep on hand when you need a quick meal that will fill you up and leave you satiated, but that also won’t break the bank. But it isn’t always easy to make. Sometimes it gets mushy, others it sticks to the bottom of the pot. Cooking rice doesn’t have to be tricky, though. To help, we’ve put together a guide on how to cook rice perfectly every time, so you can enjoy those tasty grains without the headaches.
Keep in mind that the variety and grain of rice you choose will affect the final texture, no matter what — they’re all unique in their own ways. Long-grain rice will have a fluffy texture, short-grain a sticky texture, and medium-grain will fall somewhere between the two. Brown rice is chewier, while white rice is stickier. Other varieties, like Jasmine and Basmati, offer their own unique flavors and aromas. You can prepare any type of rice using the two methods outlined below, though the stovetop method may require extra experimentation to get the texture just right when switching between varieties.
How to cook rice in a rice cooker
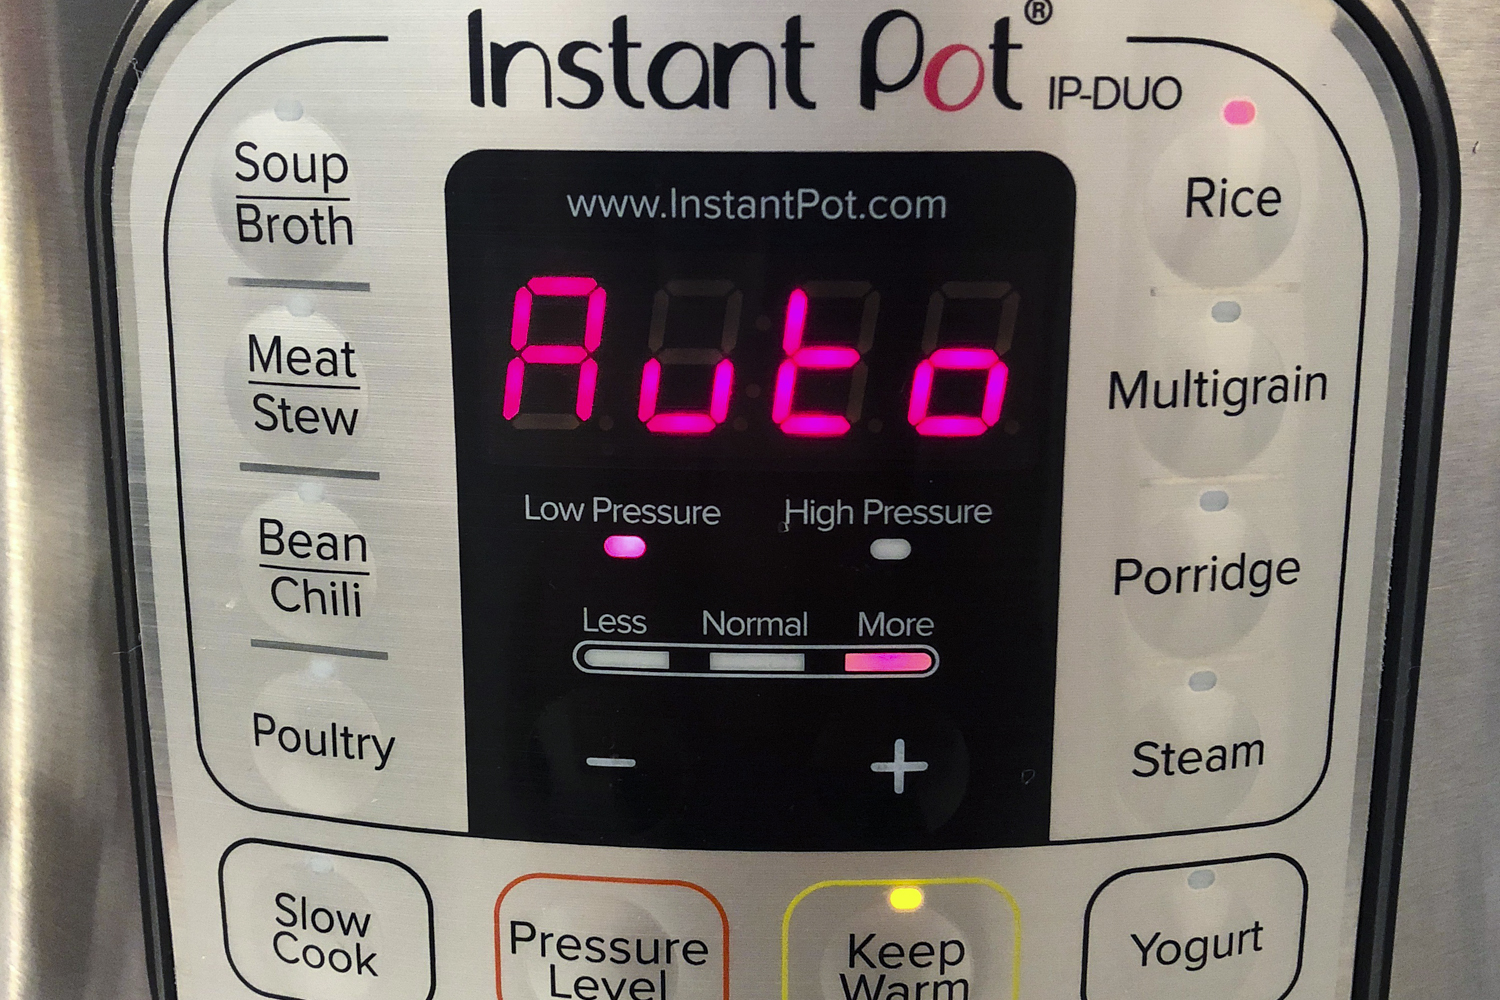
Cooking rice in a rice cooker is insanely easy, which is why it’s our recommended method. If you’ve got a rice cooker on hand (or if you eat enough of it to justify purchasing one), it will save you all the headaches of undercooked rice or charred grains that you have to scrape off the bottom of the pot. If you’ve got the legendary Instant Pot, it works as a rice cooker, too.
Rice cookers heat water to a boil quickly and shut themselves off when the grains reach the perfect temperature, so you end up with yummy, fluffy rice with less time commitment and less work. On top of that, many rice cookers will only have one button: on or off. That’s it. Just put in the proper amount of rice and water, turn it on, and leave it alone. Here is the tried-and-true method for cooking perfect rice every single time.
Method
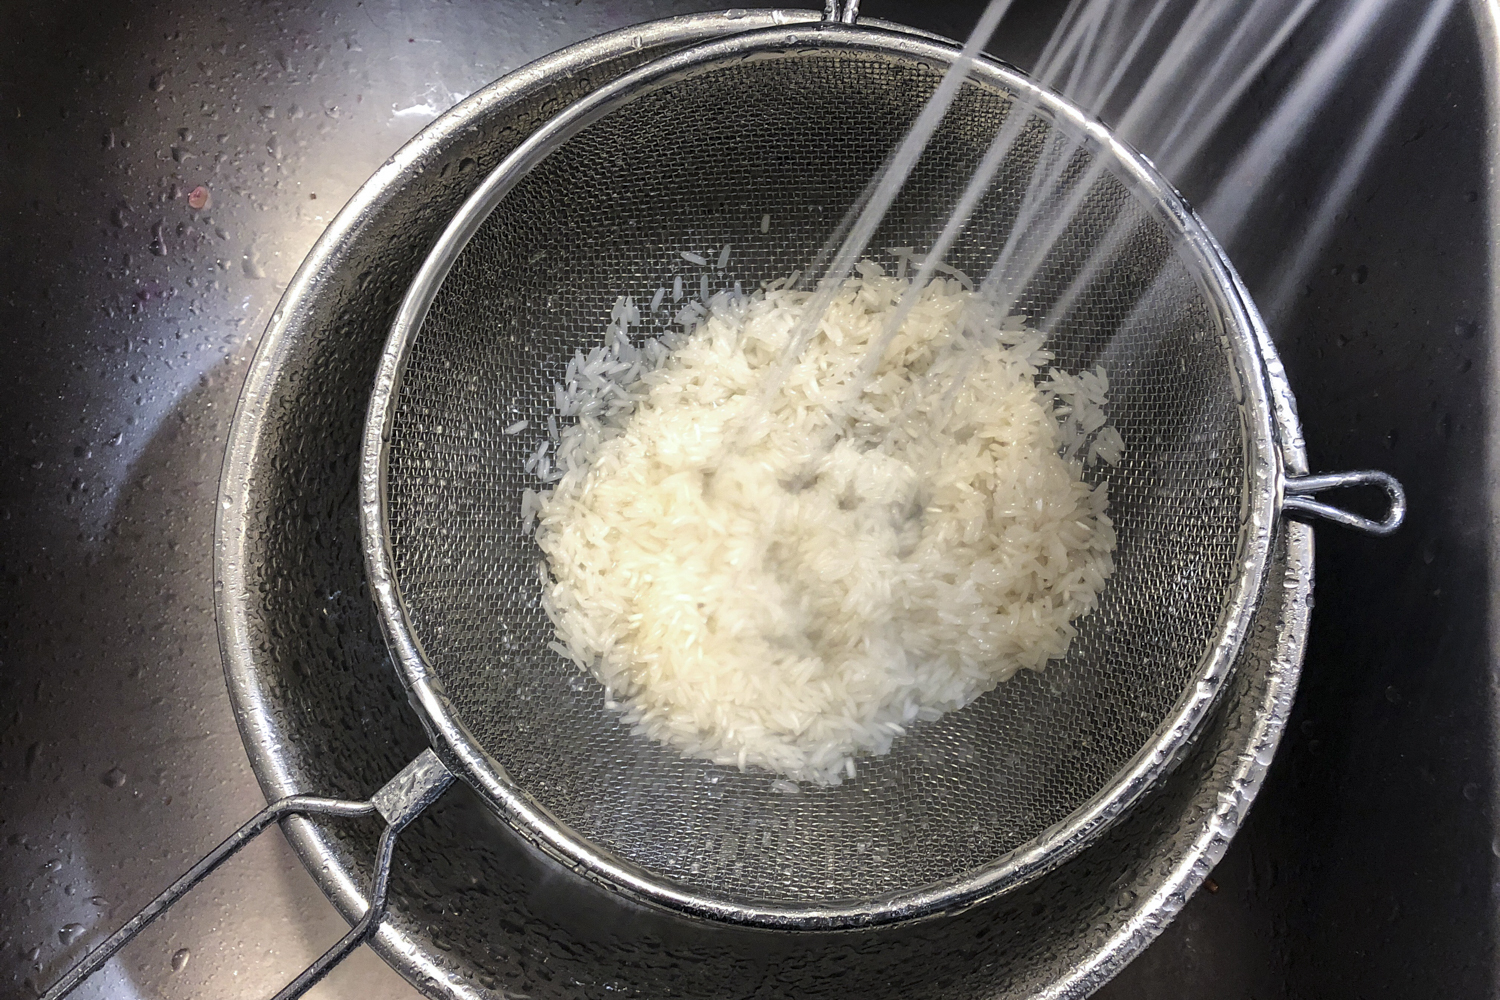
- If you prefer less sticky rice, rinse it before you add it to your cooker. This isn’t necessary with brown rice because it doesn’t have the same high level of starch as white rice. It’s alright to throw the rice into the cooker when it’s still a little wet; it won’t disturb the cooking process.
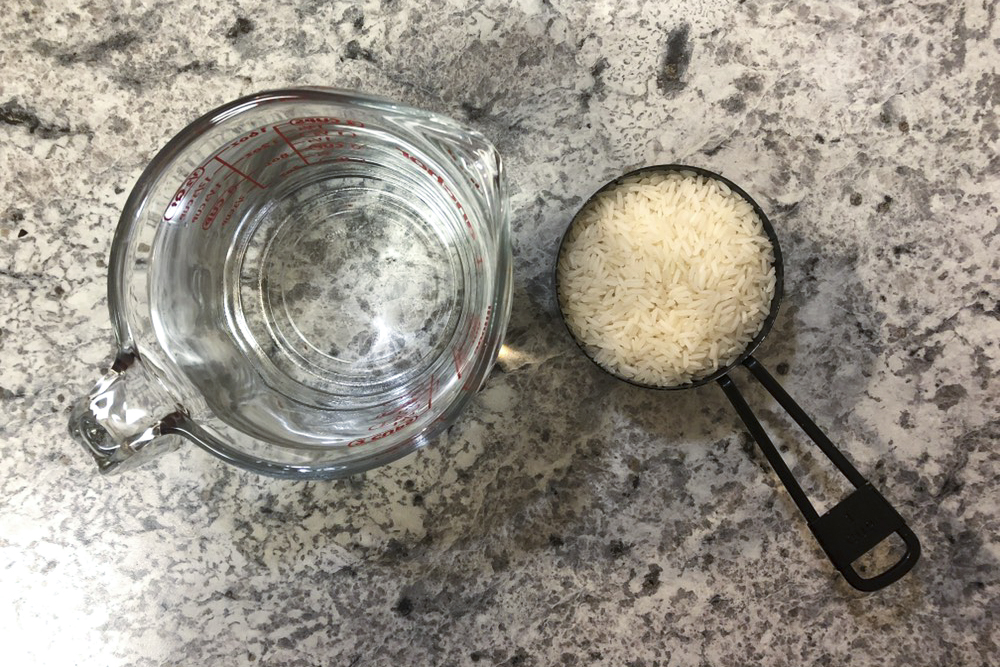
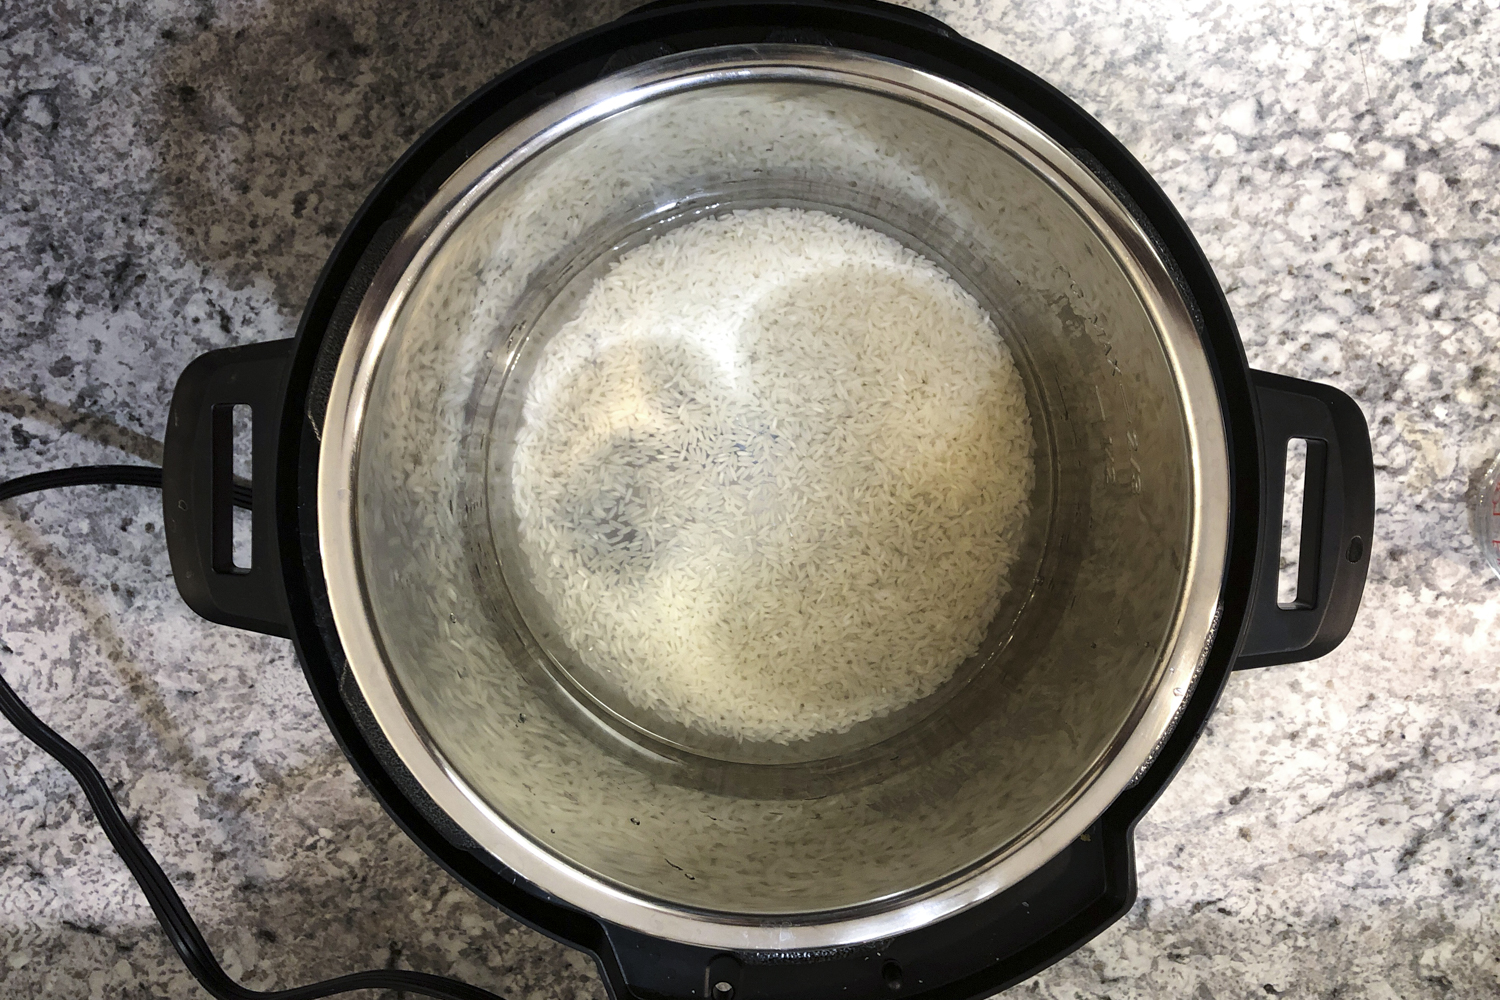
- Add the appropriate amount of rice and water to your cooker. A good rule of thumb is to use 2 cups of water to each cup of rice, and you can scale up easily if you’re making a larger batch. Some rice cookers may advise a different ratio, so feel free to consult your manual and experiment a little the first couple of times you use it.
- Close the lid and make sure it’s nice and secure so all the steam produced will stay inside the cooker.
- Turn on the rice cooker and walk away. Some rice cooker models may have timer settings. If that’s the case, you can consult your manual to see the timing it advises for different types of rice. White rice takes 18-20 minutes, while brown rice can take up to 45.
- Once the cooker senses that it has reached the ideal temperature, it will shut itself off. At this point, you’ll hear a beep, the click of the latch releasing, or both to let you know your rice is ready.
- After the rice has finished cooking, let it sit in the cooker for 10 minutes. This will give it a fluffier final texture.
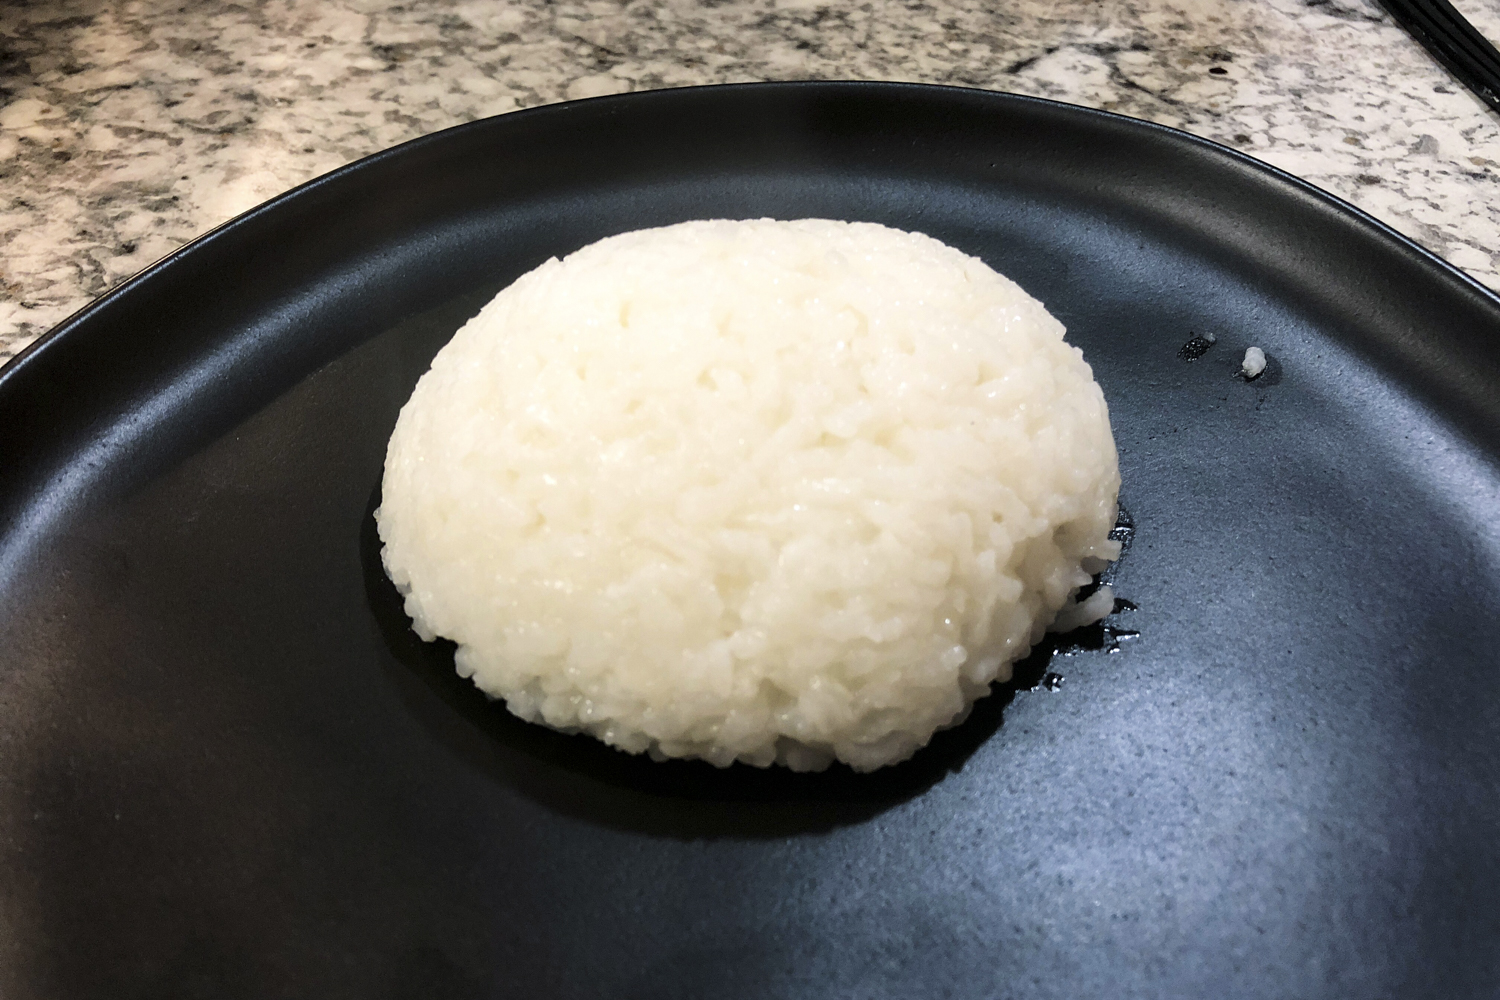
- Open the rice cooker, fluff your grains up with a fork, and serve how you like.
Because this handy little appliance steams your rice at the perfect temperature — no more, no less — cleaning it is even easier than cooking with it. Any rice that remains stuck to the side of the cooker will brush or rinse off easily. No scraping or elbow grease required.
How to cook rice on the stove
Cooking rice on the stove is trickier because you’ll have to monitor the temperature and resist the urge to impatiently lift the lid while it steams. Once you get the hang of it, though, you can still whip up perfect rice every time. For large batches (enough for two or more), use a large stockpot. The increased surface area on the bottom of the pot will help to distribute heat more evenly and keep your rice at an ideal temperature. If you’re only making rice for yourself, you can use a smaller saucepan. Just make sure whatever dish you use has a properly -fitting lid, because you want to seal in as much of the steam as possible while your rice cooks.
Method
- Just as in a rice cooker, rinse white rice before you add it to your pot to prevent it from being too sticky.
- Add the appropriate amount of water to your pot. Use the same water-to-rice ratio as before: 2 cups water to 1 cup rice.
- Add a pinch of salt, place the lid on the pot, and let the water come to a boil.
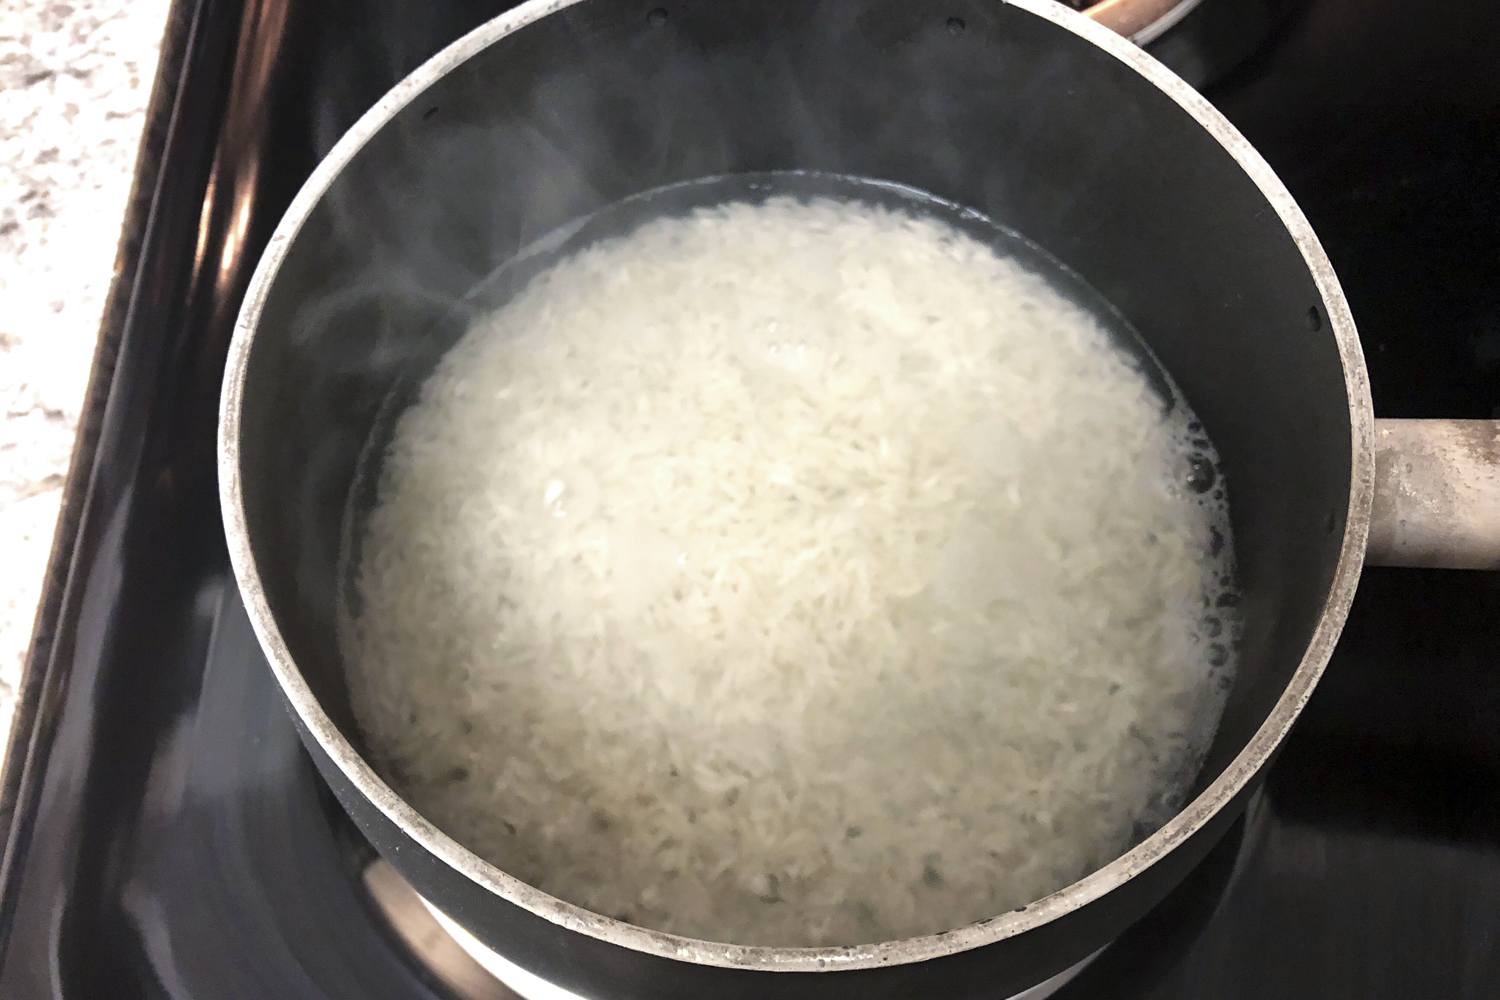
- Once the water is boiling, add in your rice. Stir it a couple of times to keep the grains from sticking together, but don’t over-stir — once or twice should do it. TIP: Add some butter (about 1 tbsp) to the pot when you add the rice.
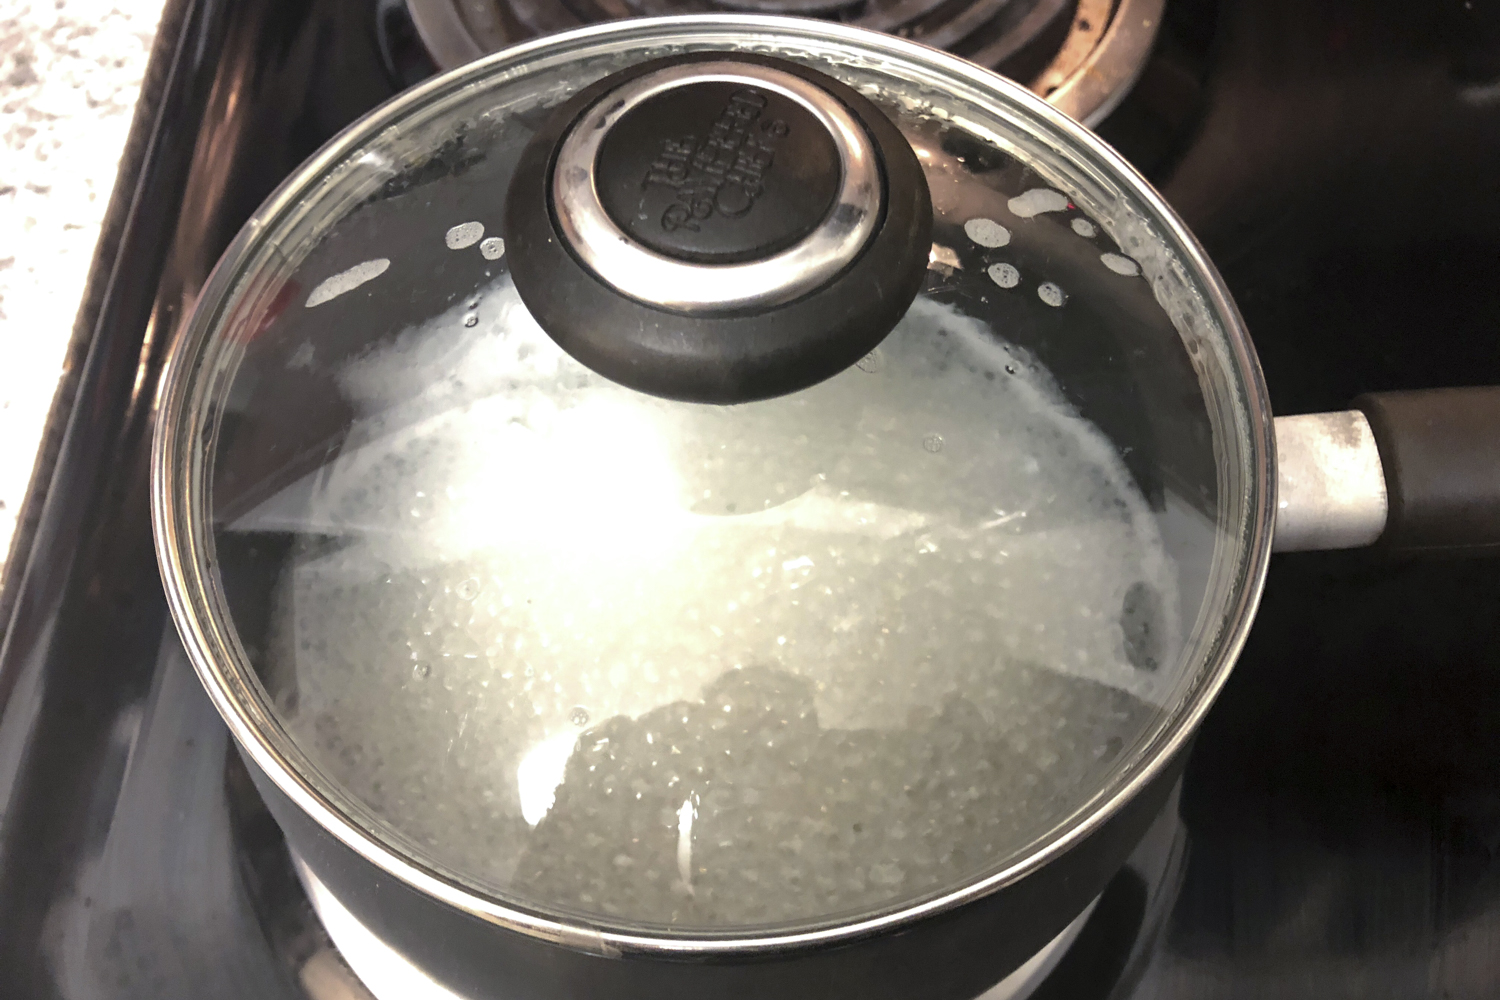
- Keep the heat on high until the water rises back to a simmer, then reduce it to low. You want just enough heat to keep the water simmering, but not enough to create a rolling boil. Once it’s simmering nicely, put the lid on.
- Now is the most important step: Don’t touch the pan again for at least 18 minutes for white rice and 30 minutes for brown rice. Don’t lift the lid, don’t move the pot around, don’t stir the rice. In fact, don’t even look at it. Leave the room if you must! This is when bad things happen. Steam is the most critical component of tender, fluffy rice. If you take the lid off while it’s cooking, you let all that precious steam out into your kitchen, where it’s doing no one any good. Well, except maybe your tile. But you weren’t setting out to steam clean your backsplash, were you? No, you’re here for that tasty rice. So, don’t do it.
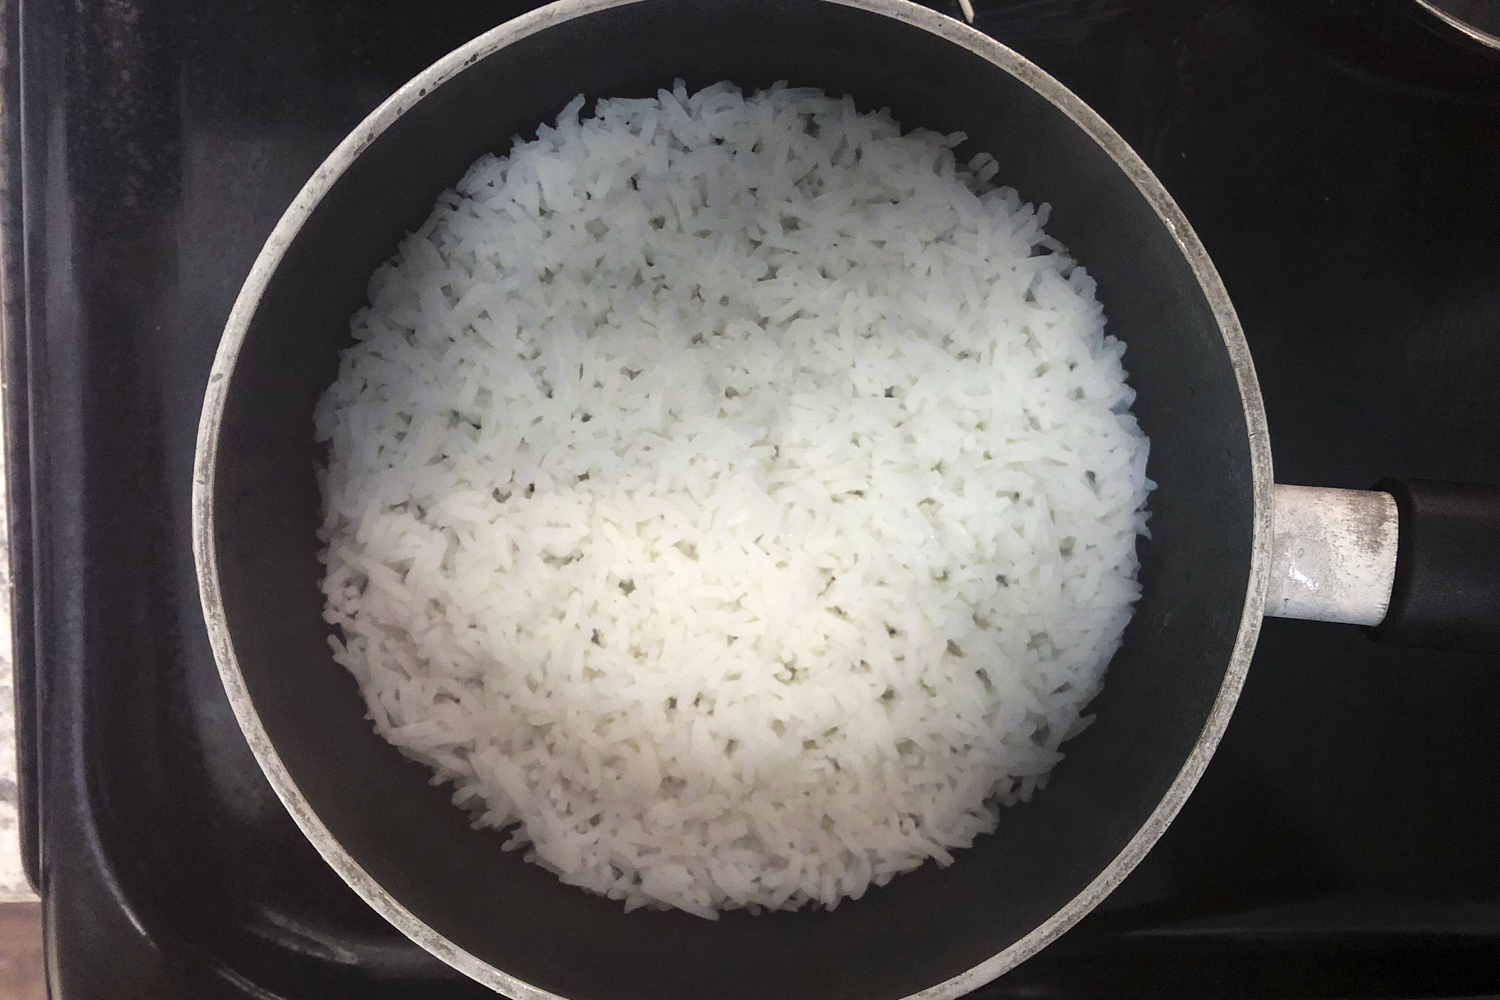
- After 18 or 30 minutes (depending on the type of rice you’re making), carefully lift the lid and check the consistency of the rice. Even if there’s water left in the bottom of the pan, check the texture. If it needs more time, put the lid back on and check again in a few minutes.
- Once your rice is nice and tender, turn the heat off completely and let it sit in the warm pot, with the lid on, for 10 more minutes to absorb the last bit of steam and reach peak fluffiness.
- Fluff the rice with a fork and serve.

How to reheat leftover rice
There are three main methods for reheating leftover rice safely and effectively. Here they are.
In a microwave
Transfer the desired amount of rice to a microwave-safe bowl. For each cup of rice, add 1 to 2 tablespoons of water or broth. Cover the bowl with a lid or damp paper towel to trap steam and prevent drying. Microwave on high power for 30 to 60 seconds, and then fluff the rice with a fork. Repeat in 30-second increments until it’s heated all the way through, stirring occasionally to ensure even heating.
On a stovetop
Add 1 to 2 tablespoons of water or broth for each cup of rice to a saucepan over low heat. Cover the pan tightly with a lid and gently simmer for 5 to 7 minutes or until heated through. Stir occasionally to prevent sticking. Remove from heat, fluff the rice with a fork, and serve immediately.
In an oven
Preheat your oven to 300 degrees Fahrenheit. In an oven-safe dish, combine the rice with 1 to 2 tablespoons of water or broth for each cup of rice. Cover the dish tightly with foil or a lid and bake for 15 to 20 minutes or until heated through. Fluff the rice with a fork before serving.
So, there you have it for choice and fluffy rice every single time. If you want to flavor your rice while cooking, consider substituting broth for water or using bouillon cubes during the cooking process. Now that you know how to cook rice, whether you’re using a rice cooker or the stovetop, it’s time to look for some killer recipes.
Editors' Recommendations
- How to make the perfect carnitas, according to a chef
- The grasshopper drink is a retro blast from the past — this is how to make it
- How to make a buttery hollandaise sauce like a professional chef
- The best ways to cook Lil Smokies, the perfect appetizer for any gathering
- How to make the Earthquake cocktail in just 4 simple steps


