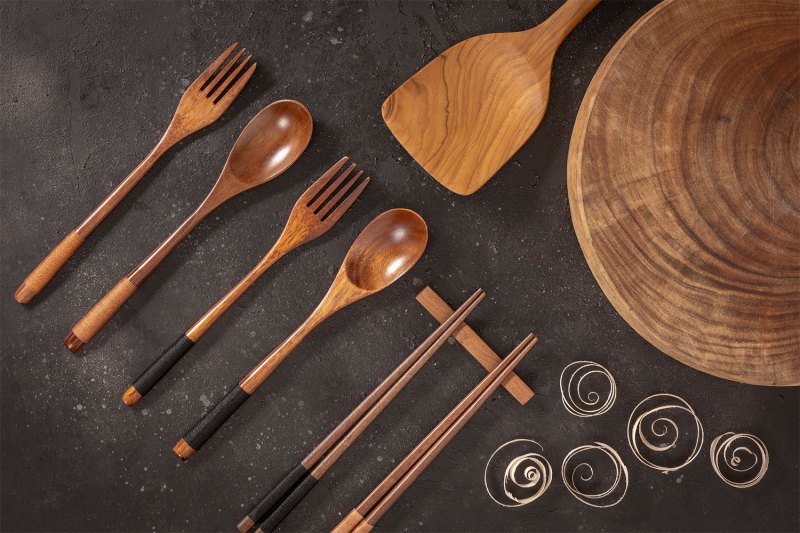
Anybody who has worked with wooden utensils in the kitchen knows they're tough to outdo. From stirring spoons to dough bowls to chopping boards, wooden products provide an air of rustic charm and comfort to your kitchen. Wooden utensils are also ideal because the wood contains natural antibacterial properties, protecting your food from bacteria, germs, and mold. Plus, they just plain look good.
Alas, spring cleaning and organizing season is here and we are tackling everything from drinks collections to microwaves. Wooden utensils, too, need the clean treatment. And these items are made from actual wood, the level and type of care they require is different from most other kitchen tools. Wooden kitchenware is meant to last for an extremely long time, but it won’t if you don’t take proper care of it. Here's how to properly clean these timeless kitchen tools.
Never soak or put them in the dishwasher
After cooking, it’s tempting to let dirty dishes and utensils soak overnight and deal with them the next day. Not for wooden utensils. Similarly to why it’s not recommended to wash your wooden utensils in the dishwasher, letting them soak and remain dirty with food particles overnight allows the wood to soak up the water, expanding the wood and accelerating its deterioration. Plus, food particles can seep into tiny cracks in the wood, allowing bacteria to proliferate and create a health risk. Clean 'em right away, they'll last longer.
The biggest no-no in wooden kitchenware care is cleaning them in the dishwasher. The heat, detergents, and forceful water will cause wooden items to warp or develop cracks or splits in no time at all. Clean them manually and stick to the following guidelines.
Step 1: Wash your wooden utensils under hot water with a gentle soap. You can use a sponge or a nylon scrubbing pad if you want to be really sure you’ve removed all the leftover food particles.
Step 2: After washing, remove the excess water from your wooden utensils by patting or blotting them with a clean hand towel. This will keep the wood from warping or cracking due to moisture.
Step 3: After washing and then wiping your wooden utensils dry, don’t immediately put them away. Leave them out so they can thoroughly air dry. Otherwise, water droplets trapped in gaps in the wood won’t dry completely, and over time the accumulation can also warp or crack the wood.
Routinely treat them with mineral oils
To keep your wooden utensils glowing and in the best possible condition, about once a month rub them with mineral oil. These food-safe oils are quickly soaked up by the wood and help the utensils better repel water and retain their natural vibrancy, even with prolonged use.
Beeswax compounds also work well for this purpose. Set aside the time to give your wooden spoons, cutting boards, and bowls a good mineral oil rub every once in a while. Only use approved mineral oils; don’t use olive or canola oils as those are food-based and can give your wooden utensils an unpleasant, rancid smell.
Buff out rough spots with sandpaper
Sometimes, especially in wooden utensils that have been used for a long time, you may detect rough spots where the wood is no longer smooth. Deal with these by sandpapering the spot until the roughness of the wood is smooth to the touch, and then rub with mineral oil. Good as new!
How to treat stains
Colorful food items like berries may sometimes stain your wooden cutting boards or other wooden utensils, but don’t worry. There are ways to get rid of those stains. One strategy is to wash the item right away with hot water and soap to try and scrub the stain out.
For more aggressive stains, you can also try using half a lemon and baking soda, scrubbing them right on the stain, and then washing. But sometimes, those darn stains just don’t come out. But as long as you’re properly cleaning and drying the board, the stains shouldn’t present any kind of health risk from bacteria. Over time and with continued cleaning, many stains will naturally fade on their own.
How to deal with smells
If you find that wooden items like cutting boards are starting to develop a smell, there are several ways to get rid of it. One is to rub a slice or half a lemon over the surface of the cutting board and let it air dry. You can also mix baking soda and water together, rub the resulting paste on the surface, and then let it dry before washing off.
Rubbing with white vinegar has also been shown to erase smells. However, the lemon method seems to be what works best for most people, especially as it then leaves your wooden utensil smelling lemony fresh.
How to remove mold
Mold on wooden spoons and other wooden kitchen utensils, while concerning, doesn't necessarily mean they're beyond saving. Here how to removed mold.
Step 1: Combine equal parts white vinegar and water in a bowl.
Step 2: Submerge the wooden utensils in the vinegar solution for 30 minutes to 1 hour.
Step 3: After soaking, gently scrub the moldy areas with a soft brush dipped in the vinegar solution or a paste of baking soda and water.
Step 4: Rinse thoroughly with warm water and wash them with dish soap and a clean sponge.
Step 5: Allow the utensils to air dry completely in a well-ventilated area before storing them. Sunlight can also help kill any remaining mold spores.
All told, cleaning your wooden utensils is a pretty easy task. Better, it doesn't eat up too much valuable time and the act will keep your favorite wooden spoon clean and you, the chef and master of all sauces, healthy.
Editors' Recommendations
- How to make The Last Word cocktail, a gin classic from another era
- This is how to sharpen a serrated knife the right way
- How to brunch like the French with lobster croissant and champagne
- Cognac vs. brandy: What’s the difference?
- This fan-favorite kitchen brand just launched a new espresso machine collection