Our modern-day food system is significantly different than it once was. No longer are we mostly self-sufficient, growing and eating our own food, but rather nearly everything that makes its way to our kitchen table has been shipped hundreds or thousands of miles. Not only is this worse for the environment because it increases the carbon footprint and contributes to global warming, but it also disconnects us from our food and makes us heavily reliant on the multilevel commercial food system.
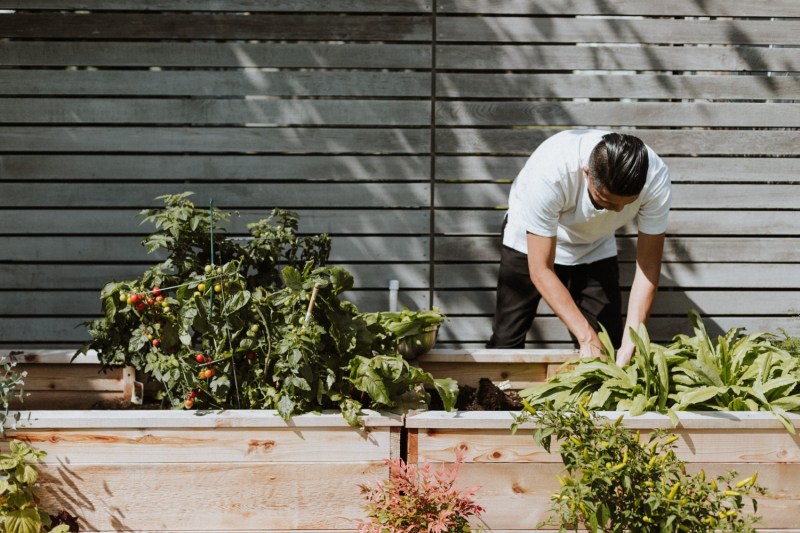
Growing your own food can be a deeply gratifying, fun, environmentally friendly, and more affordable way to bring nutritious foods to your table. Food self-sufficiency may be a lofty goal, but you don’t have to grow or produce everything on your plate to make strides toward being more sustainable, economical, and self-sufficient with your food consumption. Even if you live in a small apartment and have no land to grow vegetables or raise chickens, for example, you can still dabble in food self-sufficiency and cultivate some nutritious and delicious foods inside your very own kitchen.
What Food Can I Grow at Home?
Don’t worry; if you’ve never had a green thumb, some of the best foods to grow at home are actually quite beginner-friendly. Keep reading for some of the best self-sufficiency foods for beginners to cultivate so that you, yourself, can produce more of the foods that make it to your plate.
Microgreens
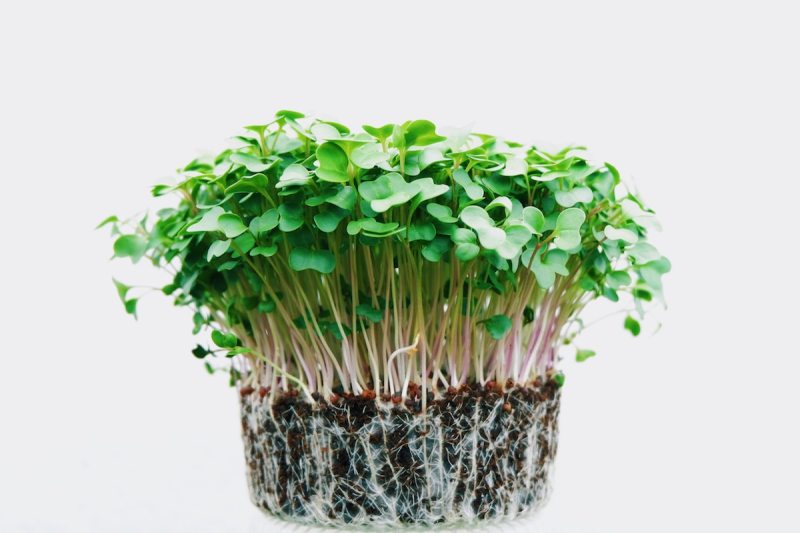
Microgreens are one of the easiest self-sufficient foods for beginners to cultivate indoors. They are packed with nutrients and are one of the best ways to easily boost the nutritional content of salads, soups, sandwiches, and other dishes. Microgreens are essentially the sprouted seeds of other vegetables like broccoli, celery, lettuce, mustard greens, arugula, etc. The seeds grow in damp, humid soil, but require little space and grow quickly. There are also some great kits to grow microgreens for those looking for extra guidance along the way.
Mushrooms
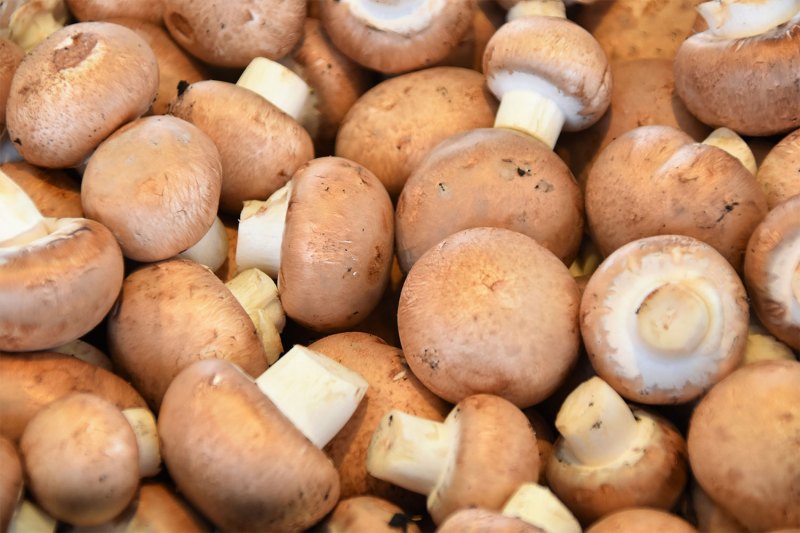
Mushrooms can add a wonderful umami flavor to dishes as well as tons of vitamins and minerals like vitamin D, magnesium, and selenium. They are also quite expensive, so growing your own is a great way to save money and add decadence to your plate. The simplest way to get started growing edible fungi is to buy a mushroom-growing kit. These kits contain all the materials you need to grow the mushrooms and detailed instructions for best results.
Herbs
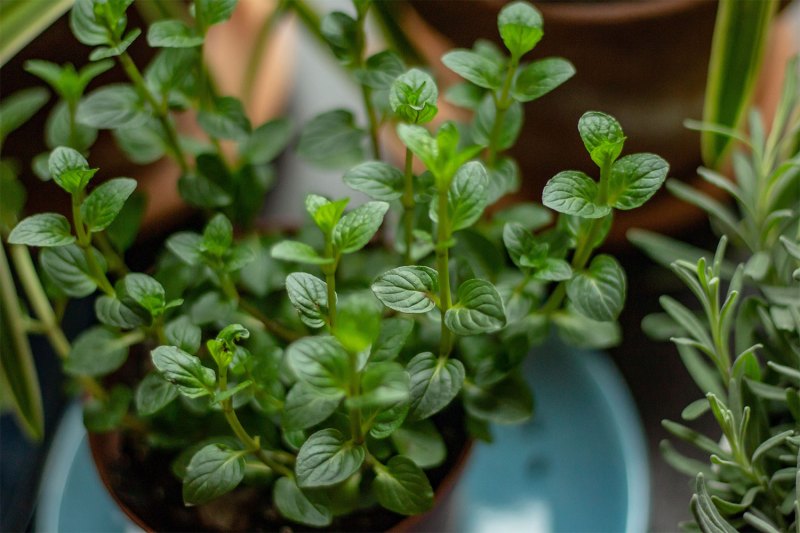
Herbs like basil, rosemary, mint, and parsley can add tons of flavor and variety to dishes such as salads, soups, and rice. They also are packed with nutrition. For example, parsley contains more vitamin K than any other food. One cup of this common herb provides a whopping 820% of the daily value.
You can grow herbs from seeds or buy young plants at the grocery store. If you’re new to growing plants, you may want to start with young plants. However, some herbs are fairly easy to grow. With basil for example, if you’re starting from seeds, plant them in a pot filled with damp soil and cover it with a plastic bag or plastic wrap until the seeds start to grow. Then remove the plastic. Be sure to keep the pots in a sunny area and ensure the soil stays damp.
Some herbs can also be grown from trimmings from the plant itself. For example, you can grow your own mint by trimming a sprig from a mature mint plant about six inches below the bud. Then, place the sprig in a jar of water until the roots have sprouted. At that point, plant the sprig in a small pot of moist soil and keep it in indirect sunlight.
Consider adding your homegrown fresh herbs to salads, sandwiches and burgers, tabbouleh, and hummus.
Sauerkraut and Fermented Vegetables
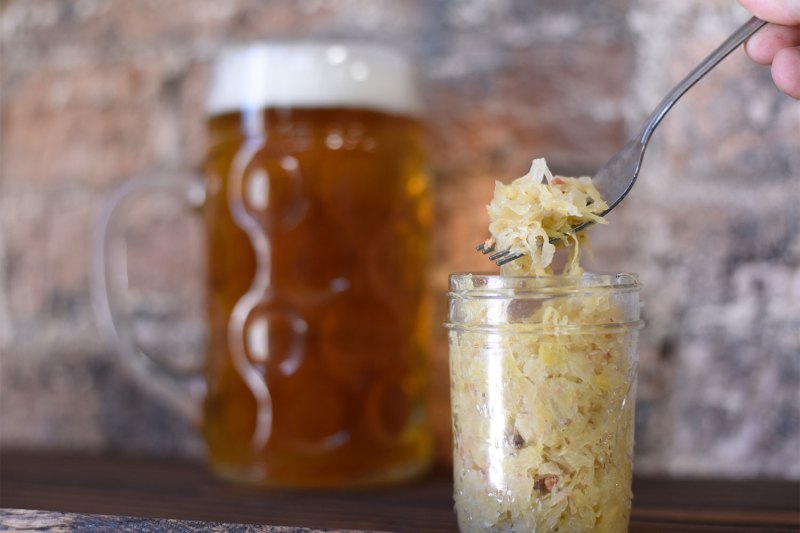
Fermented and pickled foods are high in probiotics. Probiotics are live bacteria and yeast that are good for gut health and digestion. Though it’s not necessarily growing from seed to plate yourself, making your own fermented or pickled vegetables, like sauerkraut, pickled beets, or kimchi, is a great way to use up vegetables and preserve them. In this way, pickled vegetables can be considered a type of self-sufficient food and a sustainable way to seal the nutrients into vegetables and preserve them for future enjoyment.
Lacto-fermenting vegetables involve sealing them in an anaerobic (oxygen-free) environment, which causes the bacteria to convert sugars into lactic acid. Therefore, the key to success with any DIY fermented food recipe is to ensure you have an airtight container, like a mason jar with a lid, to deprive the lactobacilli bacteria of oxygen. It typically takes 5-7 days to ferment most foods, but the recipes you use should specify the fermentation period and signs that indicate your creation is ready to eat.
Green Onions
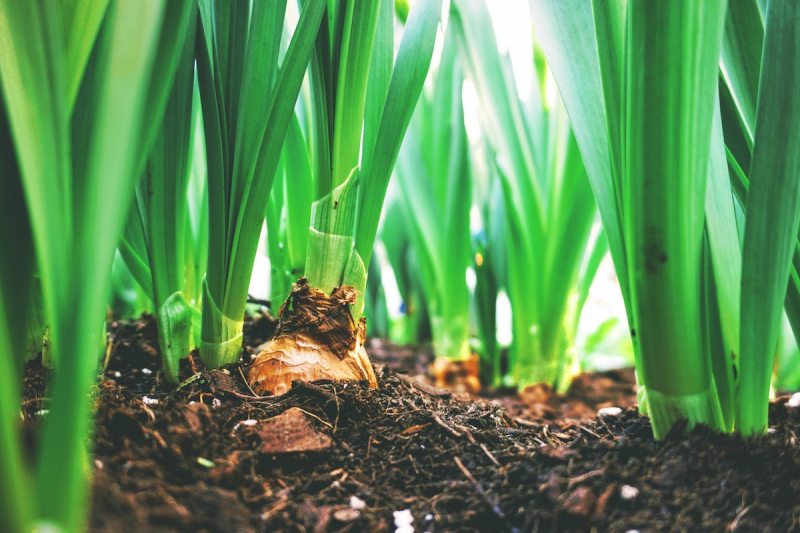
Green onions and chives are some of the easiest vegetables to grow in your home with minimal space and experience. You can even get started with just a few leftover bulbs from a small bunch you buy at the grocery store. After you purchase a bunch and use the greens in your dish, place the trimmed white ends with the roots (about one-inch pieces) in a small jar filled with about an inch of water. Place the jar on a sunny windowsill or under a grow light, changing the water every few days. The bulbs will grow and sprout into fresh greens that you then enjoy. The greens grow quickly, so it’s an exciting way to build confidence in your green thumb and your ability to grow your own edible foods.
Tomatoes
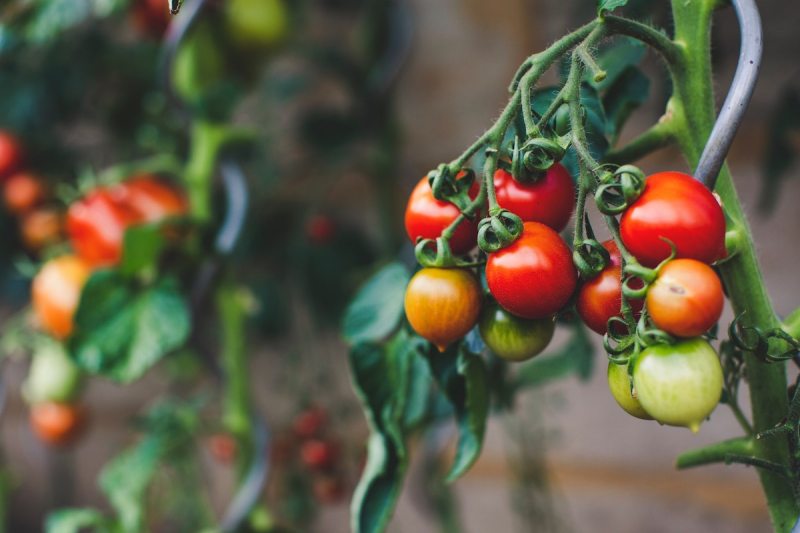
Tomatoes can certainly grow to be large and heavy, so not everyone may have room for many tomato plants indoors, but they are relatively easy to cultivate inside and can produce far juicier, richer tomatoes than anything you may find at a grocery store. Tomatoes are a particularly good option if you have a hydroponic garden. You can also grow them in hanging baskets on a patio or window area if you lack counter space.
Carrots
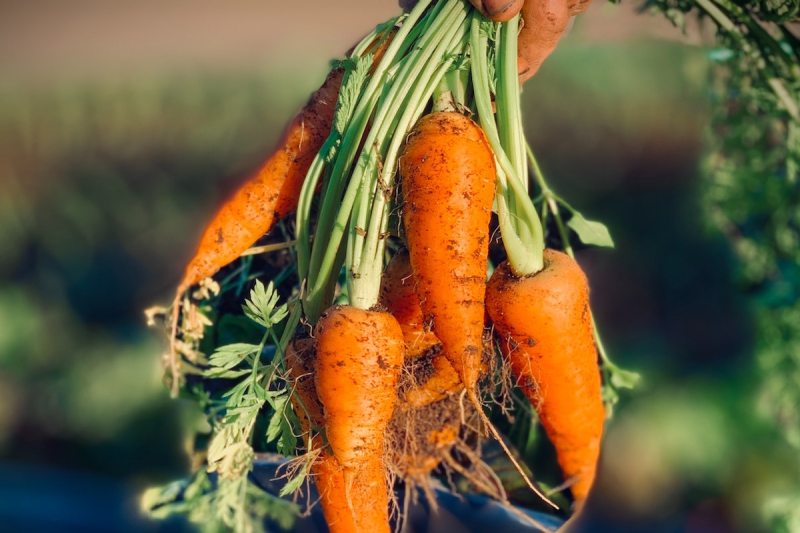
Even though carrots are relatively large, they are fairly easy to grow indoors. Packed with beta-carotene, carrots are versatile root veggies that add sweetness and crunchiness to dishes. You’ll need a deep pot — 10-12 inches — filled with moist potting soil. Poke holes in the soil several inches apart and place a few seeds in each hole. Cover them with dirt and place the pot in a sunny area or under a sunlamp. Be sure to keep the soil moist. After about two weeks, seedlings should appear, and after about two months, your own carrots will be ready.
Beets
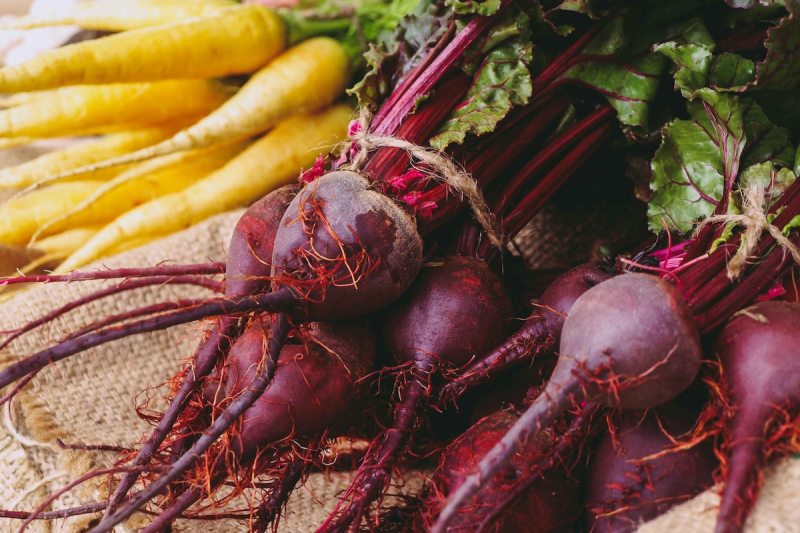
Much like carrots, beets are a root vegetable that you can grow inside with little experience or work. The process to grow them is approximately the same, but it’s better to space the seeds out farther. They also love light, so be sure they get ample sunshine.